Do you have a question about the Yakima Highroad and is the answer not in the manual?
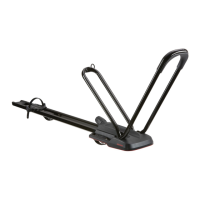
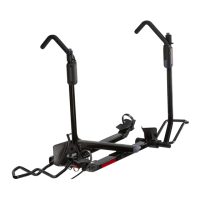
Place the HighRoad on the crossbars.
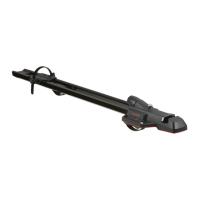
Slide the wheeltray fully back to access the rear mount top.
Slide the rear cover backwards.
Open the rear lever and loosen the knob.
Lift the HighRoad to pass the strap under the rear crossbar.
Pull the lever up through the frame.
Close the lever and adjust the strap tension for a secure fit.
Close the slider mechanism.
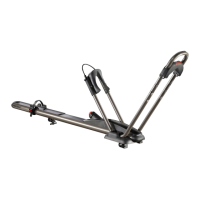
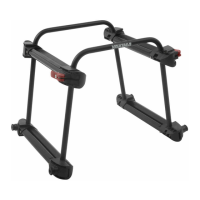
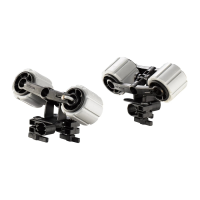
Raise the larger hoop mechanism.
Raise the smaller hoop mechanism.
Slide the front covers backwards.
Open the front levers and loosen the knobs.
Lift the HighRoad to pass the strap under the front crossbar.
Pull the lever up through the frame.
Close the front levers and adjust strap tension.
Close the front covers.
Lower both hoops.
Test the installation for security.
Choose the correct wheelstrap based on bike rim and tire size.
Raise the large hoop.
Tuck the wheelstrap correctly.
Carefully place your bike onto the HighRoad.
Roll the bike into position and raise the hoop.
Tighten the knob until it clicks.
Secure the rear wheel with the strap.
Install lock cores according to instructions.
Test the bike's secure installation.
Check the rear wheel security.
Periodically check knob tightness.
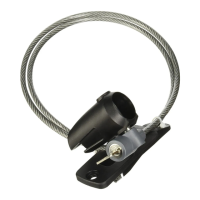
Install and use the optional TailWhip locking cable.
Release the rear wheel strap.
Loosen the knob and lower the small hoop.
Roll bike back and lift it off the HighRoad.
Open front covers and disengage levers.
Open rear cover and disengage lever.
Lift the HighRoad off crossbars and store it.
Guidelines for secure and proper rack installation.
Instructions for safe and correct loading of the rack.
Advice on driving with a load and relevant regulations.
Care, cleaning, and periodic inspection of the accessory rack.
| Category | Automobile Accessories |
|---|---|
| Type | Roof Bike Rack |
| Bike Capacity | 1 bike |
| Mounting Type | Roof |
| Max Bike Weight | 45 lbs |
| Weight Capacity | 45 lbs |
| Maximum Crossbar Spread | 36 inches |
| Installation | Tool-free |
| Compatibility | Fits most factory and aftermarket crossbars |
| Locking | Yes |
| Maximum Wheelbase | 48 inches |
| Minimum Crossbar Spread | 24 inches |
| Locking Mechanism | SKS lock cores (sold separately) |
| Wheel Size Compatibility | 26" - 29" |