Installation Guide
Keyless Connected
Fit Yale digital lock using hand Philips screw driver to avoid cross threading xing screws
If using a cordless, please ensure it is set to low speed & torque
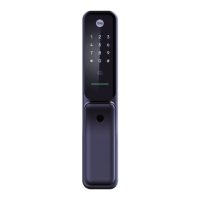
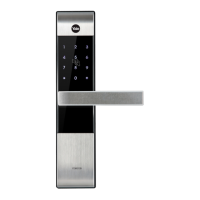
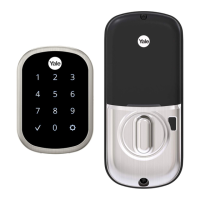
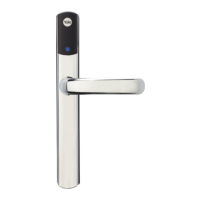
Y3 Chrome
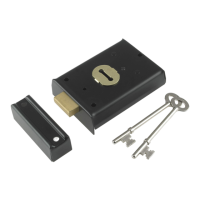
Nightlatch
Box(Option)
Screws
Batteries
I am going to keep using the existing Nightlatch on my door with the Yale digital product
There are many types of Nightlatches, so please start from installation step
follow the check points for correct installation
YES , I have bought the complete package to install them onto my door.
➞ Please start from installation step
ale Digital Lock including a Y3 Nightlatch
Yale Digital Lock including a Y3 NightlatchY
Please use the key of your existing Nightlatch and check the belo
Insert the key in the outside cylinder key hol
in either direction counter clockwise(to the left) and
check the latch fully retract
in either direction clockwise(to the right) and check the latch fully retract
Can you open with your key in both directions? Please go to step
you open with your key only in the
Not in the right direction?
Your Nightlatch needs an additional plate.
Please attach the additional handing plate tightly onto th
if your latch is opened only to the LEFT direction by the key
Please attach the additional handing plate tightly onto the
you open with your key only in th
Not in the left direction?
Your Nightlatch needs an additional plate.
* The nightlatch & plates above are generic images.
If you are retrotting Yale digital lock,
your product may be dierent
Please disassemble your existing Nightlatch case and
The smarter way to
protect your home
•
Please read the intructions before tting and using the
The functions and design of this product can be changed
without prior notice for performance and quality improvements.