Do you have a question about the Yale Assure Lock YRD216 and is the answer not in the manual?
Lists necessary tools and initial steps before starting the installation process.
Details all components included in the box and the mounting hardware provided.
Provides instructions for the removal of existing door hardware.
Guides users on measuring door dimensions and preparing the door for the new lock.
Details the process of installing the deadbolt latch and the strike plate on the door frame.
Covers the installation of the exterior keypad, interior mounting plate, and cable connections.
Attaches the interior lock mechanism and installs the batteries.
Verifies the lock's mechanical functionality after installation.
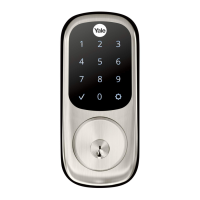
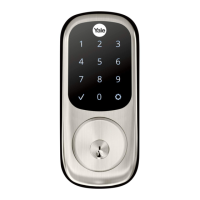
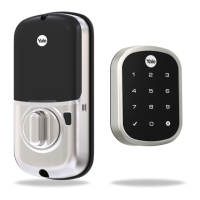
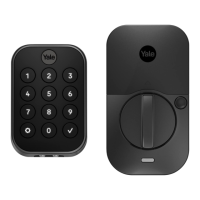
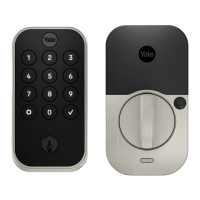
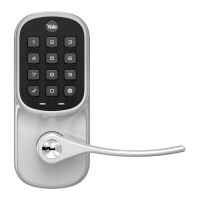
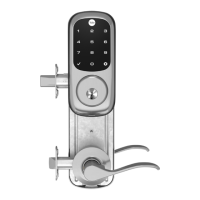
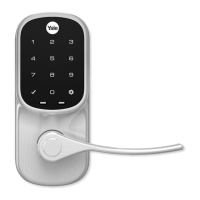
Overview of the keypad and inside lock components and their functions.
Guides on creating Master Entry Code and user entry codes for access.
Instructions for deleting single or all entry codes from the lock.
Explains how to adjust various lock settings like Auto Re-lock and Audio Mode.
Provides solutions for common lock issues and operational problems.
Addresses issues related to the physical installation and alignment of lock components.
Details procedures for resetting the lock to factory defaults and replacing the cylinder.
Instructions for adding and removing the Z-Wave Plus Smart Module.
Guides on installing and enrolling/unenrolling the ZigBee Module.
| Lock Type | Deadbolt |
|---|---|
| Keyless Entry | Yes |
| Touchscreen | Yes |
| Battery Type | 4 AA batteries |
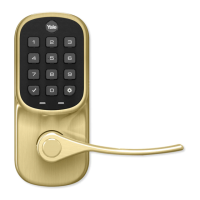
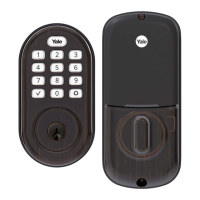
| Finish Options | Satin Nickel, Oil Rubbed Bronze, Polished Brass |
| Backset | 2-3/8" or 2-3/4" |
| Door Thickness | 1-3/8" to 2-1/4" |
| Auto-Lock | Yes |
| Keyway | KW1 |
| Security | ANSI/BHMA Grade 2 |
| Smart Home Compatibility | Apple HomeKit |
| Keypad | Yes |
| Connectivity | Bluetooth |
| User Codes | Up to 25 |
| Compatibility | Standard doors |