
M
Michelle GreeneAug 15, 2025
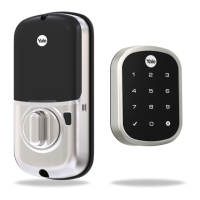
What to do if my Yale lock is not responding and the door is locked?
- JJessica WilsonAug 16, 2025
If your Yale lock doesn't respond and the door is locked, try these solutions: * The batteries may not have enough power, so replace them. * Alternatively, use the mechanical key to unlock the door.