Do you have a question about the Yale Unity and is the answer not in the manual?
Lists essential tools for Unity Entrance Lock installation, including drills, bits, chisels, and screwdrivers.
Details all parts included in the Unity Entrance Lock kit, such as screws, spindle extensions, latches, and sensors.
Marking the door for drilling based on the provided template for the latch and Door Position Sensor (DPS).
Determining door handing (left/right) and preparing the lock mechanism accordingly for installation.
Inserting the DPS sensor and its magnet into the door edge and door jamb for door status detection.
Ensuring clutch alignment on both internal and external furniture before fitting the lock to the door.
Instructions on how to remove the battery cover from the internal furniture for access.
Installing the internal lock body, connecting the main and DPS cables to the internal furniture.
Attaching the external lock body, fixing both parts together, and installing the AA batteries.
Fitting the strike box and strike plate to the door jamb and confirming DPS magnet alignment.
Finalizing installation by replacing the battery cover and preparing for phone connection.
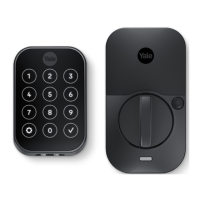
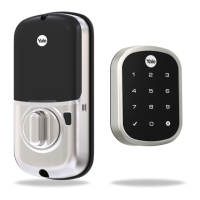
The Yale Unity Entrance Lock is a smart lock system designed to enhance security and convenience for residential and commercial properties. This guide outlines the installation process, from preparing the door to final setup and connection with a smartphone.
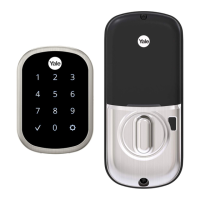
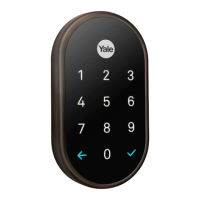
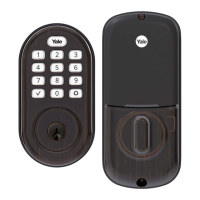
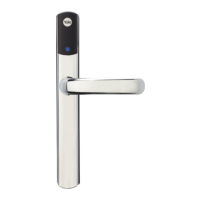
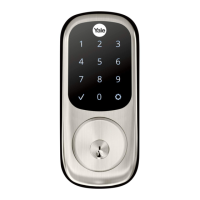
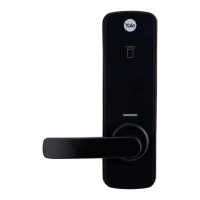
The Yale Unity Entrance Lock provides keyless entry and advanced security features. It operates on AA alkaline batteries and includes a Door Position Sensor (DPS) to monitor the door's open/closed status. The lock is designed for integration with smart home systems, allowing users to control and monitor access remotely via a smartphone application. It features both internal and external furniture, with a clutch mechanism that ensures proper alignment for secure operation. The lock's handing can be adjusted to suit either left-hand or right-hand opening doors, making it versatile for various door configurations. The system includes a strike box and strike plate for secure latching, and a magnet for the DPS to ensure accurate door status detection.
The installation process begins with door preparation, where a template is used to mark out holes for drilling, including the latch and DPS. This ensures precise placement of all components. The lock's handing is a critical step, allowing the user to configure the lock for either left or right-hand opening doors. This is achieved by holding down a metal slide tab on the inside handle and rotating it. It is crucial to hold the tab down throughout the rotation to ensure smooth adjustment. This process must be completed for both handles.
Once the door is prepared and the lock handed, the DPS is inserted into the door edge, with its cable fed through the designated hole. The next step involves aligning the clutch mechanism on both the internal and external furniture. For doors thicker than 40mm, spindle extensions are required, which are selected based on the door's thickness. These extensions are fed through the latch to ensure proper engagement.
Before fitting the internal furniture, the battery cover is removed from the internal unit. The main cable and DPS cable are then fed through the top hole of the door, and the internal lock body is fitted into place. The DPS cable from the internal furniture is connected to the DPS. Subsequently, the external furniture is connected by linking its main cable to the power housing located at the top of the external furniture.
With both internal and external furniture in place, the two lock bodies are fixed together using mounting screws. It is important to avoid pinching any cables during this step. After securing the lock bodies, the AA alkaline batteries are installed into the battery compartment. Users must pay close attention to the "+" and "-" patterns indicated in the compartment to ensure correct battery insertion. Once the batteries are installed, the interior lever should be tested to confirm it engages with the latch and retracts properly.
The final stage of installation involves fitting the strike plate and DPS magnet. The DPS magnet's location is marked on the door jamb, and a hole is drilled to accommodate it. The magnet is then fitted into the door jamb. The door is partially closed to mark the position of the latch bolt, which helps determine the correct height for the striker. The door jamb is then morticed to fit the strike box and strike plate. The strike box is fixed to the jamb, and the strike plate is secured over it with timber fixing screws. It is important to ensure that the auxiliary bolt is depressed when the door is closed, indicating proper alignment and functionality.
After all components are installed, the battery cover is replaced, first by fitting the top end and then pushing the bottom edge to lock it into place. At this point, the lock will power on and be ready for connection to a smartphone. Further setup and connection instructions are provided in the Yale Access Quickstart Guide.
The Yale Unity Entrance Lock is designed for ease of maintenance. The battery compartment is easily accessible by removing the battery cover, allowing for quick replacement of the AA alkaline batteries when needed. The installation guide emphasizes the importance of correct battery insertion, which helps prevent potential issues. The modular design of the lock, with separate internal and external furniture, simplifies the process of replacing individual components if necessary. The clear instructions for handing the lock and aligning the clutch ensure that the device can be properly configured and maintained for optimal performance. Regular checks of the auxiliary bolt and latch engagement, as described in the installation process, can help identify and address any potential alignment issues early on. The system's reliance on standard AA alkaline batteries means that replacements are readily available. The design also allows for easy access to the main and DPS cables, which can be useful for troubleshooting or future upgrades. The robust construction and clear installation steps contribute to the longevity and reliable operation of the lock, minimizing the need for frequent maintenance beyond battery changes.
| Type | Smart Lock |
|---|---|
| Battery Life | Up to 12 months |
| Connectivity | Bluetooth, Wi-Fi |
| Power Source | 4 x AA Batteries |
| Compatibility | Amazon Alexa, Google Assistant, Apple HomeKit |
| Auto-Lock | Yes |
| Installation | DIY installation |
| Remote Access | Yes |
| Voice Control | Yes |
| Door Thickness | 38mm - 70mm |
| Backset | 60mm or 70mm |