7
3. Programming the Alarm
1
2
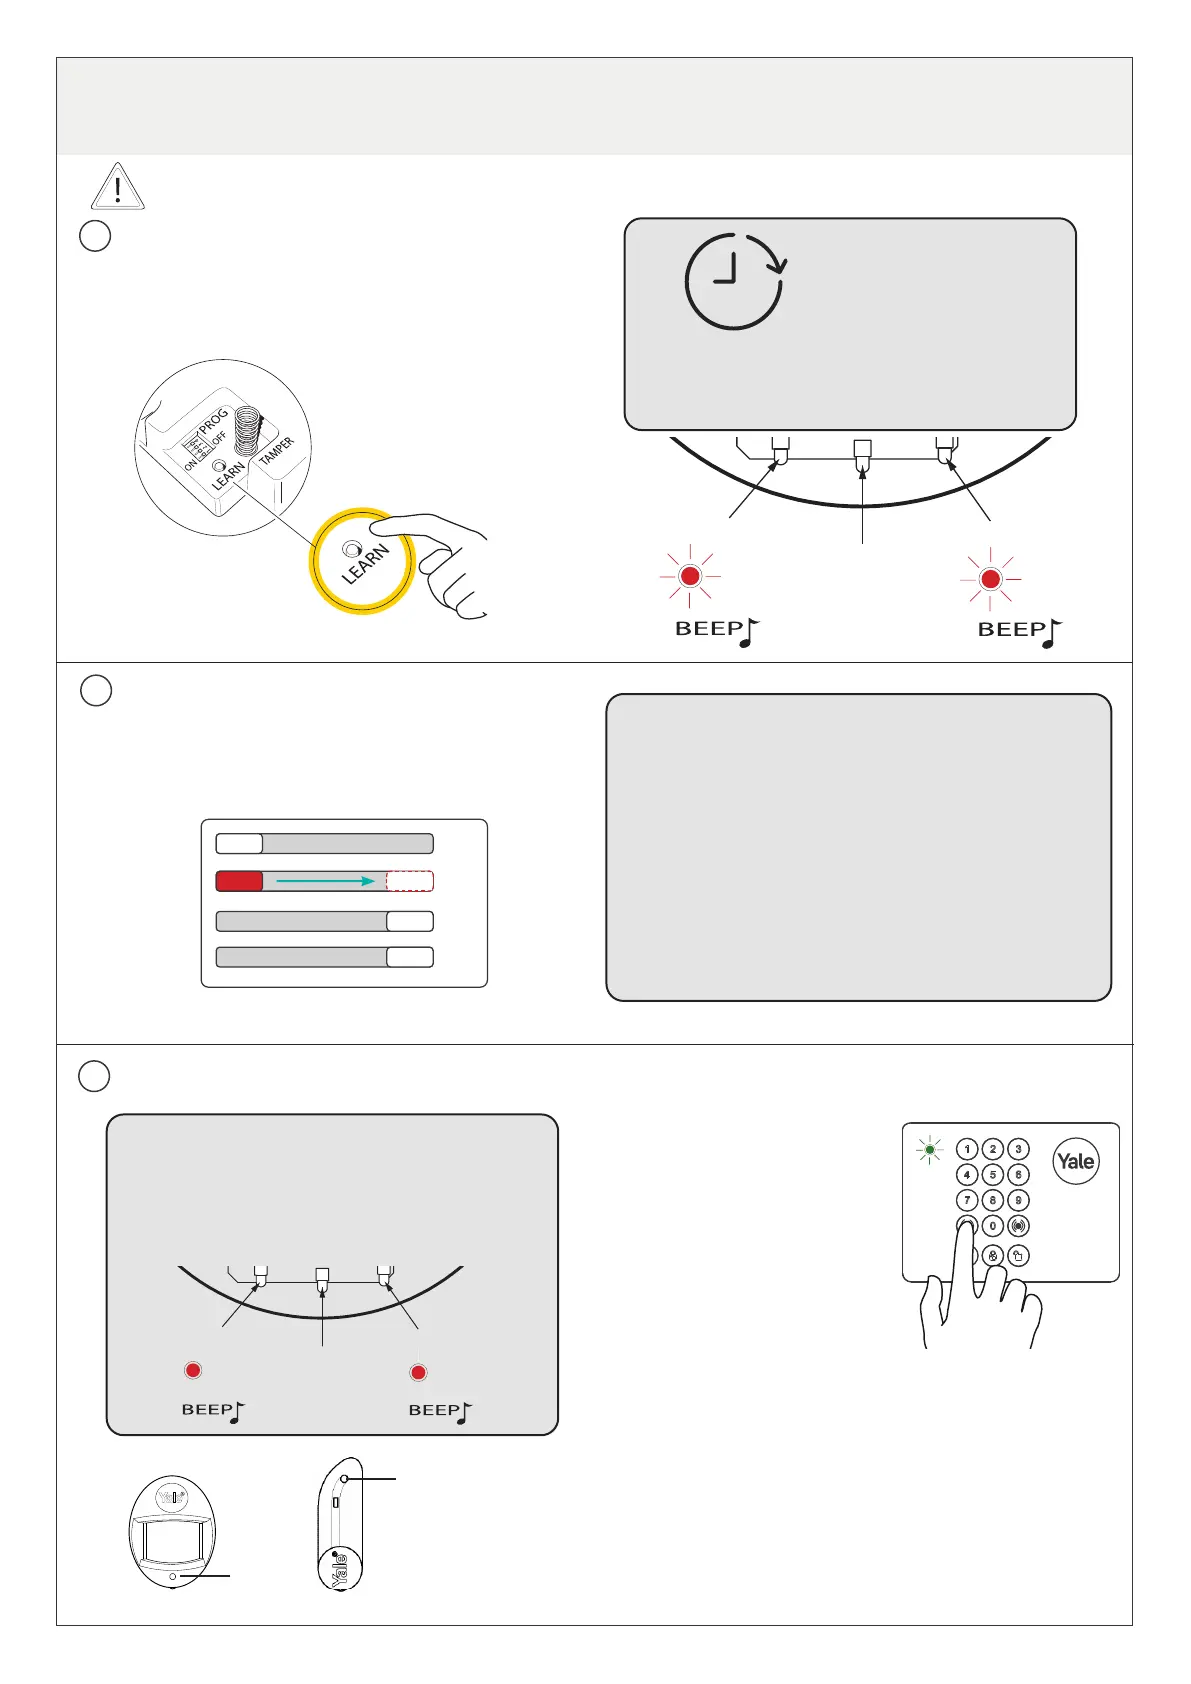
Entering Learn mode:
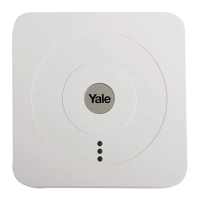
Press and hold Siren learn button for 1 second.
(A short beep will follow with the LED’s 1 & 3 flashing once.)
a
b
1
2
Test location for radio
signal strength
(2
i
3mins
System is now in learning mode
for 3 minutes.
If device learning takes more
than 3 minutes and the learn
mode expires, the Siren learn
button will need to be pressed
again to add more devices.
The PIR & Door/Window Contact can be
set to fully armed or part armed mode.
This is completed using Dip Switch 3 in the Siren.
When learning in your devices:
- For fully armed mode, dip switch 3 should be turned
on, this is the default setting out of the box.
- For part arm mode (home omit), dip switch 3 should
be turned off. This feature should be used to set the
Alarm for only part of the property whilst at home
(for example at bed time).
As you are learning in - please use the notes page to
keep track of which devices you have set to full or part
arm, to avoid issues when mounting.
3
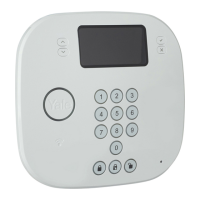
Adding accessories: Adding Keypad:
(All keys should be pressed in quick
succession).
1 Press Panic button
A and enter PIN code
(please note that the
default PIN code is 0000).
(When the LED on the Keypad
flashes, it is in setting mode).
2 Press Panic button A and enter 8
(The Keypad LED will flash twice quickly to indicate it is
communicating with the Siren).
3 Press Panic button A then 1 to send learn-in signal,
then press disarm twice to quit.
(The Keypad LED will now stop flashing. If not, press “disarm”
twice again).
When any device is learnt-in, the Siren will
beep once and the LED’s 1 & 3 will flash once
in acknowledgement.
Remember to press any buttons and keys firmly
for 1 second to send a learn-in radio signal.
i
PRESS
PRESS
Programming
dip switches
Learn button
Tamper switch
Power switch
4 x Siren
fixing
screws
LED 1
LED 2
LED 3
Battery
compartment
screws x 4
Unscrew to
open battery
compartment
to remove
battery saver
tab before
first use.
x 1
x 1
4
3
2
1
ON
OFF
i
Programming
dip switches
Learn button
Tamper switch
Power switch
4 x Siren
fixing
screws
LED 1
LED 2
LED 3
Battery
compartment
screws x 4
Unscrew to
open battery
compartment
to remove
battery saver
tab before
first use.
x 1
x 1
Ensure the Siren is powered on and that Dip Switch 1 is set to the OFF position.

 Loading...