9
4. Mounting Alarm Devices
1
2
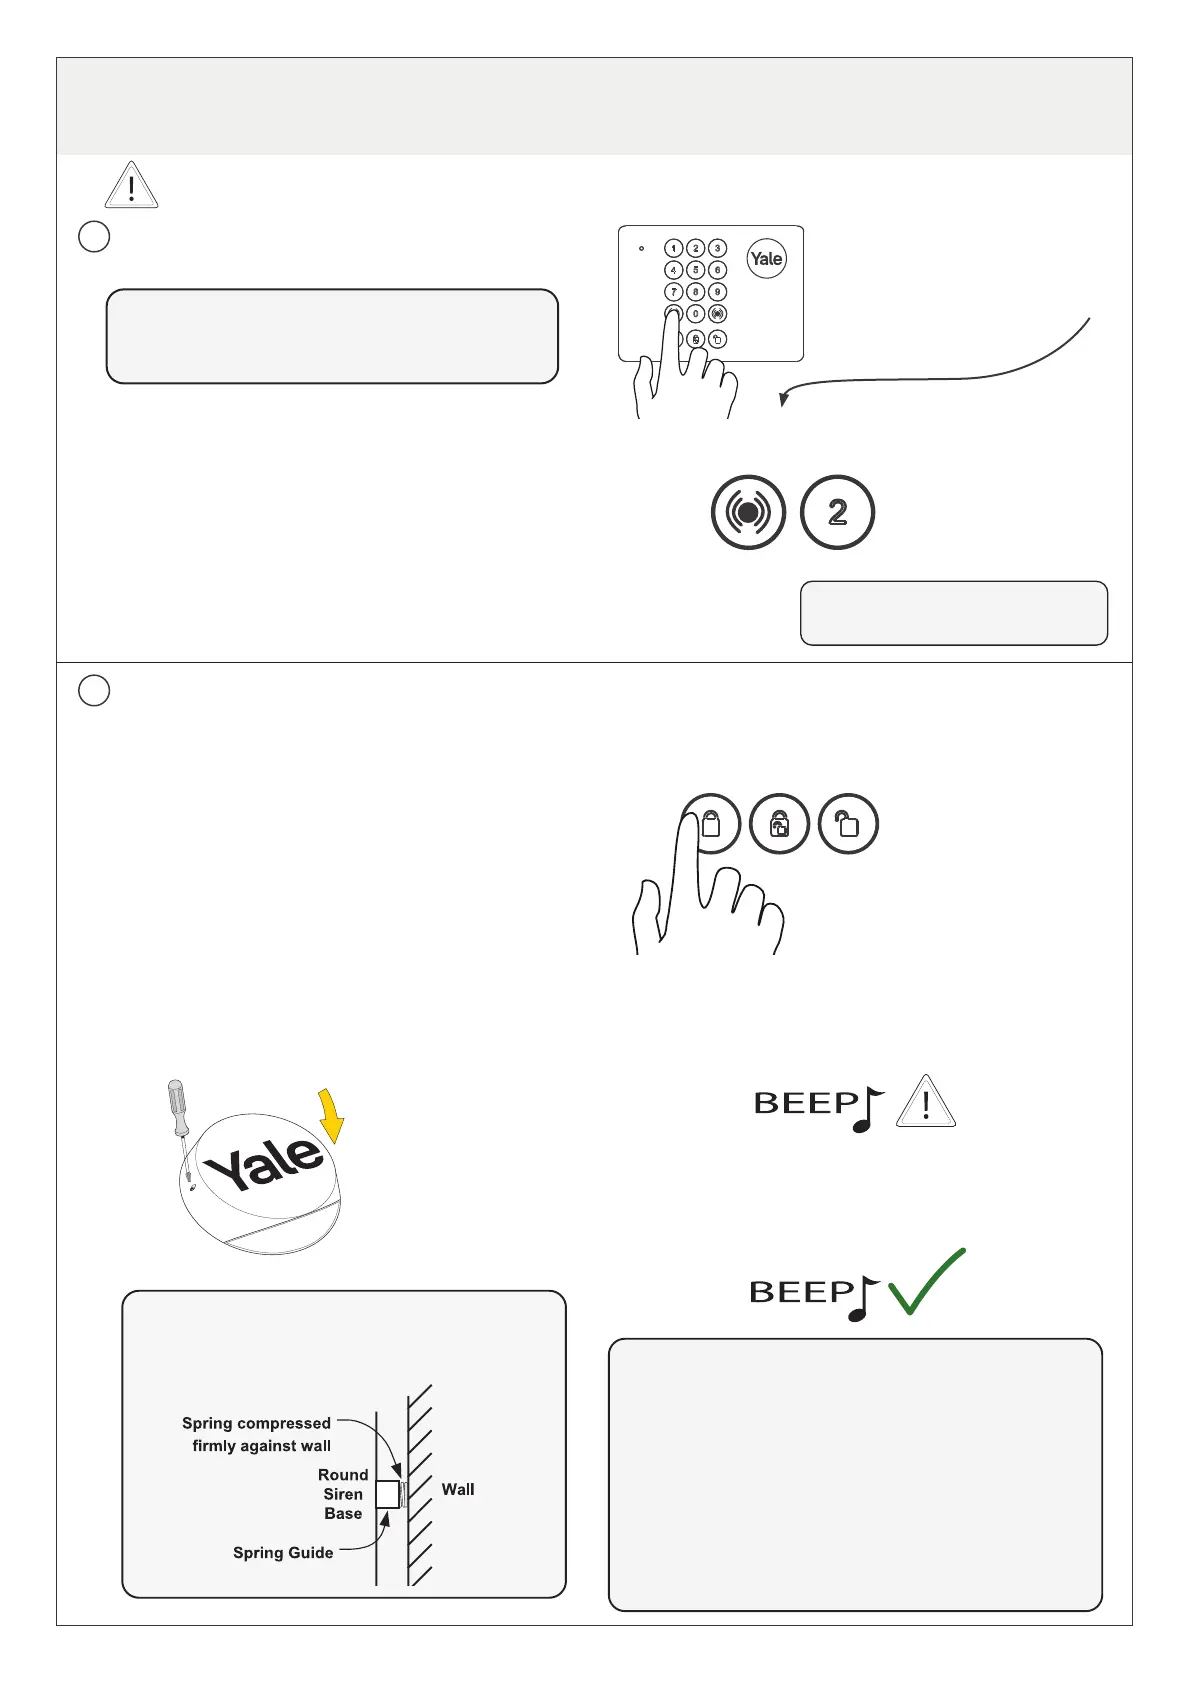
Disabling the system tamper
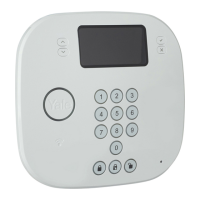
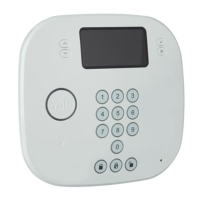
Using the Keypad:
• Press Panic button A and enter PIN code (factory
default is 0000) to enter test mode, press Panic
button A then 2 to send “Tamper Off” signal.
(The Siren will beep in acknowledgement.)
i
Before mounting it is important to disable the
system tamper to avoid the Siren sounding an
alarm.
ENTER ****
Press 2 for
‘Tamper Off’
The tamper function is now disabled for one
hour. If more time is required, simply repeat the
above step.
i
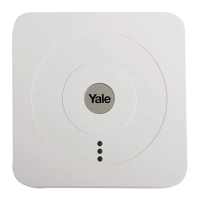
Mounting the Siren
1 Ensure the Siren is powered off
2 Mark the location of the drill holes using the holes
on the base plate of the siren where the fixing
screws will be placed as a guide.
3 Using the screws and wall plugs provided, mount
on the desired wall through the 4 mounting holes
on the Siren base.
4 Power on the siren again.
5 Fix the Siren cover with the securing screw.
Before you make the adjustment:
• Disarm your system using your Keypad
(Press disarm followed by the PIN code).
• Disable the system tamper as described above and
power off the Siren.
• If there is a gap between the wall and the tamper
switch mechanism check if packing is positioned
correctly.
• Once finished, power on the Siren again and repeat
the steps 1 and 2 for testing whether the Siren is
fitted correctly.
i
Before mounting the Keypad and Siren ensure that the system tamper is disabled as described below.
Press
Testing whether the Siren is fitted correctly:
1 Press Arm with the Keypad.
2 If there are 5 short beeps when armed, the tamper
switch is NOT fully depressed and will need to be
adjusted.
3 If there is one short beep and flash when armed, the
Siren is mounted correctly and the siren installation is
complete. Disarm the system and disable the tamper
as described above.
5 x
1 x
i
Ensure the tamper spring is fully depressing
the tamper switch when the siren is mounted.
If there is a gap, pack with a suitable spacing
material.

 Loading...