19
C. Adjusting the Key Drive Unit
When shipped from the factory, the key drive unit is adjusted to the following positions
and measurements.
Clearance does not require adjusting under normal circumstances. However, when the
unit is replaced, etc., the measurements should be adjusted to those given below.
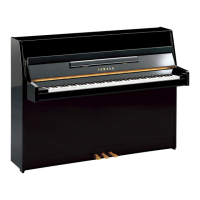
Position: Use the three keys in the lower, upper,and
middle registers of the key drive unit to
check the clearance between the lower side
of the keyboard rear end and the plunger
head of the key drive unit.
Basic Measurement:
Clearance 0.5mm to 1.0mm (b).
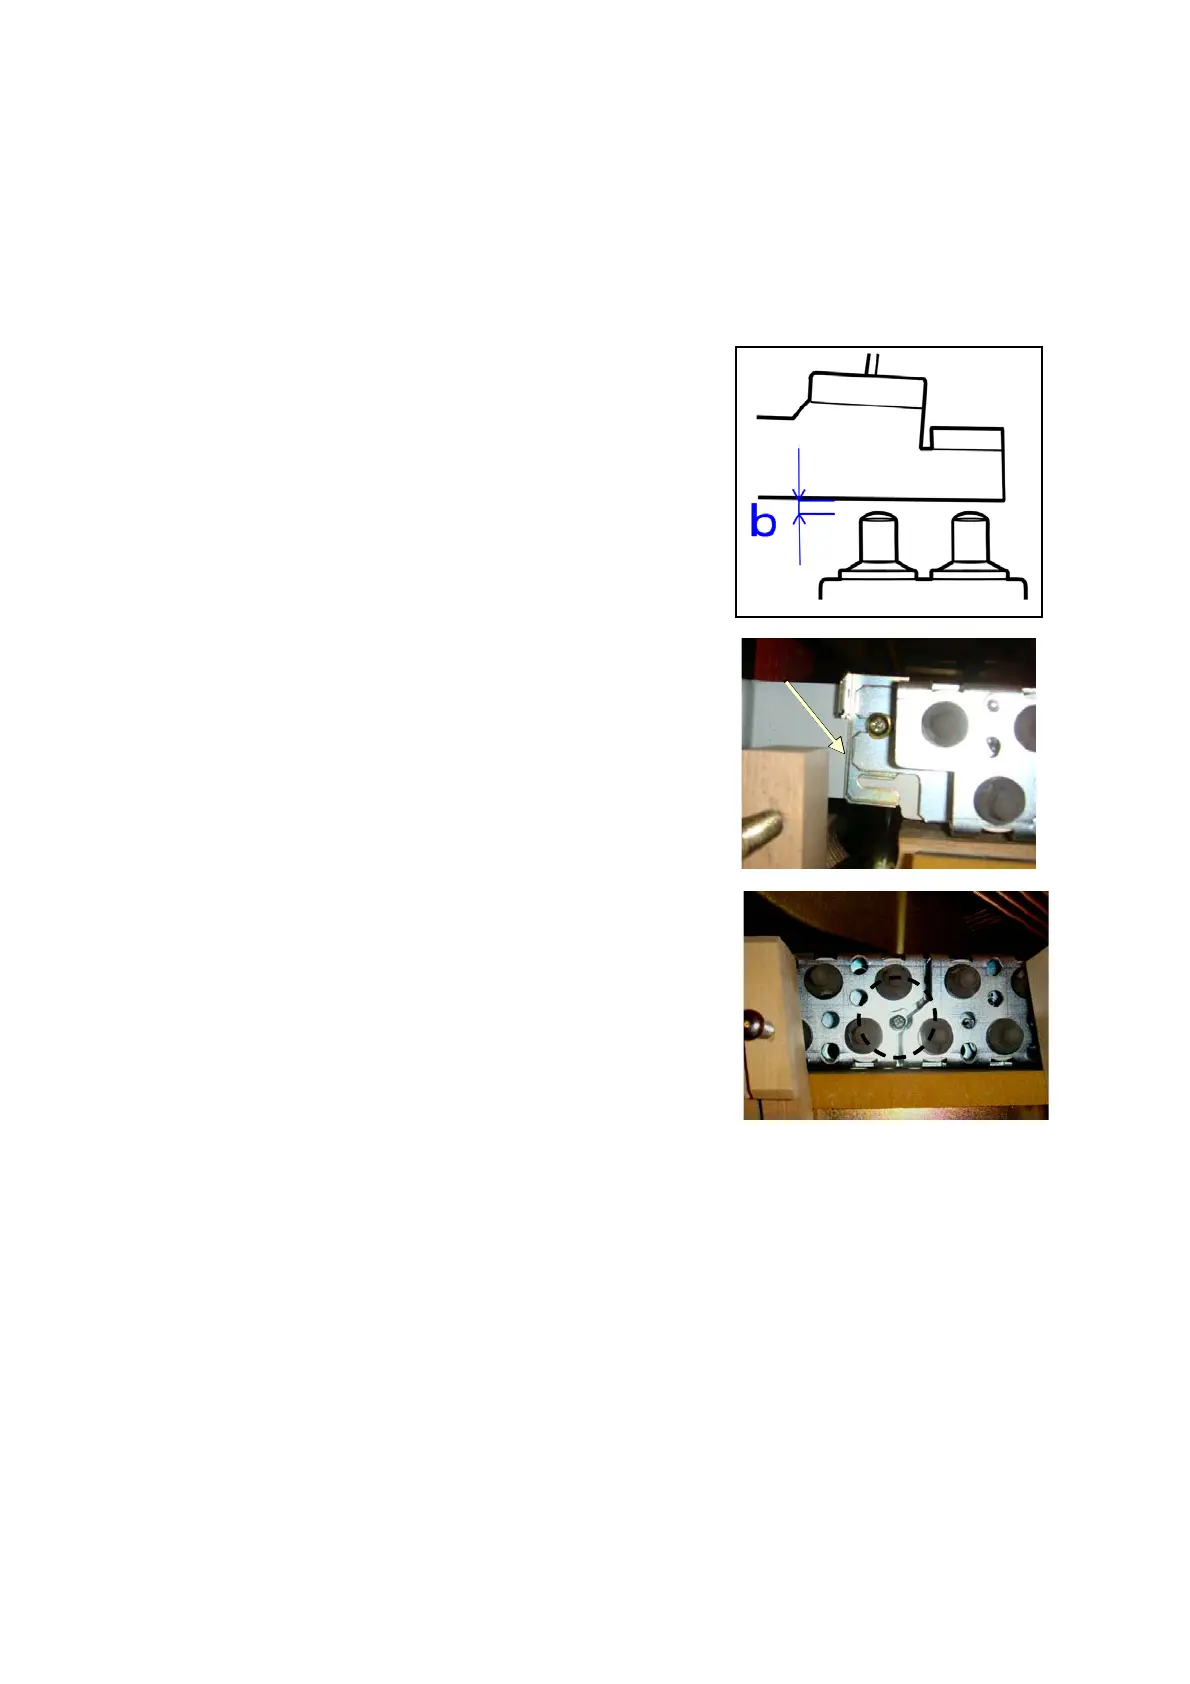
Adjustment: Use the special spacers (*②) to increase
or decrease the lower and upper register of
the key drive unit.
Use the screw on the adjustment bracket to
adjust the middle register (*③).
In the field, use a wire to push the plunger
up from underneath the key drive unit.
You can feel for play when pushing up.
D.
Adjusting the Pedal Drive Unit
The pedal drive unit’s position is also determined after carrying out the pedal calibration
in the previously described section.
*Calibration with the Service Center Mode is required after making any pedal
(soft/damper) related adjustments.
*2
21