26
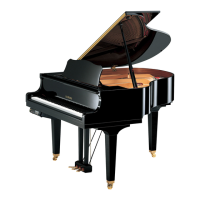
D. Adjusting the Pedal Drive Unit
Adjusting the pedal drive unit is similar to pedal adjustment on an acoustic piano.
Review the method for adjusting the acoustic pedal.
Damper Pedal Adjustment:
Acoustic Section
Adjusting Play
The section of travel when the pedal is depressed, before the damper is actually raised.
Play should be one third of the pedal stroke.
To be more precise, adjust the clearance between the underside of the damper lever and
the lifting rail.
Adjust the clearance to approximately 2mm.
Adjust using the hexagonal cap nut on the pedal rod.
Adjusting the Stroke (amount the damper pedal raises)
Adjust the distance that the damper is raised from the strings when the pedal is fully
depressed.
The amount of stroke should be double the play.
The damper should raise approximately 4mm.
Use the capstan screw under the key bottom to adjust.
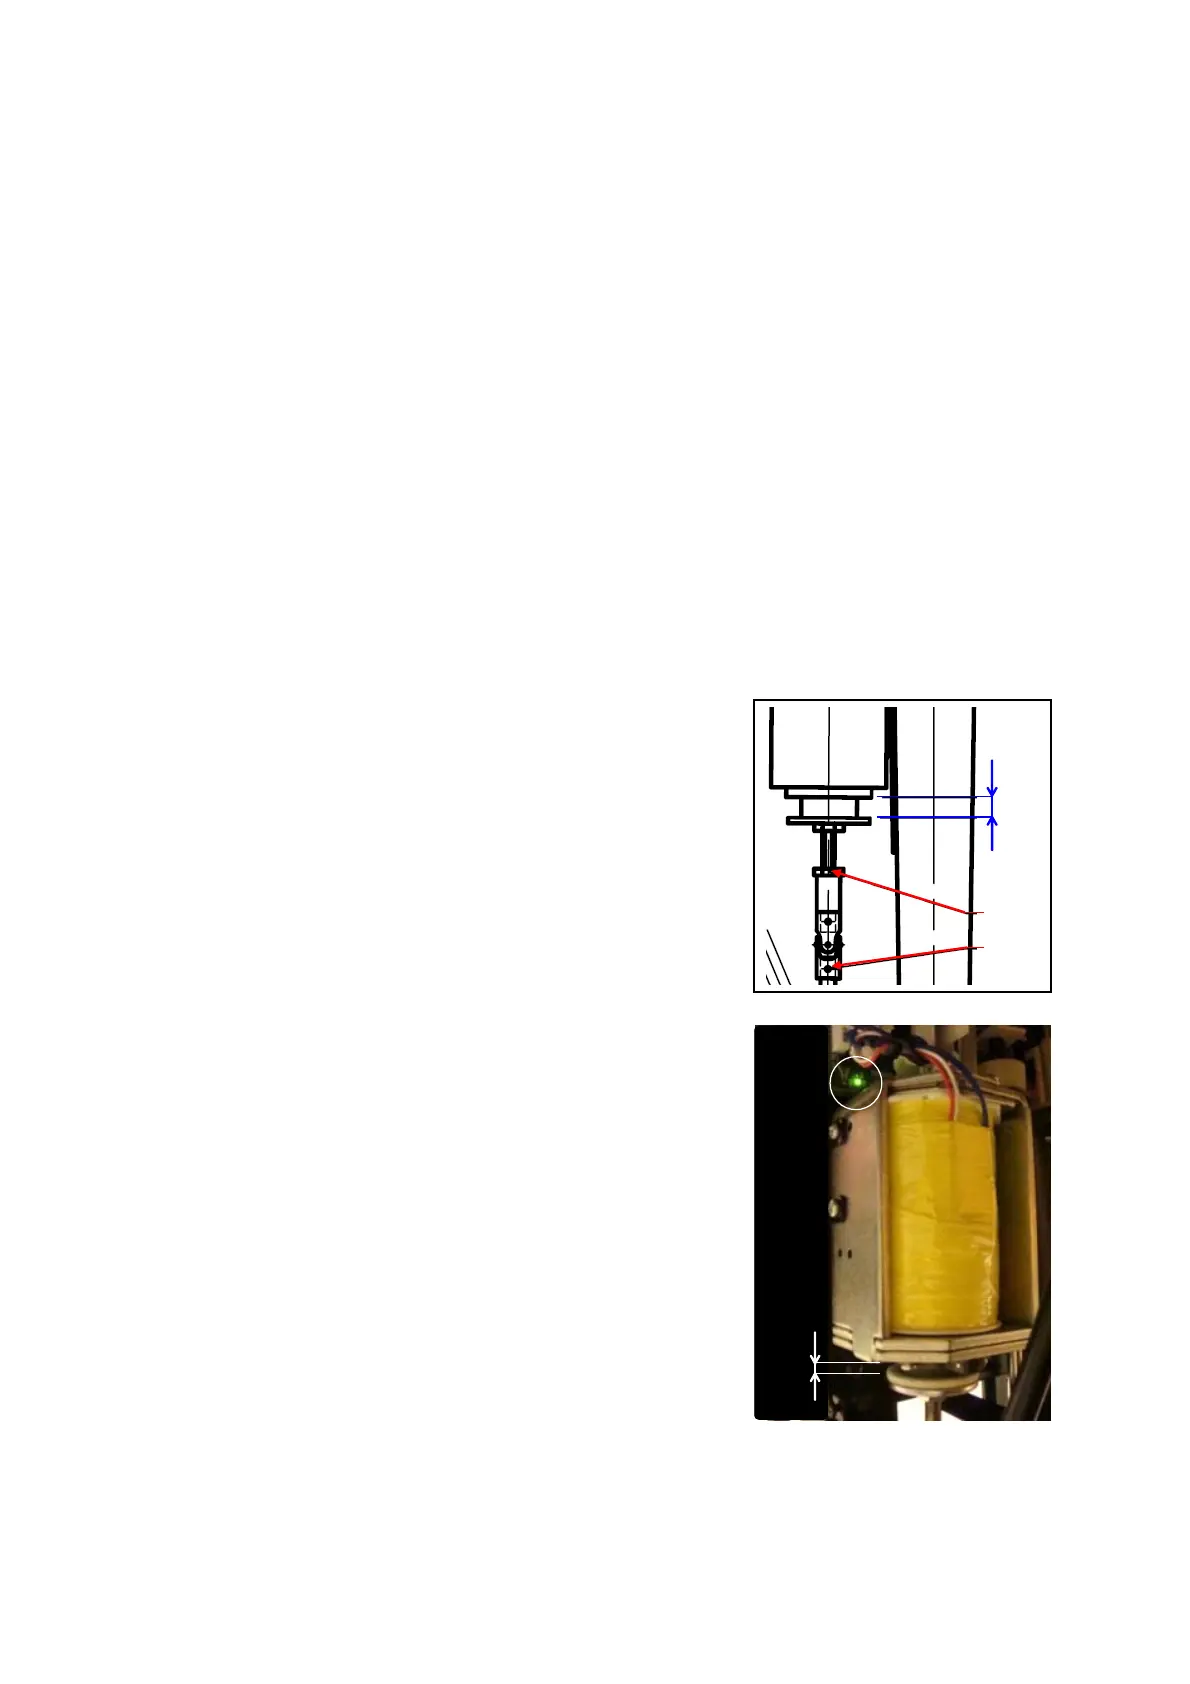
Pedal Drive Unit Adjustment Section
Adjustments should be made before adjusting the
acoustic piano.
Adjust the clearance between the top of the
damper pedal solenoid and the chassis.
Clearance should be approximately 15.5mm (L).
Loosen the double nut (A) on the bottom of the
pedal rod and rotate the pedal rod (B) to adjust the
length.
After adjustment is complete, tighten the double nut.
To confirm, the LED on the pedal sensor sheet
lights ( ※④) when the clearance between the
solenoid damper and chassis is 2 to 1.5mm(c).
Shift Pedal Adjustment
Acoustic Section
Zero lost motion
Confirm by hand that the play between the soft casting and the keyboard rail is zero
when the pedal is depressed.
c
※④
L
B
28