5
For details on video synchronized
playback, see “Video Synchronized
Playback” on page 9.
By recording a song played on the Disklavier synchronized with the video
recording, later on, you can enjoy piano playback with the video. First set up
the camcorder, the DVD recorder, and the Disklavier, and then start recording
by following the procedures below.
■ Setting for Video Synchronized Recording
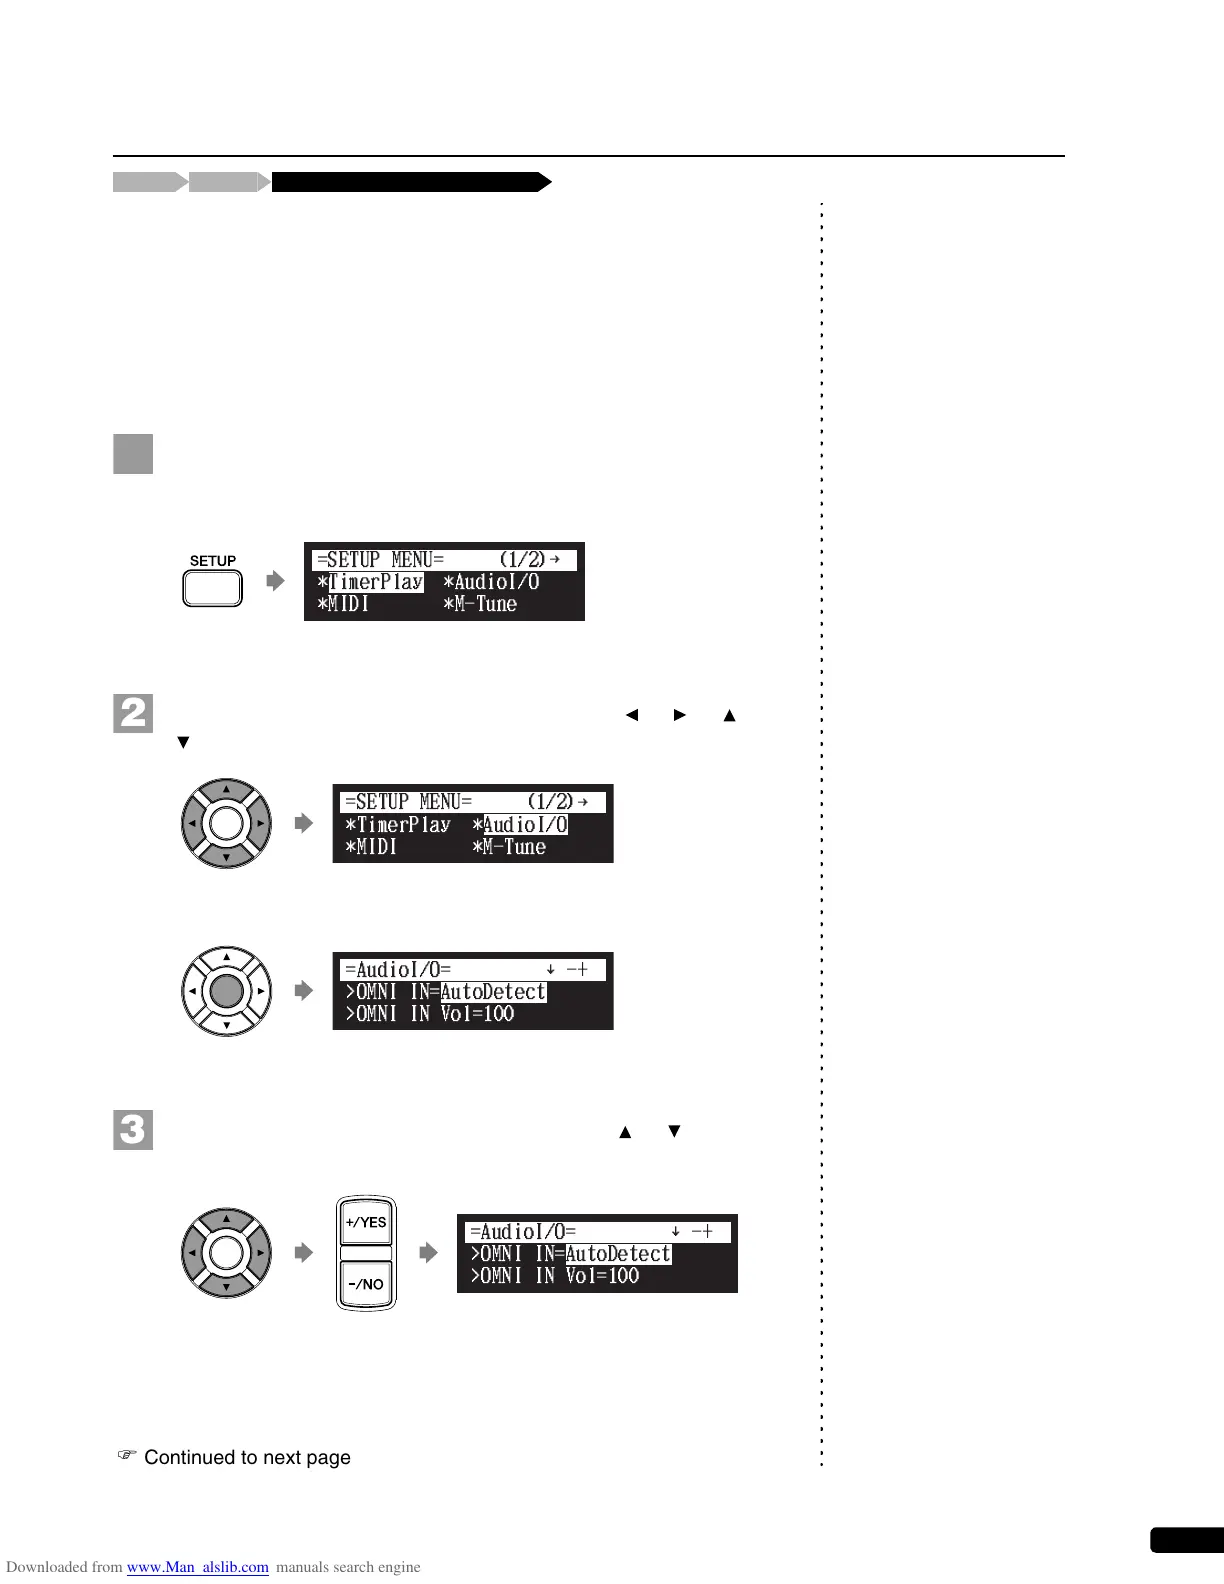
Press [SETUP] on the remote control.
The setup menu screen appears.
Select “AudioI/O” with the cursor buttons ([ ] [ ] [ ]
[ ]), then press [ENTER].
The audio I/O setting screen appears.
Select “OMNI IN” with the cursor buttons ([ ] [ ]), then
press [+/YES] and [–/NO] to change setting to “AutoDetect”.
Video Synchronized Recording
Connect a camcorder and a DVD recorder[SETUP] “AudioI/O”
{
{
]
]