Lower unit
8-6
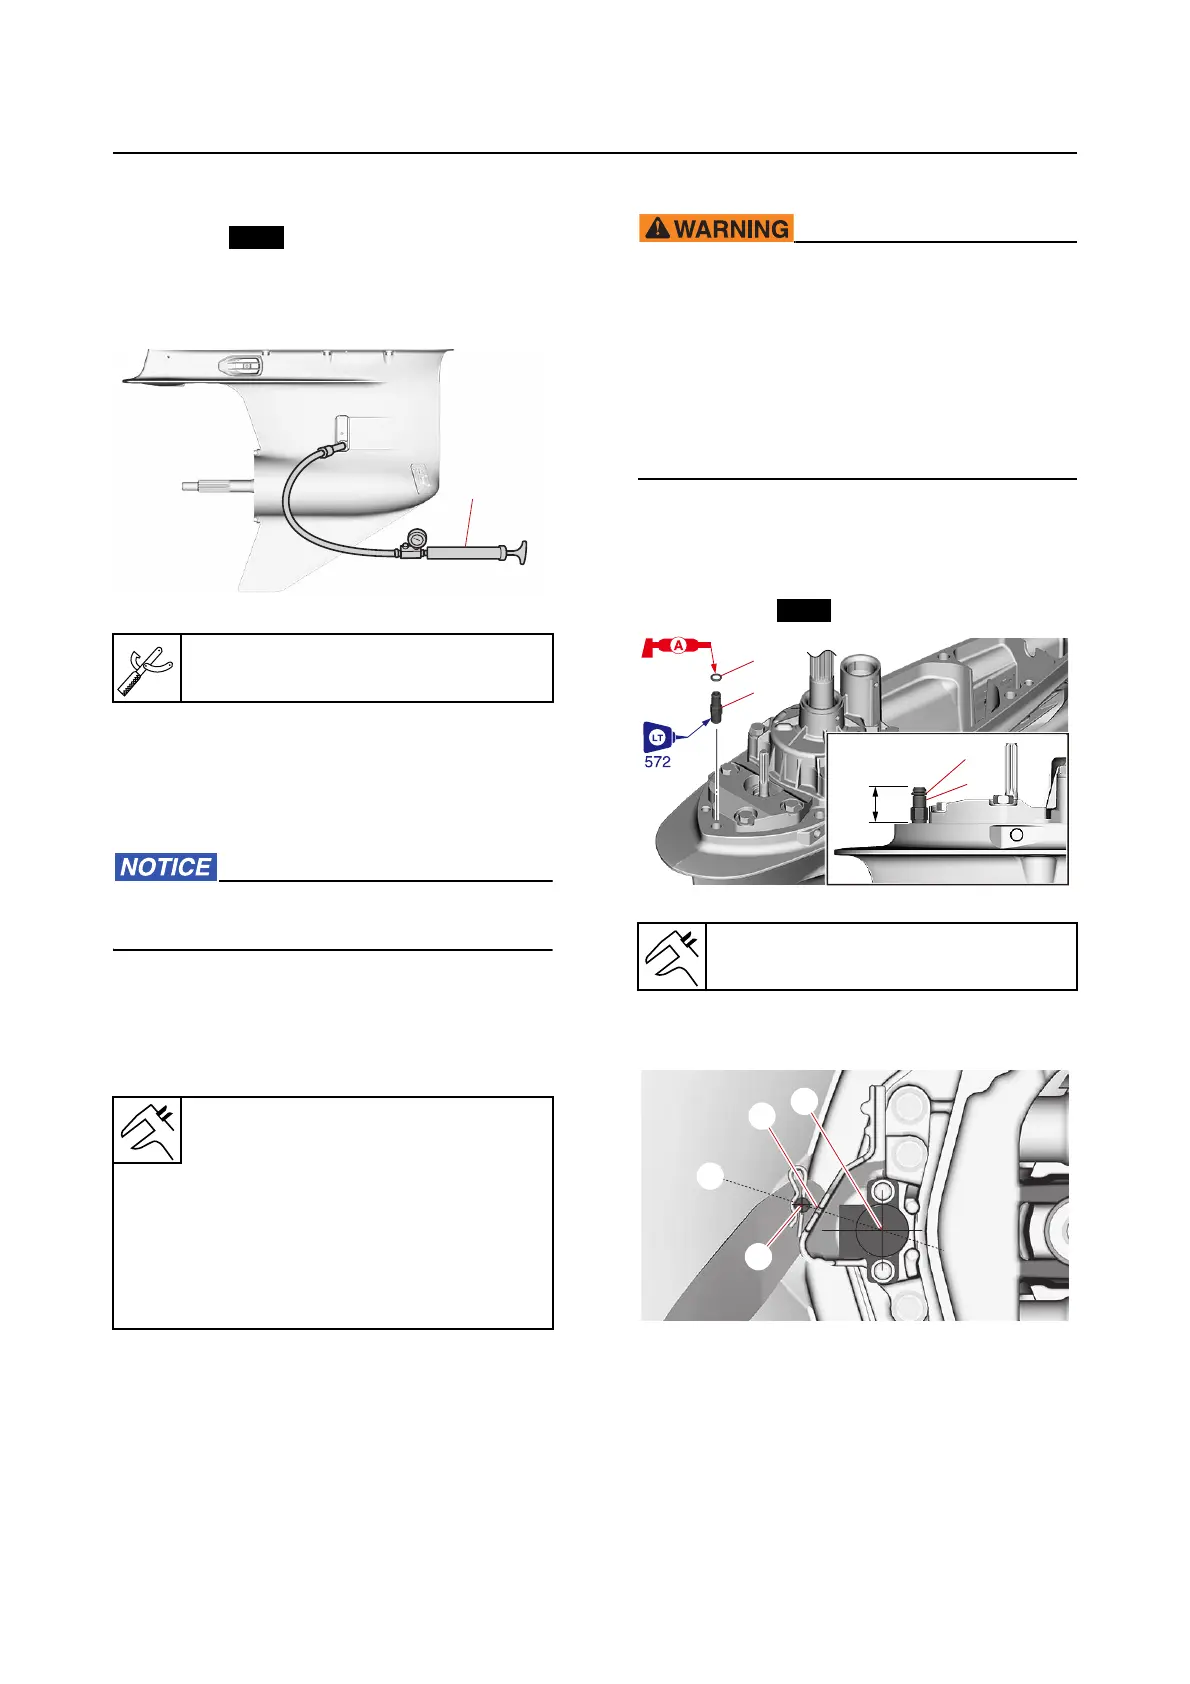
Checking the lower unit for leakage
1. Install:
• Gasket
• Drain screw
• Special service tool “1” (to the oil level plug
hole)
2. Check:
• Holding pressure
Pressure is not maintained Repair the
location of the leak.
Do not overpressurize the lower unit. Oth-
erwise, the oil seals could be damaged.
a. Apply the specified pressure and
check that the pressure is maintained
in the lower unit for 10 seconds or
more.
Installing the lower unit
• Make sure to disconnect the battery ca-
bles from the battery, and remove the clip
from the engine shut-off switch.
• When removing or installing the lower
unit with the power unit installed, make
sure to suspend the outboard motor. Oth-
erwise, the outboard motor could fall sud-
denly and result in severe injuries.
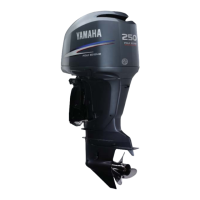
1. Install:
• Dowel pin
• Hose nipple “1”
• O-ring “2”
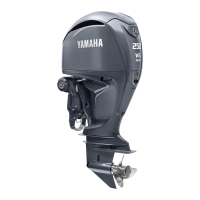
a. Align center “a” of the SPS and pin “b”
with the notch “c”.
Leakage tester “1”
90890-06840
Holding pressure
68.6 kPa (0.69 kgf/cm², 9.9 psi)
(F250NST, F250SB, F300FST,
F300SB)
Holding pressure
68.6 kPa (0.69 kgf/cm², 9.9 psi)
(FL250NST, FL300FST,
LF250SB, LF300SB)
1
Installation height “a”
23.0–24.5 mm (0.906–0.965 in)
a
c
N
b