Periodic maintenance and adjustment
6-15
6
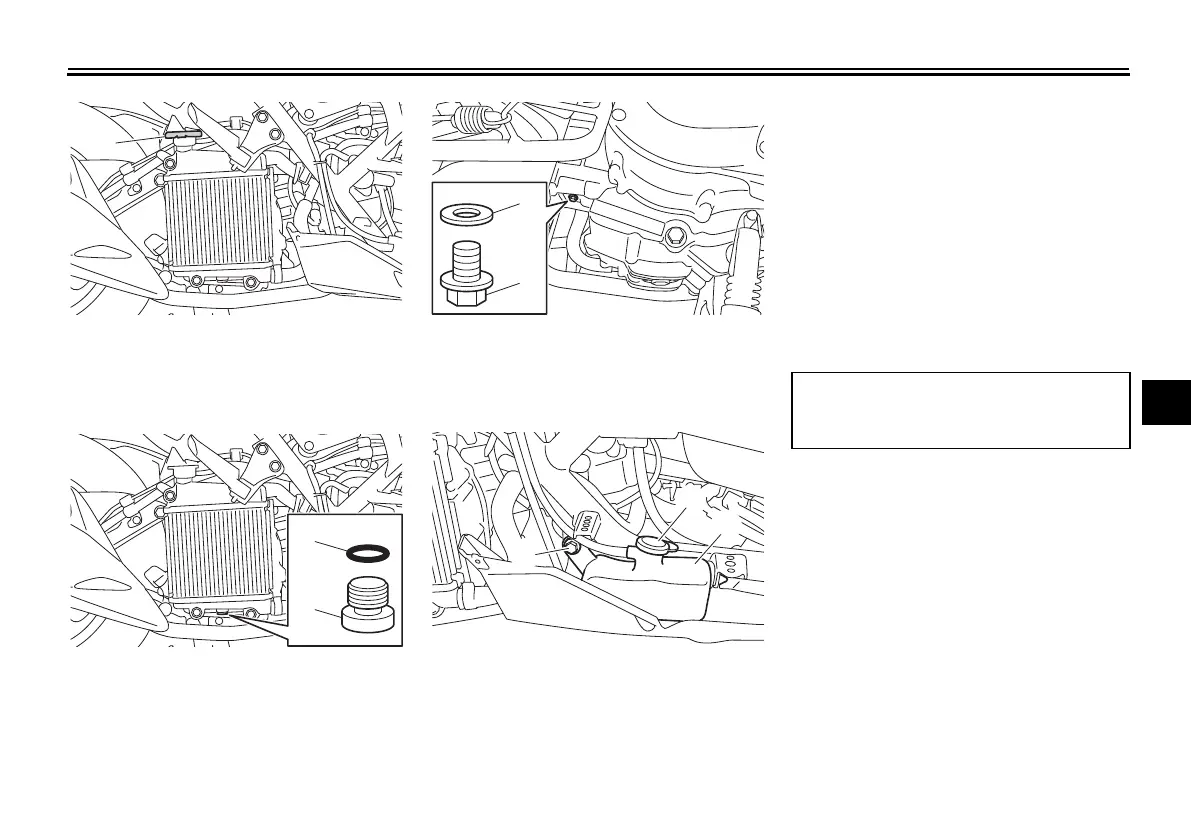
6. Remove the coolant drain screw
and its O-ring to drain the cooling
system.
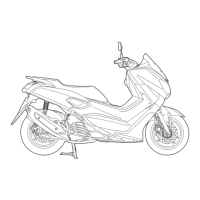
7. Remove the coolant drain bolt and
its gasket to drain the cooling sys-
tem.
8. Remove the coolant reservoir by
removing the bolt.
9. Remove the coolant reservoir cap,
and then turn the coolant reservoir
upside down to empty it.
10. After the coolant is completely
drained, thoroughly flush the cool-
ing system with clean tap water.
11. Install the coolant reservoir by in-
stalling the bolt.
12. Install the coolant drain bolt and
its new gasket, and then tighten
the bolt to the specified torque.
13. Install the coolant drain screw and
its new O-ring.
14. Pour the recommended coolant
into the reservoir to the maximum
level mark, and then install the
coolant reservoir cap.
15. Pour the recommended coolant
into the radiator until it is full.
1. Radiator cap
1. Coolant drain screw
2. O-ring
1. Coolant drain bolt
2. Gasket
1. Coolant reservoir cap
2. Coolant reservoir
3. Bolt
Tightening torque:
Coolant drain bolt:
10 Nm (1.0 m·kgf, 7.2 ft·lbf)
U2DSE0E0.book Page 15 Thursday, March 19, 2015 10:34 AM
 Loading...