Periodic maintenance and adjustment
6-33
6
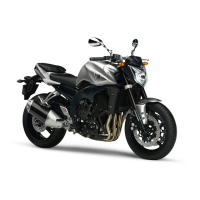
5. Pull the left and right side covers
slightly outward and pull the tail-
light unit rearward.
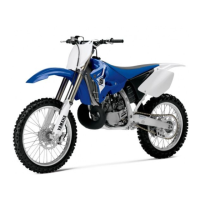
6. Remove the taillight bulb socket
(together with the bulb) by turning
it counterclockwise.
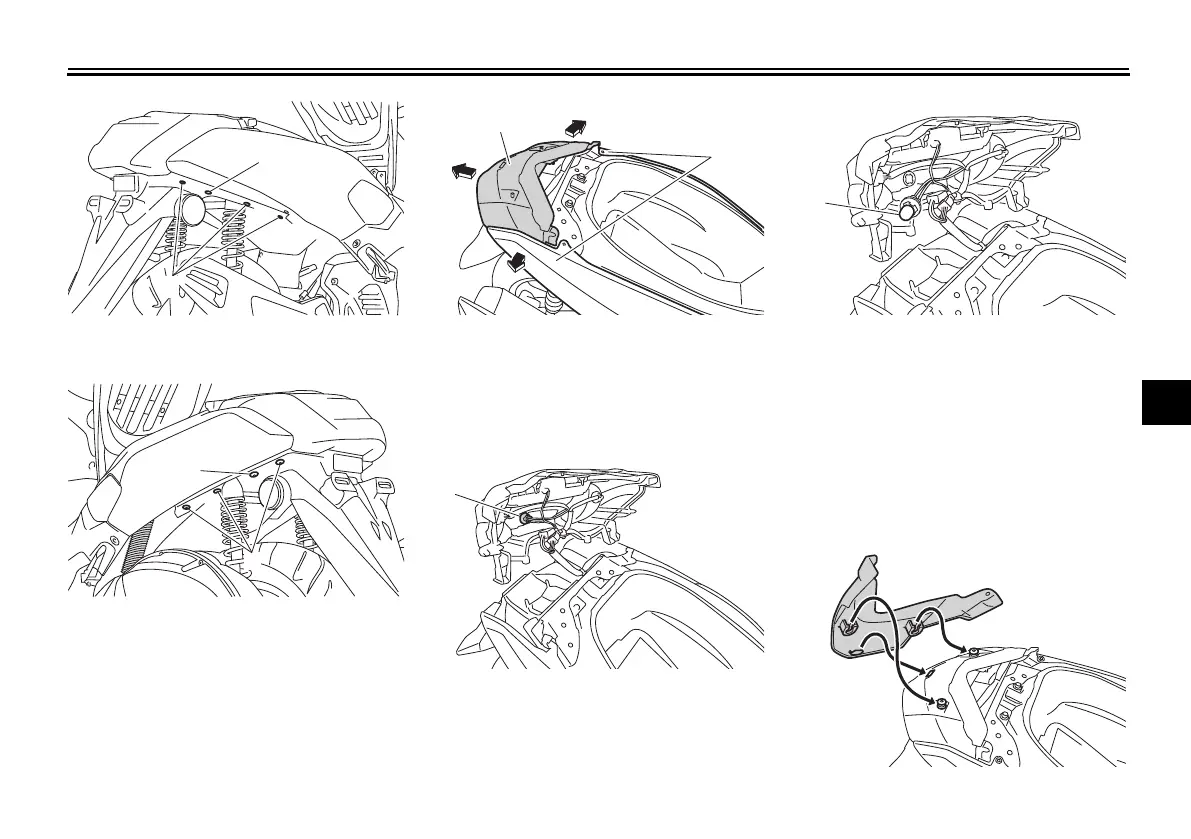
7. Remove the burnt-out bulb by
pulling it out.
8. Insert a new bulb into the socket.
9. Install the socket (together with
the bulb) by turning it clockwise.
10. Place the taillight unit in the origi-
nal position, and then install the
screws and quick fasteners.
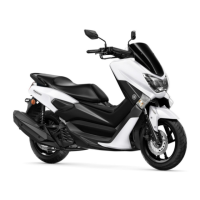
11. Install the taillight cover by install-
ing the screws.
1. Screw
2. Quick fastener
1. Screw
2. Quick fastener
1. Taillight unit
2. Side cover
1. Taillight bulb socket
1. Taillight bulb
U2DSE0E0.book Page 33 Thursday, March 19, 2015 10:34 AM
 Loading...