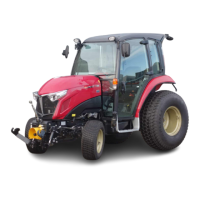
XII.
TRACTOR
ADJUSTMENTS
Adjusting procedkes have been explained item
by item in Chapter
X,
Tractor Construction and
Maintenance. Please refer to this chapter for
details.
1.
Clutch and Related ltems
(1)
Height of release lever
(2) Clutch pedal stroke and play adjustment
(3)
Instructions for attaching the safety switch
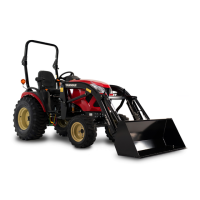
2.
P.T.O. and
elated
ltems
(1)
Loosen check chain
so
the lower link can
move freely.
(2)
Back up the tractor to line up the center of
the tractor and the implement.
(3) Couple the left lower link.
(4)
Adjust the height of the right lift link, and
couple the right lower link.
(5) Attach the tractor side of the top link, ad-
just the length of the link, and couple the imple-
ment. The
top link adjusting lock nut should be
on the tractor side.
(6)
Couple the universal joint of the implement
to the P.T.O. shaft of the tractor.
(Check to
make certain that the stopper pin
is
inserted
properly.)
(7)
Raise the implement by setting the control
lever to the "Raise" position, and adjust the
check chain to control any side movement of the
implement so that the tires will not come in con-
tact with the lower links.
3.
Brake and Related ltems
(1)
Adjust "play" in brake pedal.
4.
Hydraulic Equipment
(1)
Adjust the slow return.
(2) Adjust the control lever stroke.
5. Steering System
(1)
'
Adjust toe-in.
(2) Adjust the "play" in the steering wheel.
(8)
Adjust the
lift
link to a length most appro-
priate for the work involved. (The right link is
an adjustable one).