16 17
SAFETY WARNINGS ASSEMBLY AND PREPARATION
40. Ensure that the mains voltage matches the information
of the label.
41. Before each use, check the pressure washer, power
cable and plug for damage.
42. Damaged cables, coupling and plugs or connecting
leads not to be used. Remove the mains plug from the
plug socket immediately if the mains cable is damaged
or cut.
43. Do not use the pressure washer if the switching action
of the ON/OFF switch is impaired. Have the damaged
switch replaced by a service centre.
44. Do not use the pressure washer for purposes other
than those specied.
45. Use only detergents designed for use in pressure
washers.
46. Do not use the pressure washer in the horizontal
position.
WARNING: Unplug the power cord before assembly.
NOTE: A Phillips type screw driver will be required for assembly of the pressure washer.
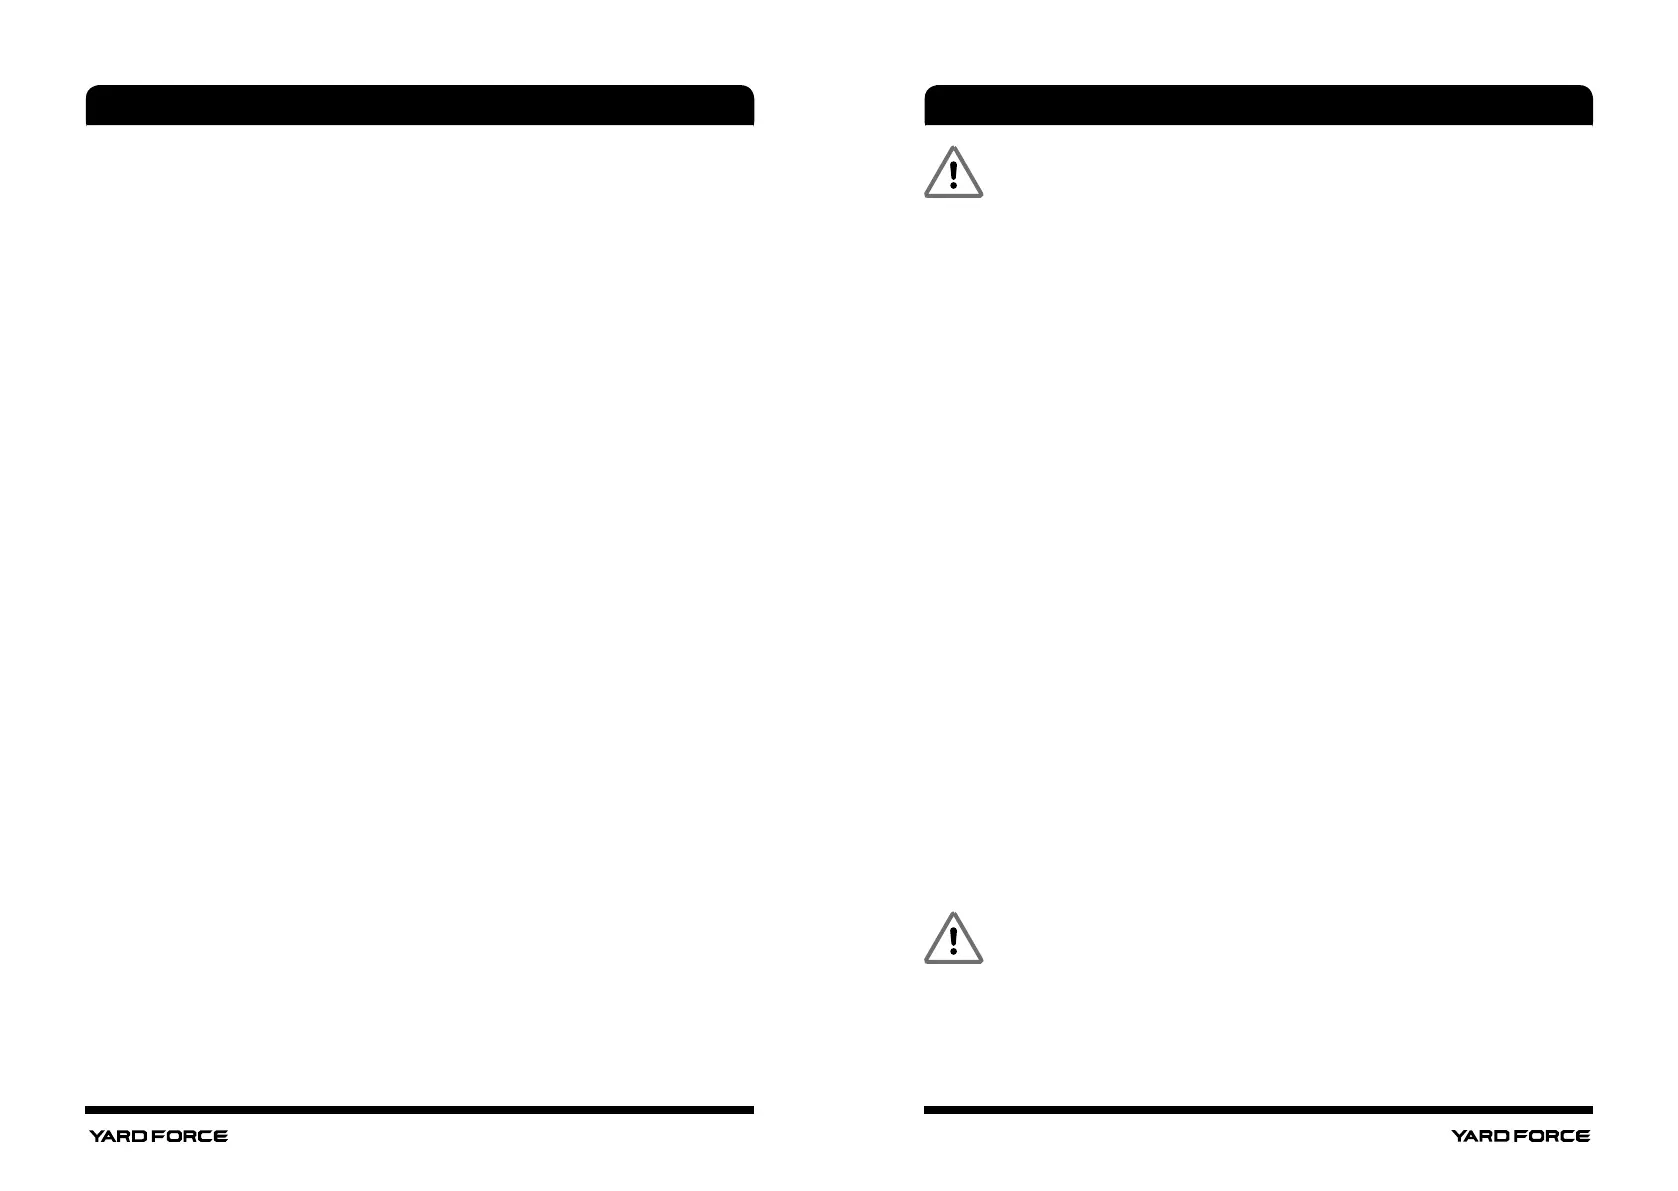
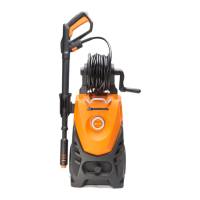
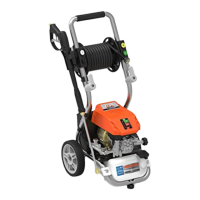
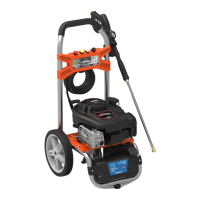
Follow these steps in conjunction with Fig. 1 & 2.
1. Insert the cable bracket (M) and the gun holder (L) into the slots in the sides of the
main body of the pressure washer (N) and press down rmly until the brackets lock into
position. Fig. 3.
2. Insert the hose bracket (K) into the front of the handle (I) and secure with a screw (F).
Fig. 4.
3. Insert the handle and hose bracket assembly (K + I) onto the pressure washer (N) as
shown and secure with two screws (F). Fig. 5.
4. Turn the pressure washer around and insert and secure the handle with the two screws
(G). Fig. 6.
5. Connect detergent tube (9) to the detergent bottle (J). Insert the detergent bottle into the
recesses in the handle and push forward until it locks in position. Fig. 7.
6. Place a small amount of grease or vasoline on the thread of the of the high pressure
outlet spigot (10).
7. Push one end of the high pressure hose (C) into the spigot .
8. Secure the hose rmly to the spigot with the attached hand nut. Be very careful not to
cross thread the nut and spigots threads. Fig. 8.
9. Place a small amount of grease or vasoline on the thread of the of the spray gun (12).
10. Attach the other end of the high pressure hose (C) to the spray gun (12) and secure. Fig.
9.
11. Push the lance (A) into the spray gun (12) and twist it to lock into position. Fig. 10.
12. Screw the water inlet adapter (D) to the pressure washer. Fig. 11.
13. Attach your garden hose (not supplied) to the water inlet adaptor (D). Fig. 12.
Connect your garden hose to a COLD water tap and turn the water supply ON.
Note. If the tap is not open sufciently or your mains water ow is too low then the pressure
washer will not work correctly. Fig. 13.
CAUTION! Only connect the pressure washer to COLD water. Hot water will damage
the pressure washer.
14. Check that the ON/OFF switch is in the OFF position. Fig. 14.