22 23
MAINTENANCE AND STORAGE
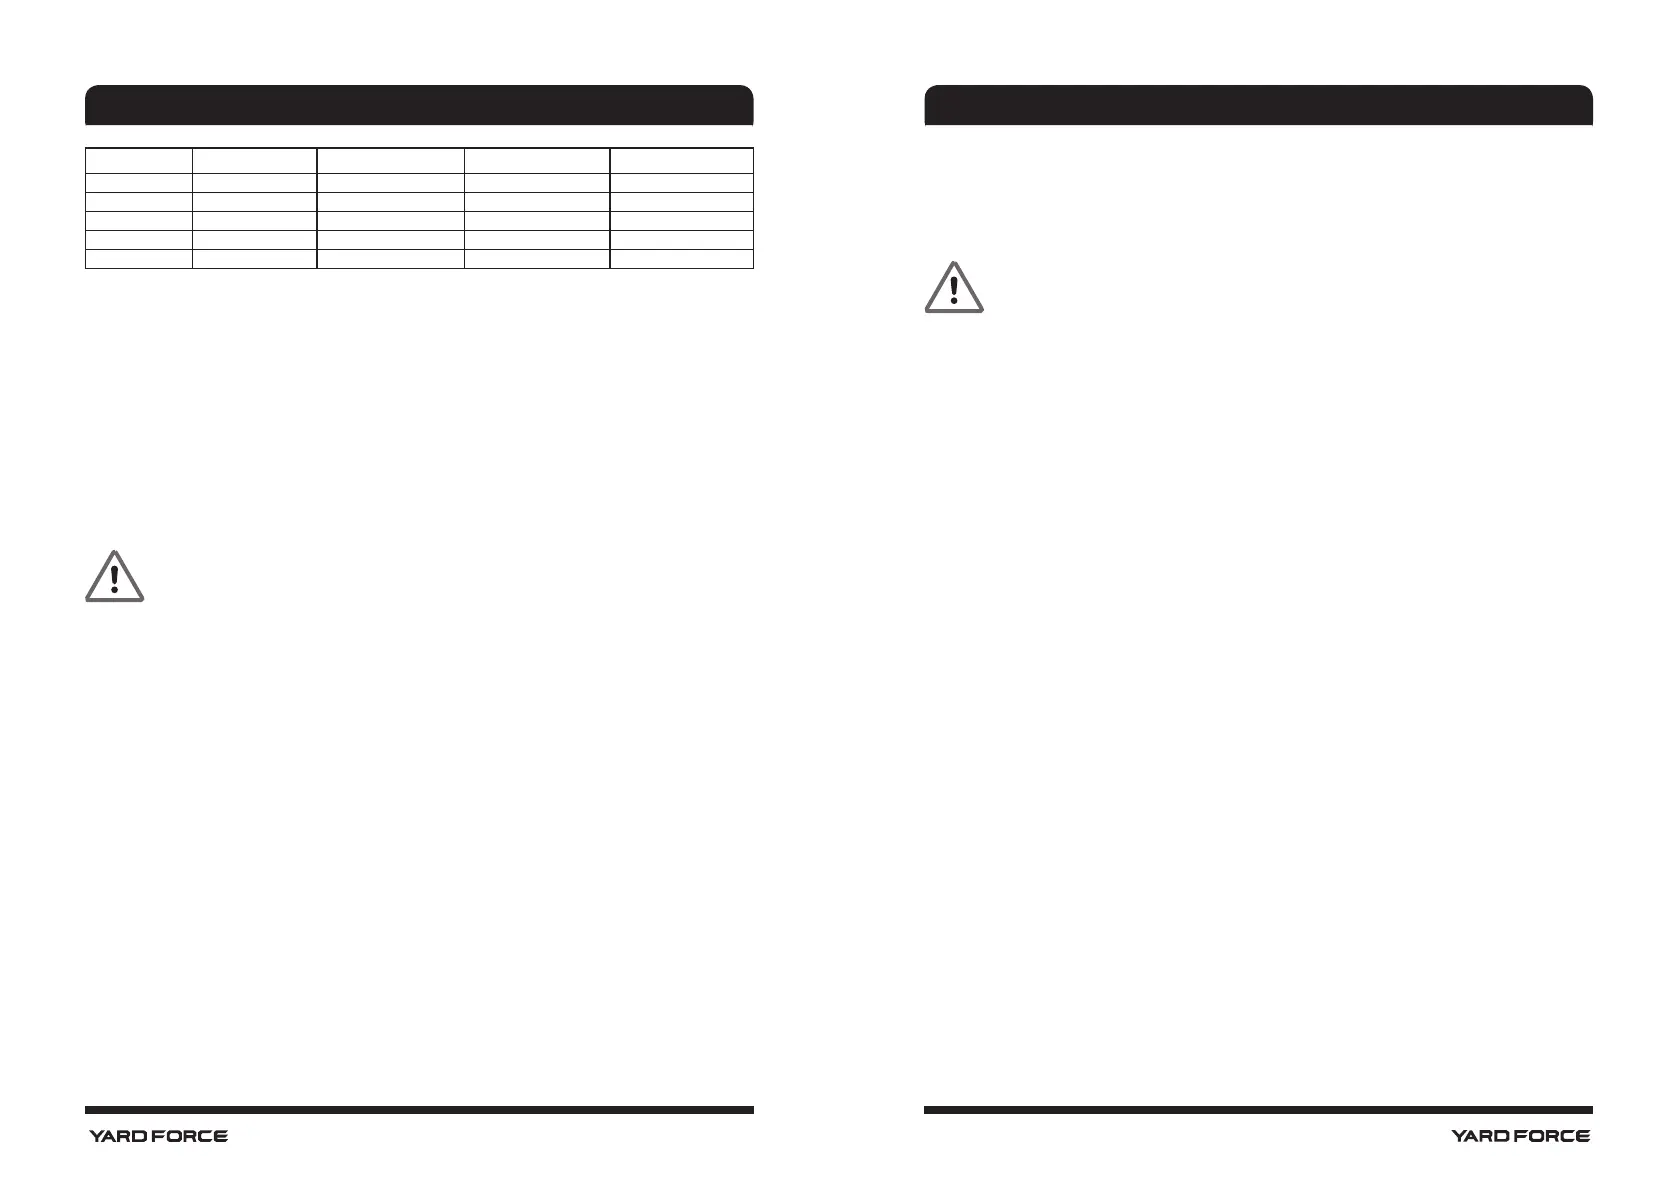
After every use After 12 hours use After 24 hours use After 36 hours use
Cleaning Clean Clean Clean Clean
Air lter / Clean Clean Clean
Spark plug / Check Check Check
Engine oil Check Check Check Check
Cutting blade Check Check Check Check
Cleaning
1. To ensure long life and good performance of the machine, it is important to keep the
machine clean and well lubricated. Make sure the chute is clean and under the deck is
cleared from wet debris. (See also short term storage).
2. Do not allow grass cuttings and other debris to become dry and hard on any of the
mower surfaces, as this will directly affect the cutting and grass collection performance.
Make sure that the underside of the lawn mower deck is clean and clear.
3. Never clean the lawn mower with a water jet or high-pressure cleaner. The engine must
remain dry. Do not use aggressive cleaning agents or solvents, such as cold degreasers
or petroleum ether.
Cleaning or replacing the air filter
WARNING!
Never run the engine without the air lter element installed:
1. Loosen the fastener that holds the cover.
2. Open the cover and remove the lter.
3. To loosen debris, gently tap the lter on a hard surface. If the lter is excessively dirty,
replace with a new lter.
4. Install the lter.
5. Install the cover tabs into the slots.
6. Close the cover and secure with the fastener.
Cleaning or replacing the spark plug
1. Once the engine has cooled, pull off the spark plug boot with a twist. Remove the spark
plug using the socket spanner supplied.
2. Clean the plug with a wire brush.
3. Using a feeler gauge, set the gap to 0.7-0.8 mm.
4. Install the spark plug carefully by hand to avoid cross-threading.
5. After the spark plug is seated, tighten with the spanner to compress the washer.
Changing the oil
Tilt the lawn mower towards the oil ller, have a container ready to catch the oil, and remove
the dipstick. Once the oil has been emptied, wipe clean any spillages.
Rell with 470ml SAE 30 oil or equivalent, i.e. SAE 10W/30). When the dipstick is rested on
the ller pipe, the oil level must be between the min. and max. marks on the dipstick.
See ‘Filling with engine oil’. Do not overll.
MAINTENANCE AND STORAGE
Start the engine and allow it to run briey.
Stop the engine, wait one minute and check the oil level. Top up if necessary.
Replacing the cutting blade (Fig. O)
WARNING! USE GLOVES.
Before you remove the grass collection bag, stop the engine and wait until the blade
stops completely.
You will need garden gloves (not provided) and a spanner wrench to remove the blade.
Always handle the blade with care - sharp edges could cause injury.
Do not hold the blade directly by hand.
Renew your metal blade after 50 hours of mowing or after 2 years, whichever is sooner,
regardless of condition.
Regularly check your blade. If the cut of your grass is poor, the blade might be blunt.
Damaged blades not only result in a bad cut, they cause excessive vibration and
uneconomical running of the engine. If the blade has worn excessively and become pitted
and blunt, it should be replaced or sharpened.
Tip the machine slightly towards the oil ller pipe and reach under the deck.
Hold the blade and unscrew the blade bolt anti-clockwise using a spanner wrench. Remove
the washer and the blade.
Inspect the blade adaptor for any signs of damage.
Fit a new blade, locate the blade on the two studs on the blade ange and then replace the
washer and bolts.
Check the washer is still slightly domed to keep the pressure on the bolt to stop it unwinding,
keeping the blade rmly secure. Then replace the washer (right way around!) and bolts.
Make sure the blade is correctly located, and then rmly tighten the bolt. Do not over tighten.
The up turn of the blade must project into the motor compartment.