EasyManuals Logo

Yardline BRAXTON User Manual

Yardline BRAXTON
97 pages
To Next Page IconTo Next Page
To Previous Page IconTo Previous Page
Page #43 background imageLoading...
Page #43 background image
41
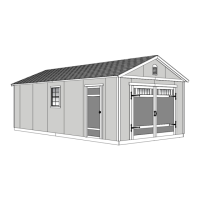
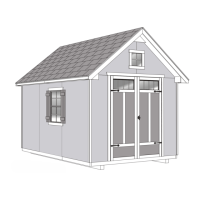
BACK WALL INSTALLATION
2" (5,1 cm)

FINISH
1-1/2"
(3,8 cm)
You have nished standing your back wall.
3" (7,6 cm)

2" (5,1 cm)

1-1/2" (3,8 cm)
BEGIN
Secure the bottom plate using (2) 3" nails
between wall studs .
Secure top and bottom of back wall using (1)
2" screw into top and bottom plate .
3
Nail side wall panel to back wall stud using
1-1/2" nails 6" apart .
Nail along bottom of back wall panels
using 2" nails 6" apart.
Angle nail to hit oor frame .
6"
(15,2 cm)
Same
Measurement


Screw
Center back wall on oor.
1

Nails
PARTS REQUIRED:
Flush


Nail


DOOR
BACK WALL


Nails

Screw
BE SURE TOP OF WALL FRAMES ARE FLUSH.

BACK WALL
BACK WALL
6"
(15,2 cm)

Questions and Answers:

Question and Answer IconNeed help?

Do you have a question about the Yardline BRAXTON and is the answer not in the manual?

Yardline BRAXTON Specifications

General IconGeneral
BrandYardline
ModelBRAXTON
CategoryGarden Houses
LanguageEnglish

Related product manuals