22. 23.
FRAME ASSEMBLY
Make sure your tools are in good condition.
A worn allen key can round the hex on a bolt
not allowing for proper torque.
Torque settings are listed throughout the
instructions and on page 13 of this manual.
It is important to prep all bolt threads. The
instructions denote whether to use a Loctite
compound or grease.
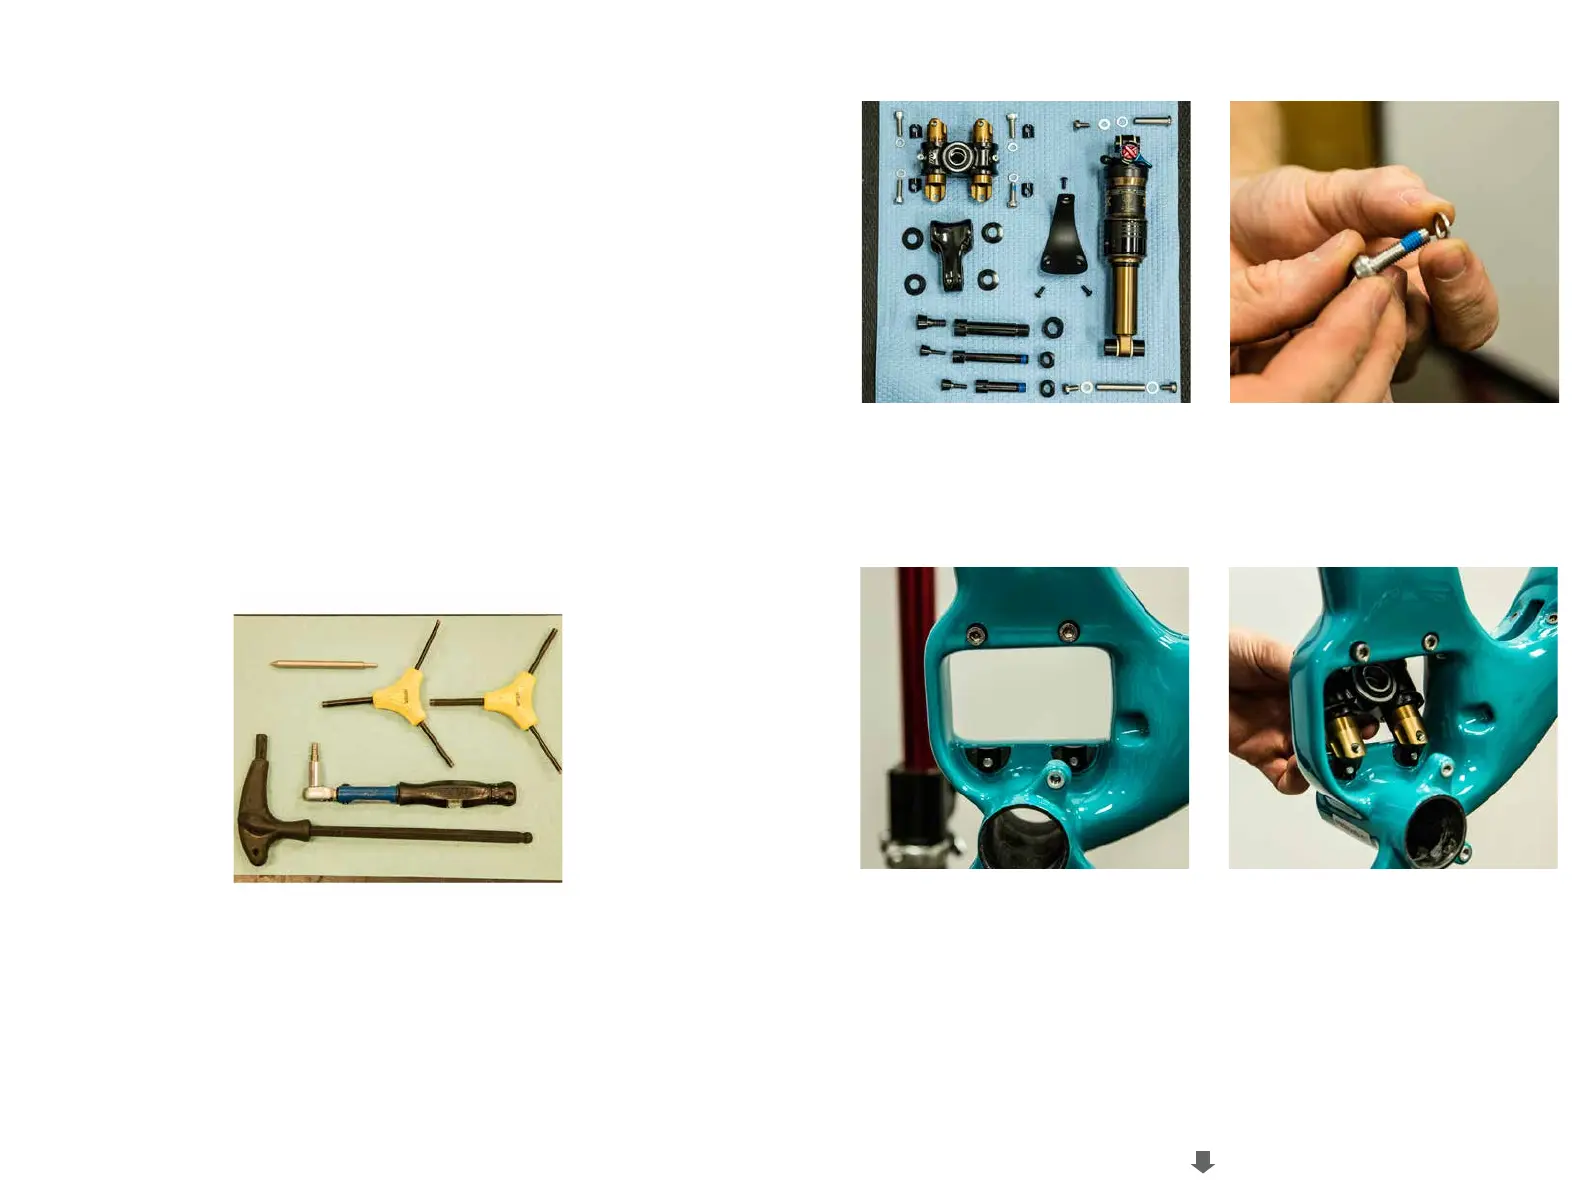
YETI TIPS TOOLS NEEDED
Warning: Service on Yeti bicycles requires special knowledge
and tools. Yeti Cycles recommends that all service and
repairs be performed by an authorized Yeti Dealer
• 2.5mm allen key
• 5mm allen keys
• 4mm allen keys
• 10mm allen key
• Guide pin tool (Or two)
• Torque wrench
• Grease
• Blue (242) Loctite
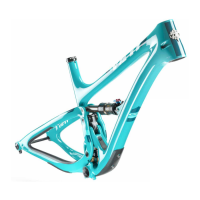
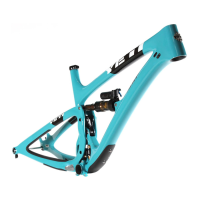
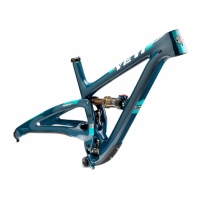
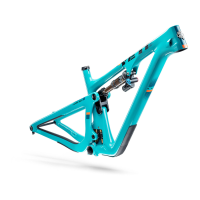
All the parts you’ll need to get your SB5 frame
assembled. Please refer to the exploded view
later in this manual for more information.
Slip washers (300030214) onto and apply blue
(242) Loctite to the 4 bolts (300030057) that
secure the Switch Innity Link to the frame.
Insert the bolts with washers on them into the frame
and hang the black Innity Link spacers from them.
Orient them so that the at surfaces are facing the
opening in the frame where the Innity link will go.
01. 02.
03. 04.
Rock the Innity Link into place capturing the
black spacers against the frame. Be sure that the
spacers do not rotate when you are installing the
link. Hold the link in place by hand and thread
the bolts into the link.