Do you have a question about the York Fitness Heritage G101 Gym and is the answer not in the manual?
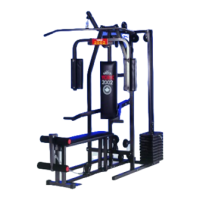
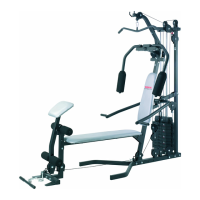
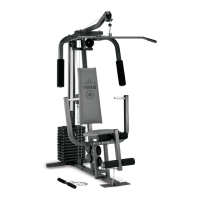
| Type | Home Gym |
|---|---|
| Weight Stack | 50kg |
| Dimensions | 144cm (L) x 102cm (W) x 202cm (H) |
| Material | Steel |
| Color | Black |
| Included Accessories | Lat Bar |
Details on cleaning and maintaining the exercise equipment.
Instructions on how to register the product warranty online.
Information on contacting customer support for warranty claims or issues.
Preparation steps before assembling the multigym.
List and identification of all hardware components for assembly.
Assembling the base frame and initial support structures.
Attaching the main upright frame sections.
Installing the weight stack assembly and related components.
Connecting upper frame parts to the main structure.
Attaching the seat support and mounting hardware.
Installing pulleys, levers, and related hardware.
Assembling and attaching the press and pec arm components.
Installing the leg extension mechanism.
Setting up the upper pulley system and related parts.
Fitting cam covers and ensuring correct plate orientation.
Lubricating and attaching the pec arm assembly.
Securing the main arm components to the frame.
Routing cables and setting initial tension with adjustment hardware.
Routing the lat pulley cable through the specified guides.
Routing the low pulley cable and fitting securing hardware.
Fixing the cable ends and applying final tension.
Attaching the hand wheel and main upholstery pad.
Installing small upholstery and foam rollers.
Assembling and attaching the preacher curl pad assembly.
Connecting the chain and bars for exercises.
How to perform the press exercise.
How to perform the pec exercise.
Using the lat and low pulley systems.
How to use the leg extension feature.
How to use the weight lock and adjust resistance ratio.
Detailed terms and conditions of the product warranty.