J
Jennifer MurrayAug 3, 2025
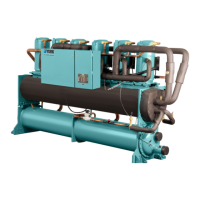
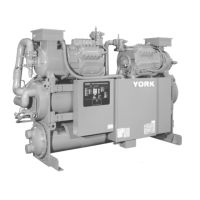
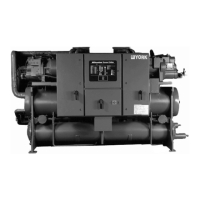
What to do if important configurations are not programmed correctly in York YCWL0177SE?
- Jjose39Aug 3, 2025
If important configurations are not programmed correctly, ensure that the soft start (disabled), refrigerant type (R410A), expansion valve type (thermostatic), and North American feature (enabled) are properly programmed. Failure to do so may result in damage to compressors and other system components.