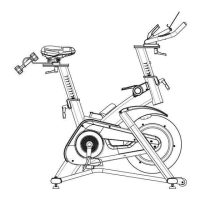
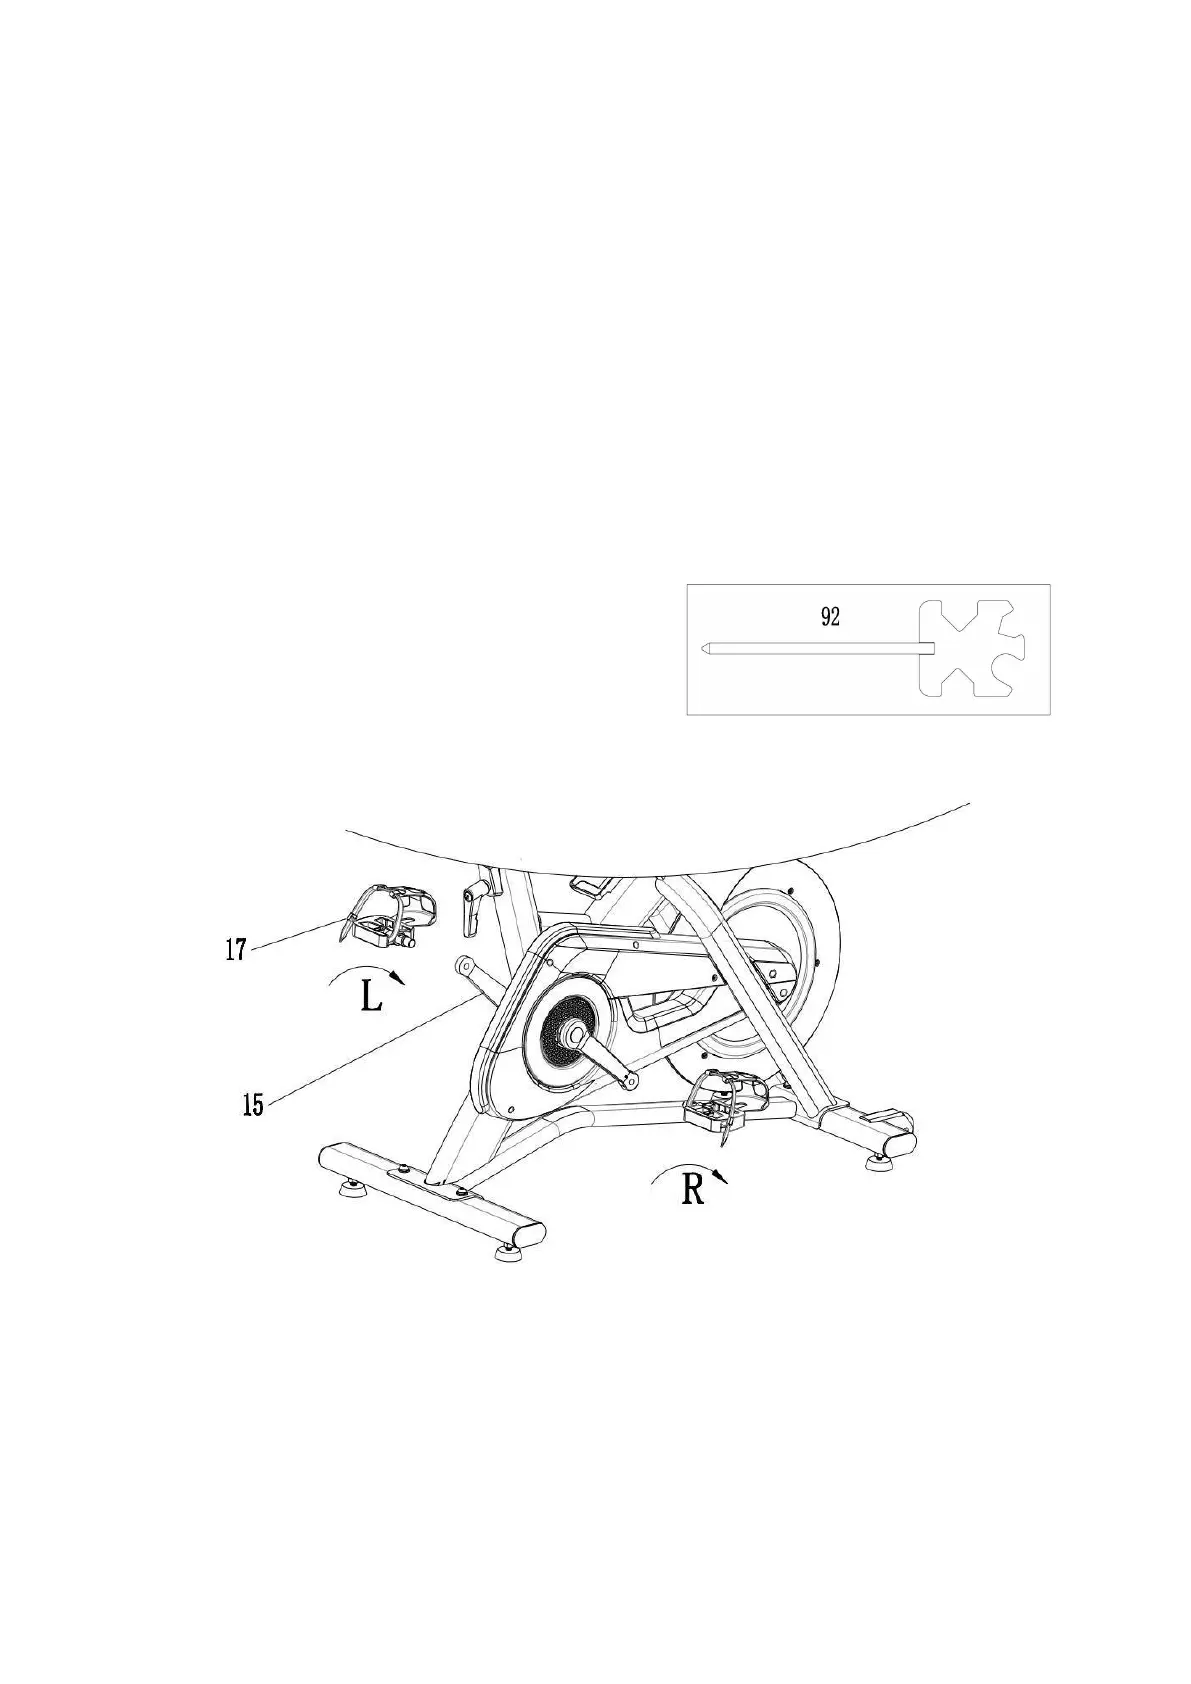
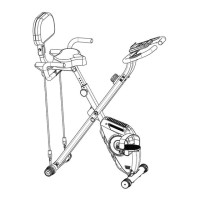
Step 2. Install the left and right pedals
Required accessories: left and right pedals (17), multi-function wrench (92) (please refer to the
following figure) Install the right pedal, take out the right pedal (17) (Note: R is marked on the pedal),
and then make the right pedal horizontally aligned with the thread hole of the right crank (15) (the
crank is marked with the word R) clockwise, and the thread can not be rotated with a multi-function
wrench (92).
Install the left foot pedal, take out the left foot pedal (17) (note: L is marked on the foot pedal), then
align the end of the left foot pedal horizontally to the thread hole of the left crank (15) (L is marked on
the crank) counterclockwise, and use the multi-function wrench (92) to screw the thread until it cannot
rotate.