YSI ProDSS supplement 7 July 2015
Port Plug Installation
1. Apply a thin coat of Krytox o-ring lubricant
to the o-rings on the plug port.
2. Remove any excess lubricant from the o-
rings and port plug with a lint-free cloth.
3. Insert the port plug into the empty port and
press until firmly seated.
4. Finger-tighten the port plug clockwise to
install. If necessary, use the sensor
installation tool to make sure that the plug is
fully seated into the port.
NOTICE: The o-rings will not be visible if a
port plug is correctly installed. Do not over-
tighten the port plug. Over-tightening can
cause damage to the port plug or bulkhead
not covered by the warranty.
5. Install the sensor guard. If sensor guard is
not attached, sensors are extremely
venerable to environmental damage.
Sensor Guard Installation
1. Carefully slide the sensor guard over the
bulkhead and attached sensors/port plugs.
Push the sensor guard toward the bulkhead
until the sensor guard threads align with the
bulkhead threads.
2. Carefully finger-tighten the sensor guard
clockwise.
NOTICE:
If any resistance is felt, loosen the
sensor guard completely to prevent cross-
threading. Incorrect installation may cause
damage to the sensor guard or bulkhead that is
not covered by the warranty.
2. BATTERY PACK
TROUBLESHOOTING
Do not remove the battery pack if it is hot
to the touch, is producing an odd odor, or
is leaking a fluid. Removing and examining
the battery pack needs to be done with
extreme care by a team leader and in a dry,
clean place, preferably not in the field!
If the instrument is not turning on do the
following:
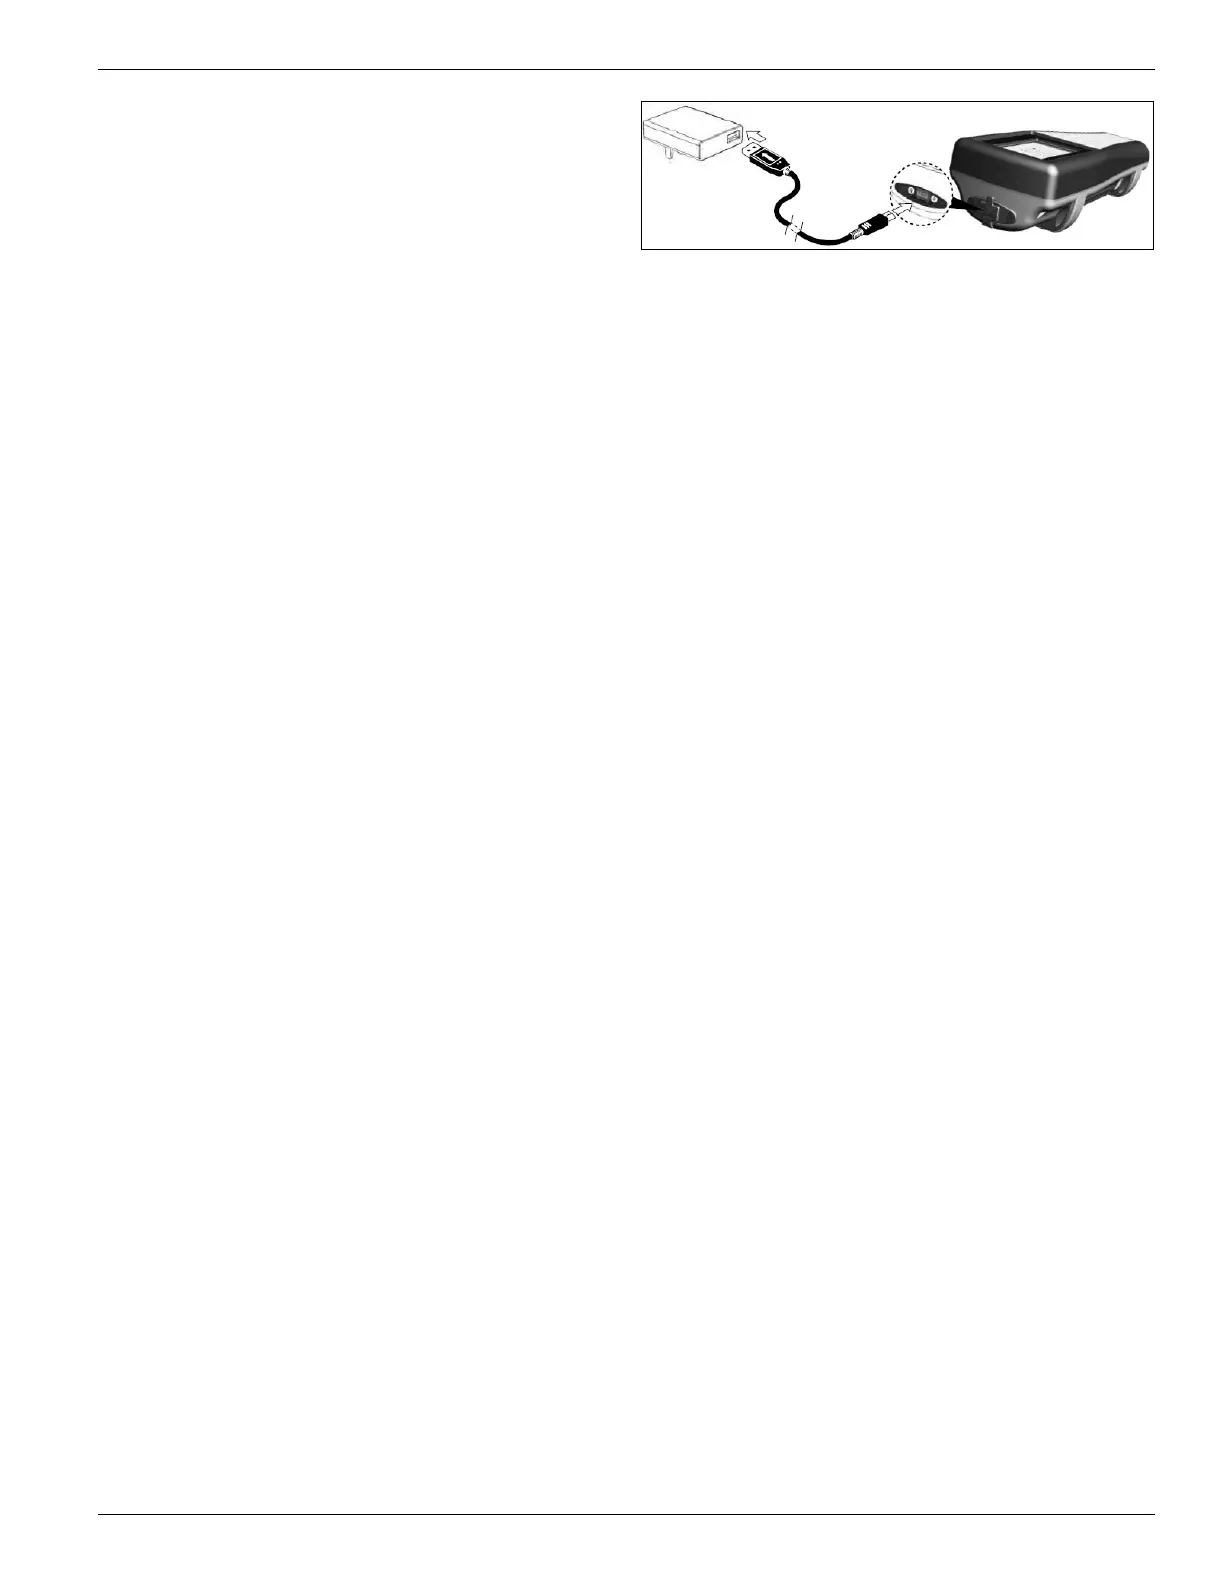
1. Attempt to charge the unit: Using YSI
charging equipment only, plug unit into
the AC adapter with the USB connector.
If this does not power on the unit,
proceed to next step.
2. Remove battery pack cover and examine
battery pack (figure below):
a) Remove the battery pack cover by
unscrewing (counter-clockwise) the
four screws with a flat or Phillips
head screwdriver (the retaining
screws are captured into the cover
and are not removable
b) Inspect the battery pack, make sure
the battery pack connector is
properly connected to the
instrument.
c) If the connectors do not appear to
be properly connected, with two
fingers, grasp the battery pack
connector and pull the connector
straight up to disconnect and
remove. Inspect the connector and
instrument pin connectors for any
debris or damage. If the connectors
look ok, align the battery pack
connector wire terminals with the
three instrument pins and connect
the battery pack
Do not remove the battery pack if it
is hot to the touch, is producing an
odd odor, or is leaking a fluid
d) If connectors look properly
connected, reinstall the battery
cover and attempt to charge the unit
again. If the unit still will not turn
on, the battery pack may need to be
replaced. Before ordering a new
battery pack, call YSI at
800.765.4974 and troubleshoot
problems with a ProDSS tech
e) If a new battery pack has been
ordered, refer to the YSI manual for
battery removal/disposal, and
replacement
 Loading...