Page 4-24 105SL Maintenance Manual 32056L Rev. 2 12/4/01
SECTION 4 PREVENTIVE AND CORRECTIVE MAINTENANCE
5. Refer to Figure 4-14. Rotate the ribbon take-up pulley until the three holes in the pulley
align with the three mounting screws that hold the ribbon take-up spindle assembly to
the printer frame.
6. Extend an Allen wrench through the holes in the ribbon take-up pulley and loosen the
three spindle assembly mounting screws.
7. Slide the ribbon take-up spindle assembly to the right to relieve the tension on the main
drive belt.
8. Remove the main drive belt by sliding it off the ribbon take-up pulley. See Figure 4-15.
To install the main drive belt:
1. Install the replacement main drive belt around the outer gear of the stepper motor
pulley, the platen pulley, and the ribbon take-up pulley.
2. Hook a 2200-gram spring scale to the belt as shown in Figure 4-14 and carefully slide
the ribbon take-up spindle assembly to the left to increase belt tension.
3. When a scale reading of 2000 grams ±250 grams (4.5 lbs. ±0.5 lbs.) creates a
deflection of 1/4 inch (6 mm), tighten the three mounting screws to a torque of
20 inch-pounds (2.3 N
m).
4. Reinstall the electronics cover.
5. Open the printhead. Reinstall the media and ribbon. Close the printhead.
6. Close media cover.
7. Reconnect the data cables and the power cord.
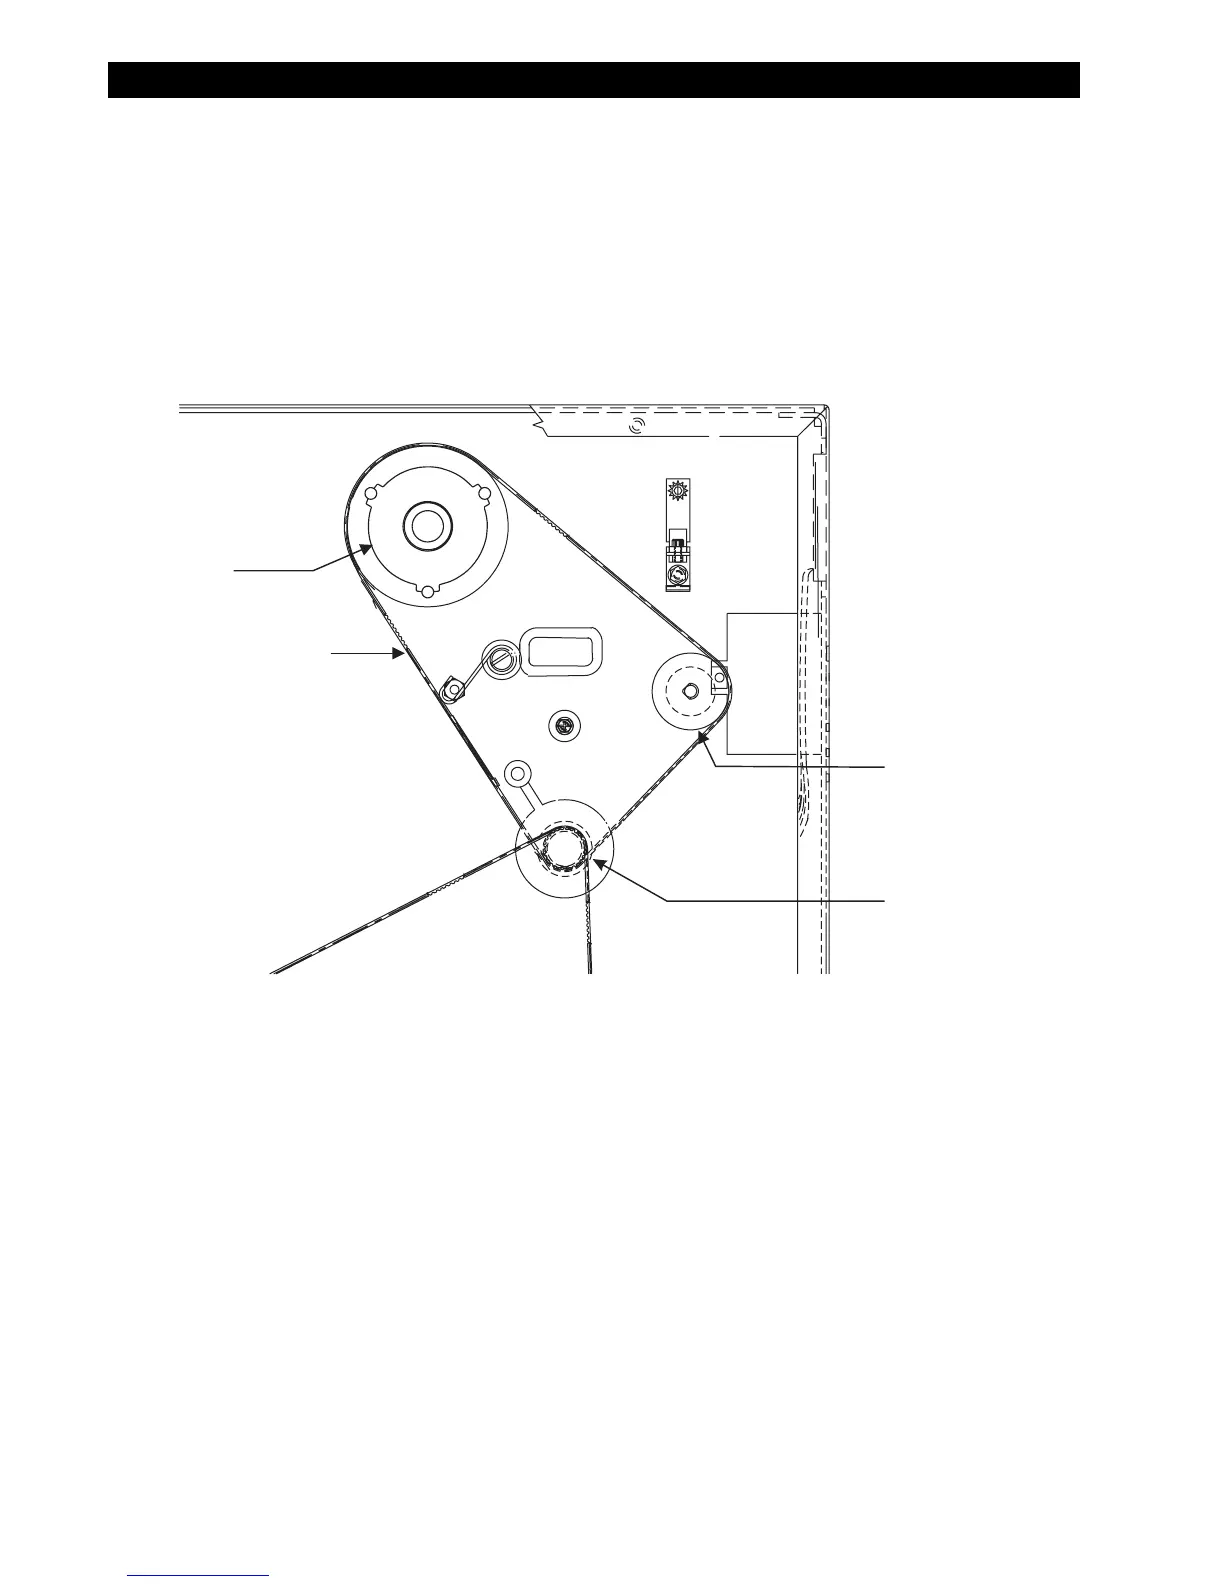
Figure 4-15. Main Drive Belt
Main Drive Belt
Stepper
Motor
Pulley
Platen Pulley
Assembly
Ribbon Take-Up
Pulley