Operation
000000-1253-546 VISUCAM C 31.07.2003
38
Choosing the image capture mode
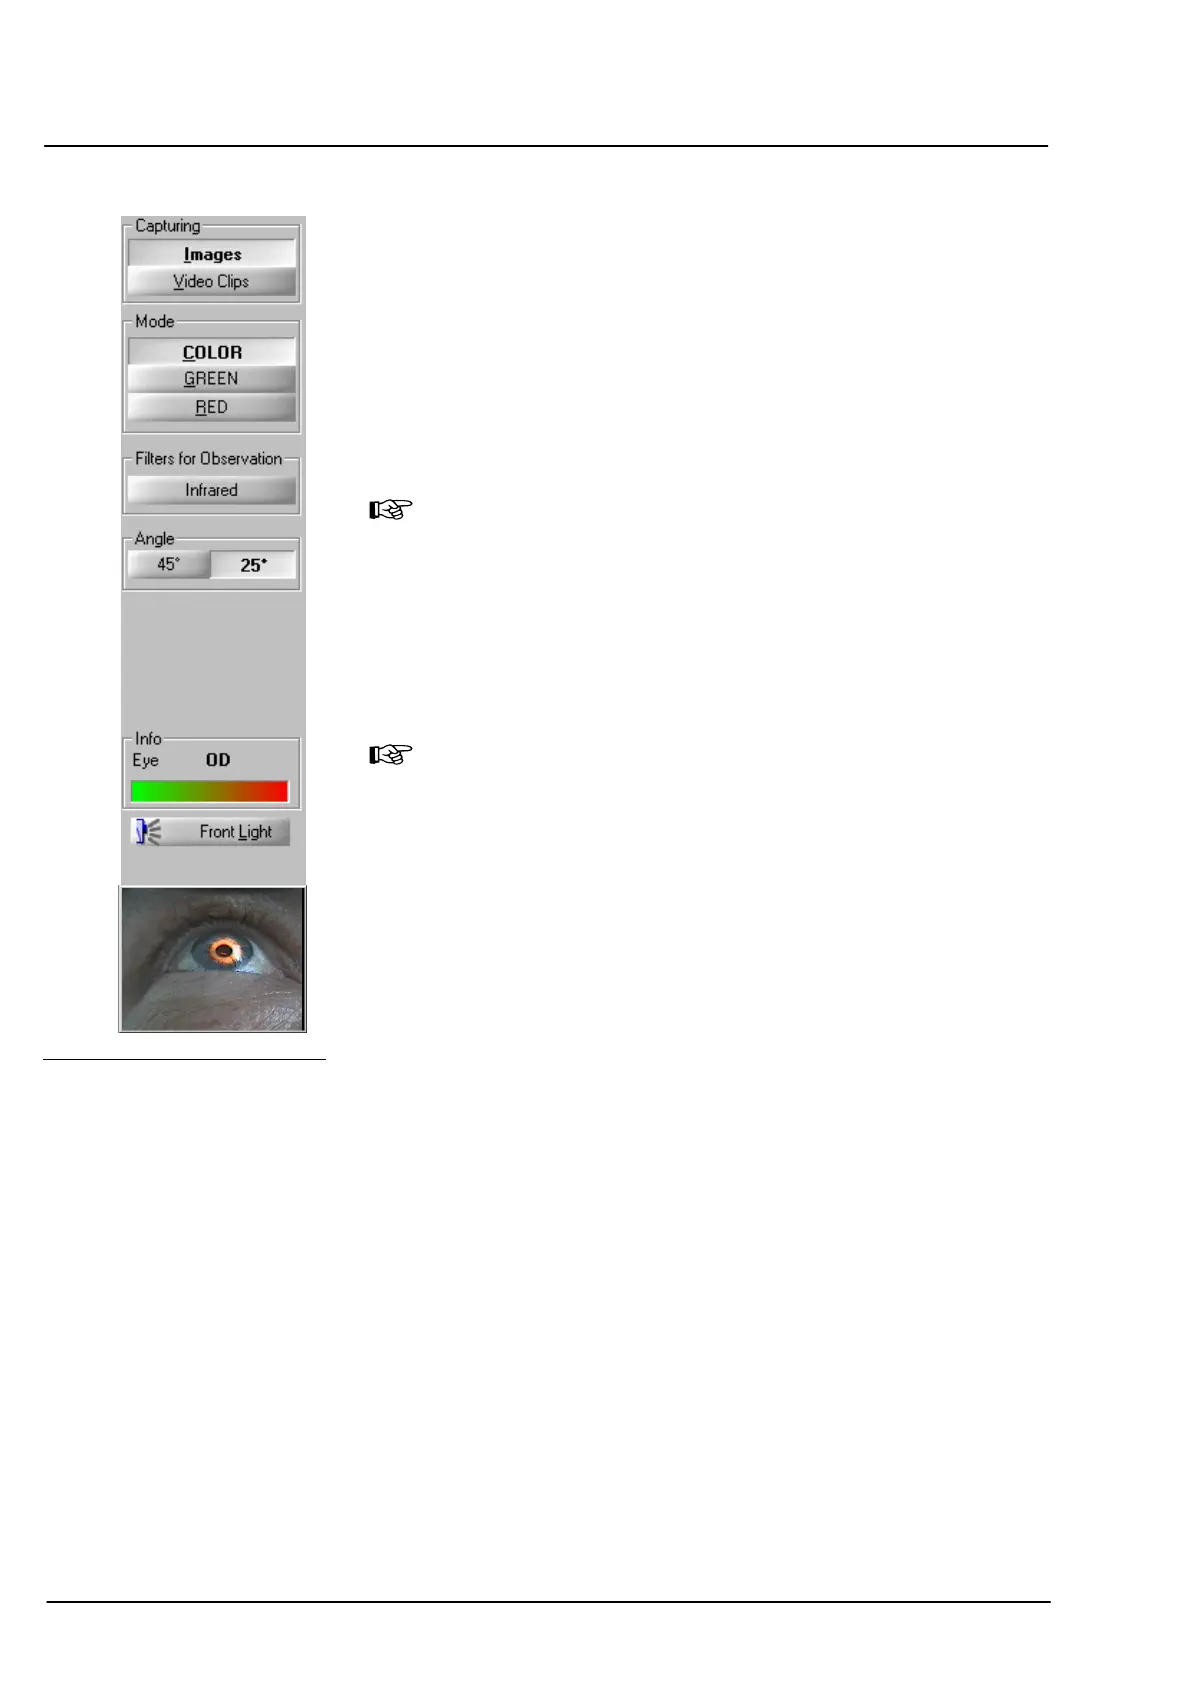
On the Image Capture desktop, you can choose the options needed
for image capture.
• Choose the desired options by mouse click or keyboard (underlined
letter).
❏ Capture mode
❏ Observation filter
❏ Image angle
Note
You can directly switch from Image Capture desktop to Patient
Manager desktop by clicking the
PATIENT MANAGER icon.
• Choose the
IMAGES button, if you want to capture single images. For
recording video clips, activate the
VIDEO CLIPS button.
If you intend to record video clips, you can customize the frame rate
(frequency) in the Customizing dialog box (Capture tab) accessible
via the Extras – Customizing menu.
Note
On selection of the mode, all other options (active sensor, filter
setting, light pulse) will be set by the program. You can customize
these settings, if necessary.
• If you want to customize the VISUCAM C for infrared image capture
(dilation of patient’s pupils using drugs not necessary), activate the
Infrarot button.
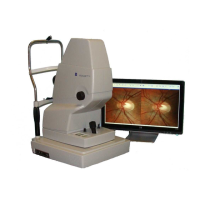
The display Eye: indicates the position of the VISUCAM C in front of the
patient’s left or right eye: OS or OD (Oculus Sinister / Oculus Dexter).
The bar-graph display in this field informs about lamp brightness
(1 ... 100), which is adjustable at the control (8, Fig. 2) on the
instrument base.
The buttons for releasing image capture and adjusting the light-pulse
intensity and the display for the selected light-pulse intensity are located
below the live image display.
• If necessary, increment or decrement the selected light-pulse
intensity by one stage each by a click on the + or – button.
Fig. 24 Buttons for image capture


 To Next Page