3
1-800-892-3986 IS19172-I2
For Permanent Mount Installation go to page (6)
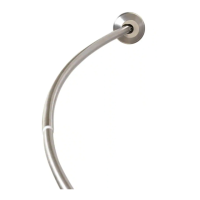
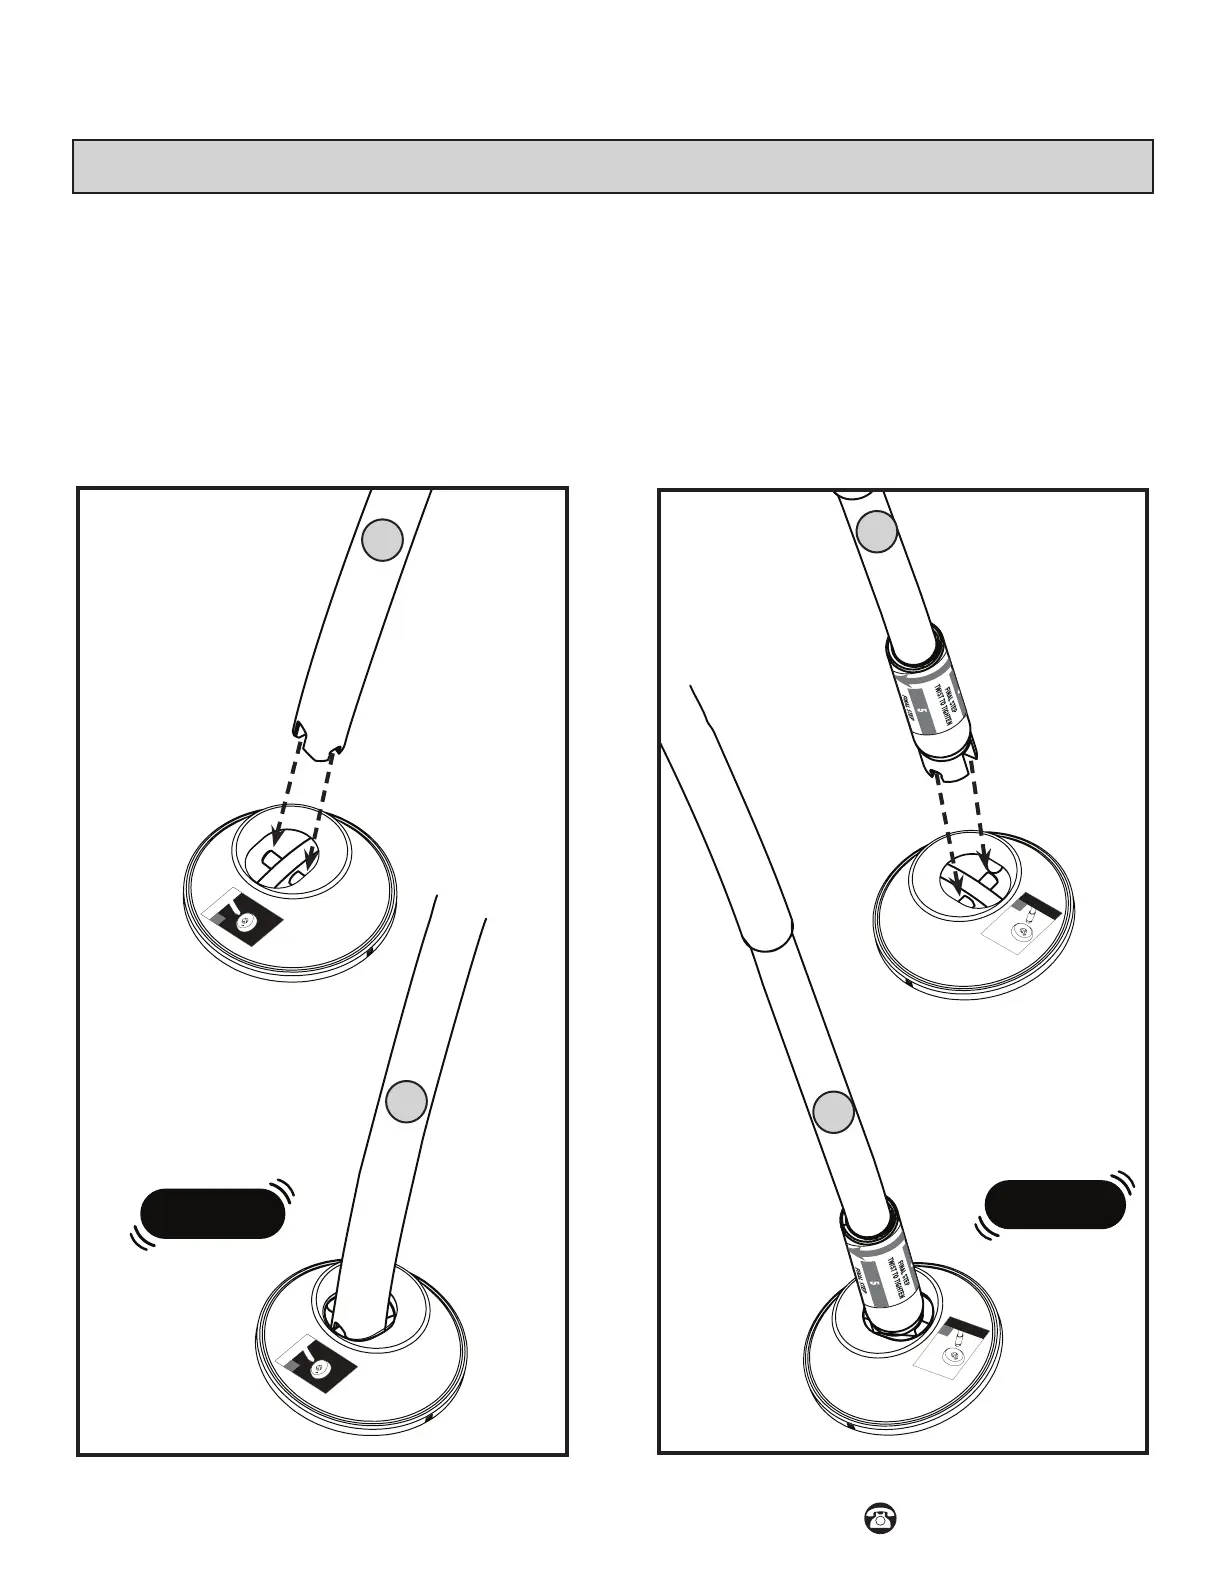
Step 1 and 2 - Tension Installation
• STEP 1: Locate the end cap and mounting bracket labeled (A) and CLICK them together. NOTE: Make sure
the directional stickers are pointing in the same direction.
• Following the directional sticker UP ARROW and connect rod (A) to the mounting bracket (A) by pushing the
tube into the mounting bracket against the oor until the rod and mounting bracket CLICK together.
• STEP 2: Repeat these steps to connect the rod and mounting bracket labeled (B).
CLICK
A
PUSH TUBE INTO
SUPPORT AGAIN
ST
FL
OOR
1
PUSH TUBE INTO
SUPPORT AGAINST
FLOOR
A
1
PUSH TUBE I
NTO
SUPPORT AGAIN
ST
FLO
OR
A
1
PUSH TUBE I
NTO
SUPPORT AGAINST
FLOOR
LEFT SIDE (A)
CLICK
TOP
TOP B
B
PUSH TUBE INTO
SUPPORT AGAINST
FLOOR
2
TOP B
B
PUSH TUBE INTO
SUPPORT AGAINST
FLOOR
2
B
B
A
A
RIGHT SIDE (B)
 Loading...