16
DIVIDING YOUR ALBUM INTO TRACKS
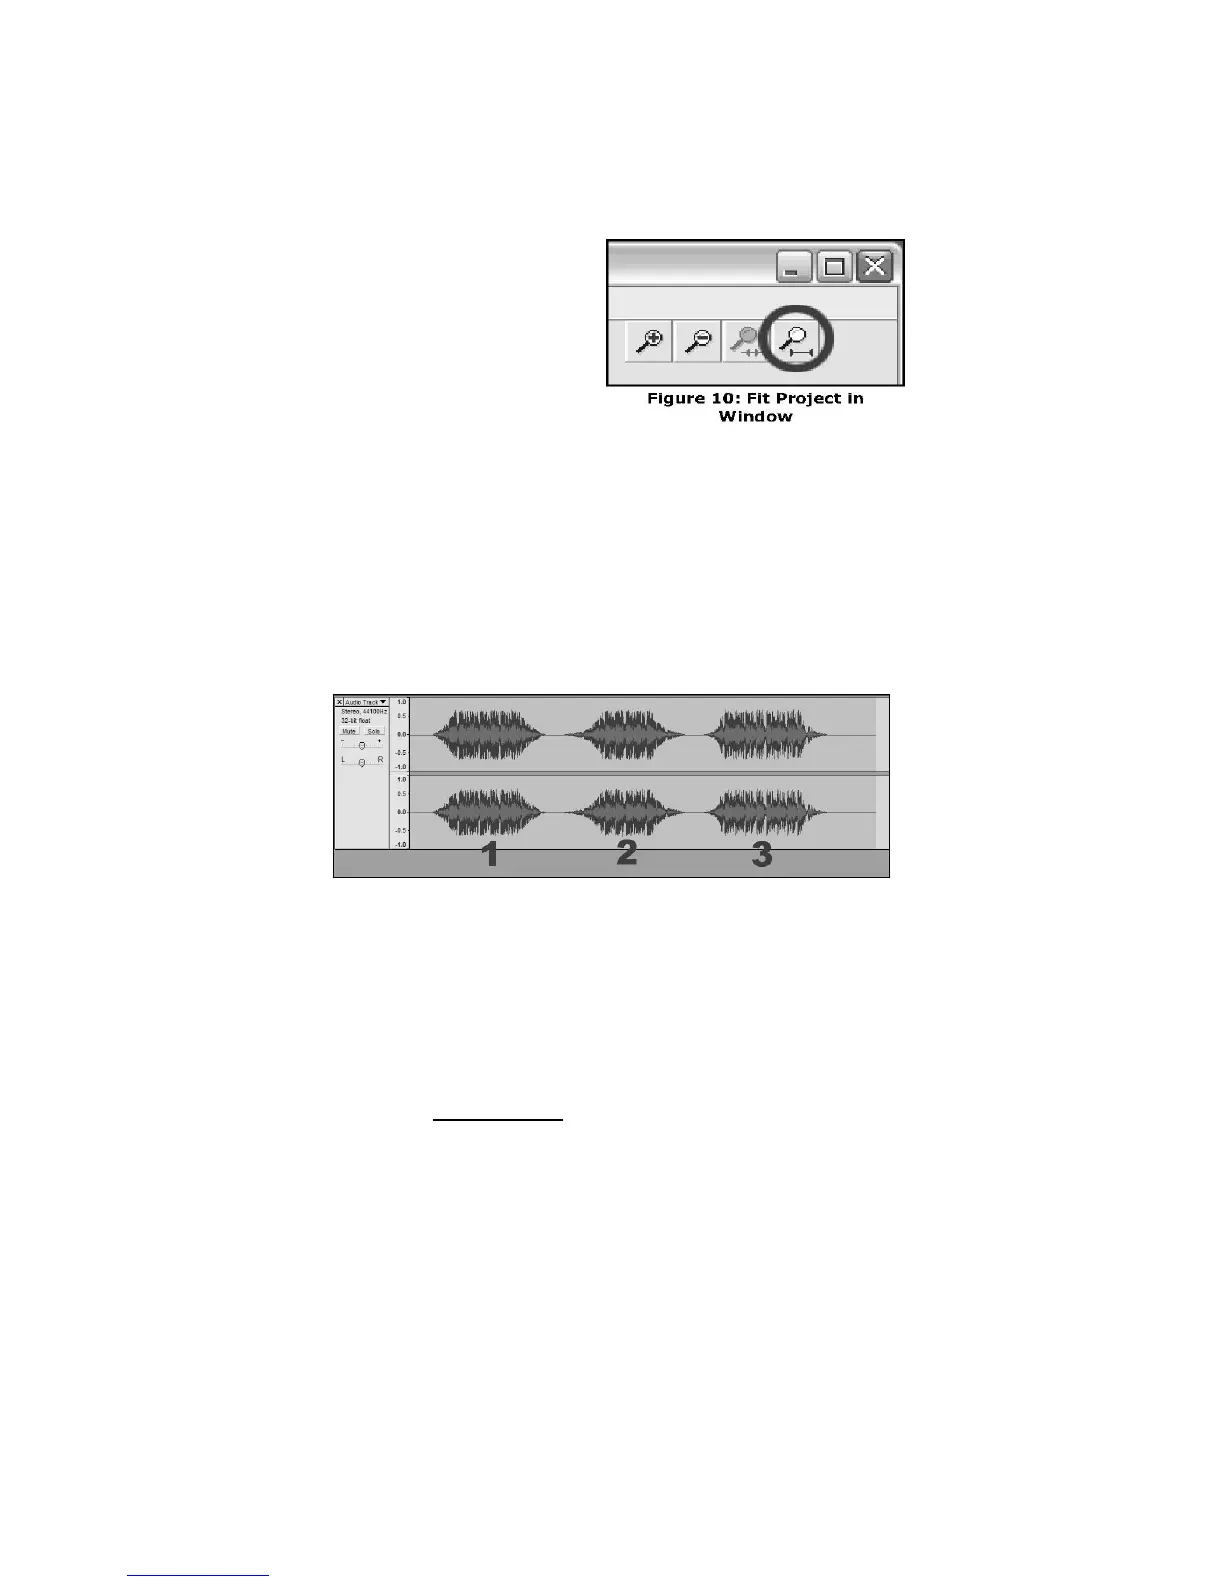
1 Select the Fit Project in Window tool as shown in Figure 10.
2 After zooming out to see all of the tracks, you can see the separation between tracks by the gaps as shown with
1,2,3 below (Figure 11). The next steps show how to split and label these tracks and export them to WAV (CD
quality) format.
Figure 11: Identifying Separate Audio Tracks
There are two ways to split your recording into separate tracks: automatically, and manually. If your tape is in good
condition, and has a distinct silence between the songs, automatically splitting the tracks may be faster and easier. If your
tape is in poor condition or does not have silence separating the songs, manually splitting the album will work better for you.
Automatically Dividing Your Album (Windows Only):
1 Select your entire recording by selecting Edit, then Select… then click All. You can also use Ctrl+A on a PC or
APPLE+A on a Macintosh to quickly select all. (See Figure 4)
2 Select the Analyze menu from the top of the screen and choose Silence Finder.
3 The Silence Finder will attempt to detect the silence between each song in the recording. With most recordings,
you only need to set the Silence Level field in Silence Finder’s window. Type 15 into the Silence Level field and
hit OK (Figure 12).
Note: You must finish all
cleaning and editing, including
removing unwanted silence
before/after songs, before
dividing your album into
tracks.