Do you have a question about the Zippity ALL AMERICAN and is the answer not in the manual?
Read through before starting assembly, use a non-abrasive surface, ensure adequate space, and avoid excessive force.
Contact customer service via email or phone for assistance with missing or defective parts. Provide item number and batch lot.
Contact customer service by phone for help with assembly or installation of the product.
Contact the company you originally purchased from to resolve issues before initiating a return.
Call 811 to locate underground utilities before starting fence installation to prevent hazards.
Check regulations regarding fence height, style, and placement; permits may be necessary.
Ensure accurate property line placement to avoid disputes, positioning fence inside your property.
Inform neighbors about the project for access and potential collaboration on costs.
Use concrete to secure the pipe in unstable ground or rocky soil during installation.
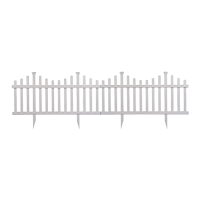
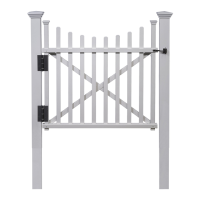
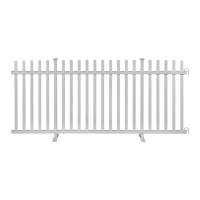
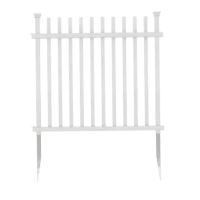
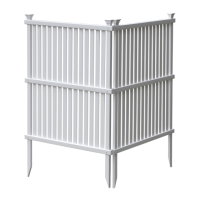
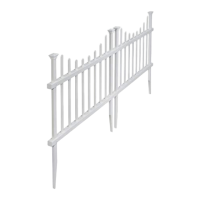
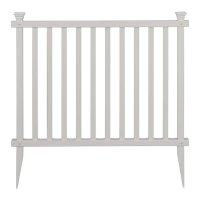
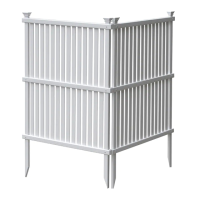
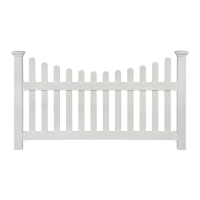
Identifies and lists all parts included for the fence assembly, such as posts, rails, pickets, and caps.
Lists necessary tools for assembly, including a cordless drill and level.
Drive the first pipe anchor into the ground, positioning the plastic bushing slightly above ground level.
Ensure the pipe is driven as level as possible, monitoring every few inches for stability.
Position and drive the second anchor. Maintain a distance of 70 1/2" (or 72" center-to-center) from the first.
For dry, hard ground, loosen dirt around the pipe base with a claw hammer before installing the post.
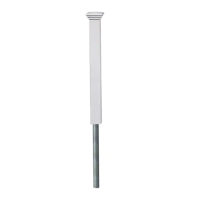
Orient the vinyl post correctly and slide it over the anchor pipe, ensuring it goes into the ground.
Pound the post so the bottom 2"-4" is below ground to prevent twisting on the pipe.
Fasten the vinyl post to the anchor pipe using a 1" self-augering hex head steel screw.
Use a level to adjust the post top and secure only one post initially for easier panel alignment.
Determine pipe location inside the post and secure it with the second 1" self-augering hex head steel screw.
Install a vinyl bracket on the secured post, approximately 2 inches off the ground, using four 3/4" screws.
Attach the second bracket to the bottom rail and slide the rail into the first bracket on the opposing post.
Use a level on the bottom rail to find the correct height for the opposing bracket and mark its location.
Temporarily remove the bottom rail, attach the bracket to the post using four 3/4" screws.
Install the top brackets onto the posts using four 3/4" self-augering stainless steel screws per bracket.
Orient and slide rails into brackets, securing each with two 3/4" self-augering stainless steel screws.
Secure the second post to the anchor pipe, following the same methods used for the first post.
Insert pickets through the top rail and lock into the bottom rail, following the numbered pattern for correct placement.
Push post caps down onto the vinyl posts to secure them. Trim post tops if necessary.
Install one complete fence panel first to understand the process before proceeding with more anchors or panels.
Careful planning and measuring are essential; moving driven pipes is difficult.
Consider removing panels to drive pipes for an unobstructed string line after initial panel installation.
Use a fine-toothed metal or wood-cutting blade when cutting PVC components.
Use a 1x4 wood lumber cut at 70 1/4" for easier spacing of pipe anchors.
For steeply pitched or uneven yards, stair-step panels and trim post heights as needed.
Fence cannot be installed on slopes exceeding 5"-6" per panel due to post length limitations.
Place the bottom bracket on the post and mark the locations of the two holes for attachment.
Use a 1/8" drill bit to pre-drill the vinyl post and internal steel pipe for steel components.
Attach the bracket securely to the vinyl post and the internal steel pipe.
| Brand | Zippity |
|---|---|
| Model | ALL AMERICAN |
| Category | Fencing & Gates |
| Language | English |