Do you have a question about the ZKTeco Horus and is the answer not in the manual?
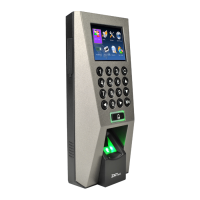
Diagram and labels for the front view of the device, including screen, flash, and camera.
Diagram and labels for the side view of the device, showing microphone and speaker.
Diagram and labels for the rear view of the device, indicating ports and sensors.
Diagram and labels for the bottom view, showing power and reset interfaces.
Details of the rear view, including connection ports for optional features like extend port.
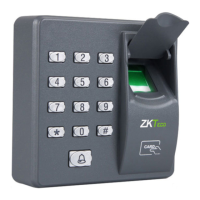
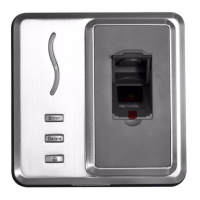
Details of the front view, highlighting the fingerprint sensor and card read area.
Diagram of the side view of the device.
Diagram of the bottom view, showing ports like Type-C and Reset Button.
Explanation of RS485 and Ethernet port connections.
Guidance on optimal and unsuitable locations for device placement.
Instructions for indoor placement, specifying distances from windows and light sources.
Visual examples of installation sites to avoid, such as direct sunlight.
General procedures for the physical installation of the device.
Step-by-step guide for wall mounting using template, screws, and back plate.
Procedure for attaching the device to a desktop holder.
Instructions for mounting the device onto a glass door using double-sided tape.
Step-by-step guide for installing the device onto a wall using an 86 box.
Specifications for the recommended power supply (12V, 2000mA) and use of Type-C plug.
Guide for connecting the device to a computer via Ethernet cable.
Instructions for RS485 connection and extending with DM10 for sensors and locks.
Steps to configure Ethernet, Wi-Fi, and cloud service parameters.
Procedure to register new users directly on the device.
Steps to add devices and register users via the BioTime 8.0 software.
Registering users in BioTime 8.0 software and synchronizing them to devices.
Enrollment of user face via browser app using QR code or URL.
Details on device face detection range and automatic verification interface switching.
Instructions on how to view attendance records on the software.
| Model | Horus |
|---|---|
| User Capacity | 50, 000 |
| Communication | TCP/IP |
| Access Control Interface | Alarm Output |
| Facial Recognition Speed | <0.3s |
| Power Supply | 3A |
| Operating Temperature | 45°C |
| Operating Humidity | 20% |