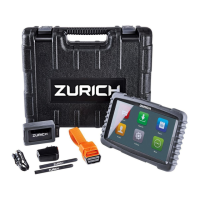
Page 13For technical questions, please call 1-888-866-5797.Item 64576
SAFETYMAINTENANCE SETUPOPERATION OVERVIEW
Software Upgrade
Before diagnosing a vehicle, the corresponding vehicle
diagnosis software must be downloaded� It is also
recommended to check for updates on a regular basis
to keep current with the latest available software�
Note: When downloading the diagnostic software or
checking for updates, make sure the Scanner Tablet has
a strong Wi-Fi connection�
1� Touch the Software Upgrade icon in the Job
Menu to enter the Update screen where a list
of diagnostic software will be displayed�
2� All diagnostic software that is upgradable will be
selected by default� To select particular vehicle
software, touch Unselect and then check the
box next to the desired vehicle make(s)�
3� Touch Update to start downloading� When
downloading is complete, the system will
install the software packages automatically�
Vehicle Connections
OBD II Vehicle Connection
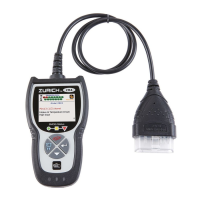
Directly plug the VCI into vehicle’s DLC using supplied OBD II extension cable�
To Vehicle’s DLCOBD II Extension Cable
Installing the Vehicle Communication Interface Connector
1� Locate the vehicle’s Data Link Connector (DLC)�
The 16-pin DLC is usually located under the
dashboard, within 12 inches of the center of the
panel, on the driver’s side of most vehicles� Check
the vehicle’s service manual for the exact location�
BEHIND
ASHTRAY
NEAR
CENTER
OF DASH
LEFT CORNER
OF DASH
2� Plug the VCI Connector into the vehicle’s
Data Link Connector� Use the included
OBD II extension cable to connect the
DLC and the VCI� Once connected, the
Power Indicator on the VCI will light up�
DATA LINK
CONNECTOR
OBD II
EXTENSION CABLE
 Loading...