247securityinc.com
1.866.693.7492
CONFIGURATION MENUS
247securityinc.com | 1.866.693.7492 | 1455 Alderman Drive, Alpharetta GA 30005, USA
Pg.32 of 47
FIRMWARE UPDATE
NOTE: THIS INFORMATION IS FOR REFERENCE ONLY!
The update process should only be done by a qualied technician under the direction of
technical support. You can seriously impair the functionality of your TITAN.
Firmware updates may contain new features and
improvements. If the update process is not done
correctly, your DVR may fail to start or function
properly and must be returned to your dealer
for repair.
1. Remove Hard Drive / DHD
a. If DVR is running, turn the key lock to OPEN postion and wait until DVR shits down. Both
POWER and REC LEDs must be o. If the vehicle is idling or on Accessory, the IGNITION
light will be on.
b. Open the door (Note: Leave it open during upgrading process).
c. Remove hard drive by pulling the tray straight out from the DVR until it’s free from the rails.
d. Turn the key lock to the LOCK postion and wait until TITAN boots up. The DVR has nished
booting when both IGNITION and POWER LEDs (green) are on solid. The engine can be idling
or in Accessory mode.
2. Connect to DVR and Save Current Conguration
a. Follow the rst 2 steps from “CONNECT TITAN TO PC/LAPTOP” on page 8.
b. Launch your browser and delete all browsing history including history, temp les, cookies
and web form information; or go to Congure DVR in DVRVIewer Pro.
c. Go to “http://192.168.1.100/” to access DVR setup.
d. At the login page, type “admin” as the User Name and “admin” as the Password.
e. Go through each page and manually record on paper all the settings, it is very important to
record the correct DVR Server Name.
f. Download the conguration le, see DOWNLOAD CONFIGURATION on page 30.
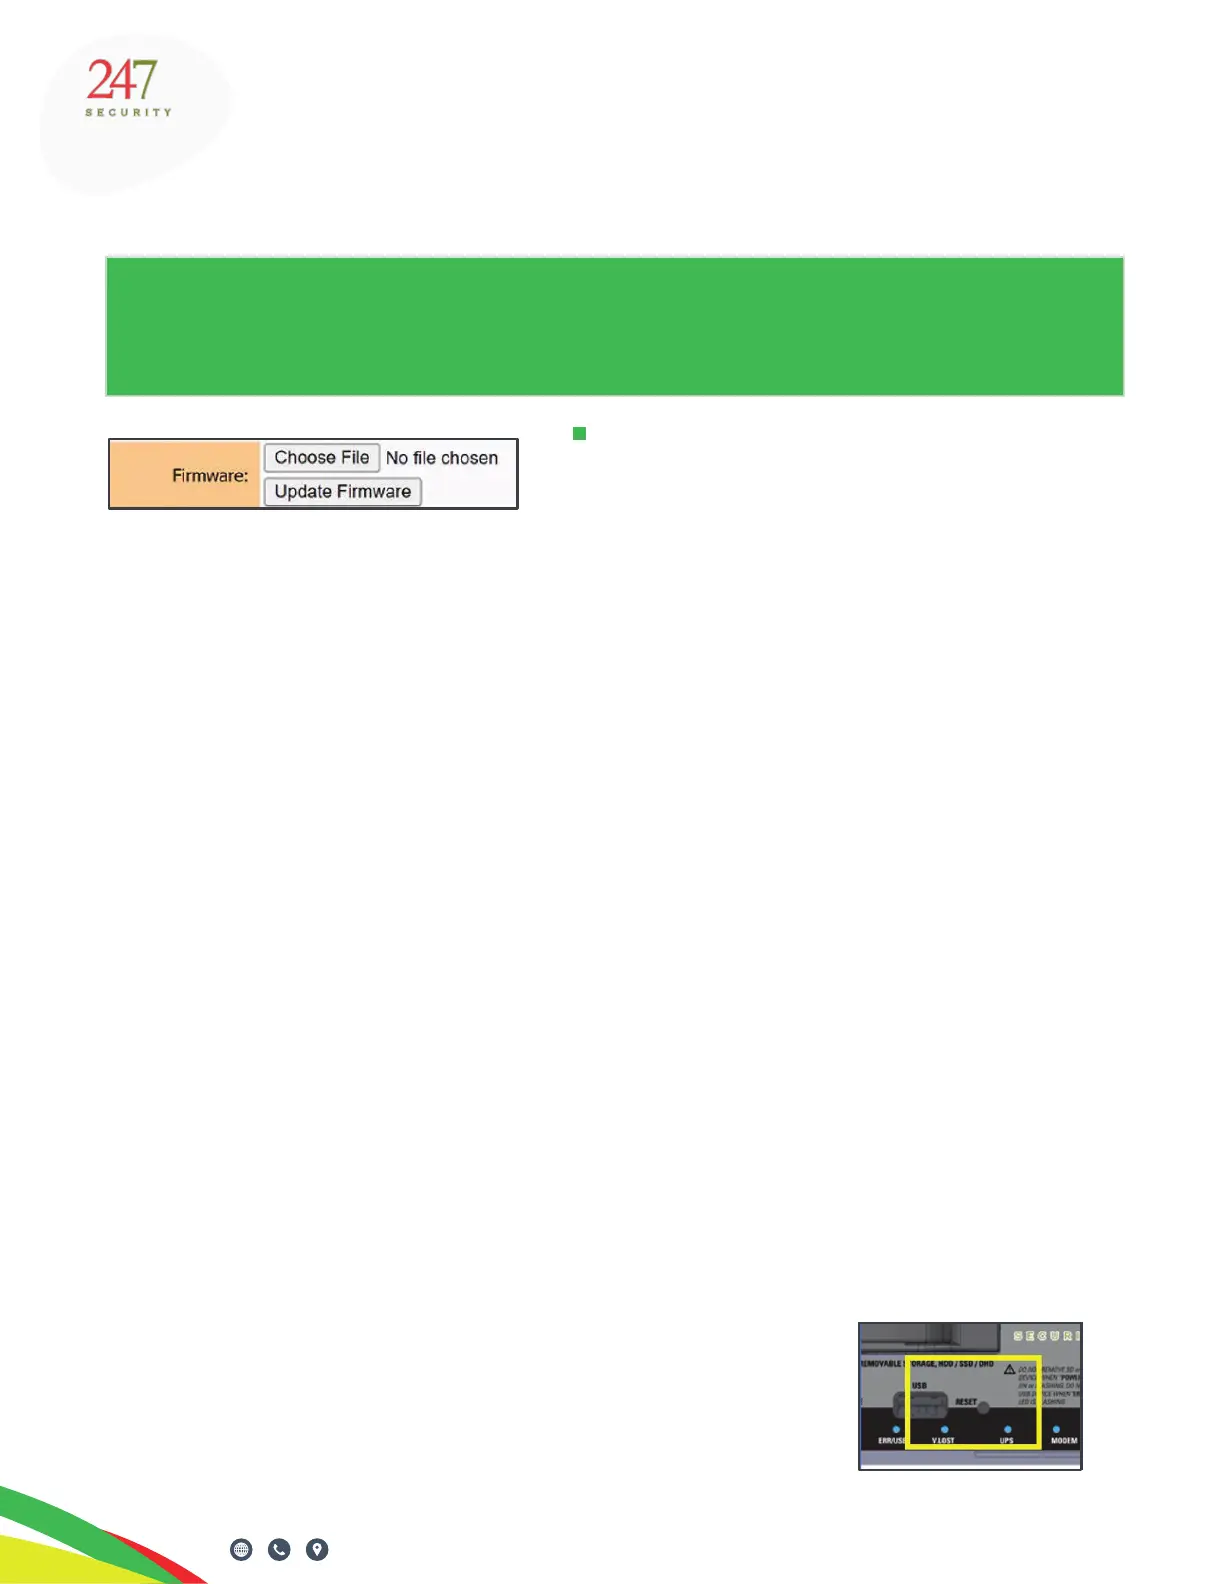
3. Choose the Firmware Update File
a. Click the “Choose File” button and browse to the location on your computer where you have
the rmware le saved.
A brief reminder, if Tech Support did not send you an update, DO NOT PROCEED. The name of
the rmware update le will always start with “HOST_DEP”.
Note: the rmware update will set DVR to factory default settings.
4. Update Firmware
a. Click the “Update Firmware” button. After about 10 seconds you should see the message
“Updating rmware…DVR will reboot itself please wait for 300
seconds”, and the time will be counting down to 0 seconds.
b. Once the web page shows 0 seconds, press RESET on the
TITAN front panel and wait for DVR to boot-up.
c. After DVR boot-up, both ignition LED (green) and Power LED
(green) should be on solid.
 Loading...