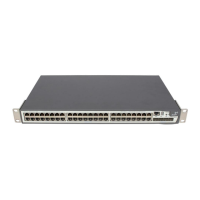
40 CHAPTER 2: INSTALLING THE SWITCH
The Switch 5500 supports 3Com 802.3af equipment. For the latest list of
supported devices, refer to the product page on the 3Com web site at
http://www.3com.com/
For further information on Power over Ethernet, refer to the Power over
Ethernet Configuration chapter in the Configuration Guide supplied on
the CD-ROM that accompanies your Switch 5500. Power over Ethernet
management is available using the web interface or the command line
interface (CLI).
Placing Units On
Top of Each Other
If the Switch units are free-standing, up to eight units can be placed one
on top of the other. If you are mixing a variety of SuperStack
®
units, the
smaller units must be positioned at the top.
If you are placing Switch units one on top of the other, you must use the
self-adhesive rubber feet supplied. Apply the feet to the underside of
each Switch, sticking one in the marked area at each corner. Place the
Switch units on top of each other, ensuring that the feet of the upper unit
sit fully on the lower unit.
The Power-up
Sequence
The following sections describe how to get your Switch 5500
powered-up and ready for operation.
Powering-up the
Switch 5500
Use the following sequence of steps to power-up the Switch.
1 Plug the power cord into the power socket at the rear of the Switch.
2 Plug the other end of the power cord into your power outlet.
The Switch powers-up and runs through its Power On Self Test (POST),
which takes approximately 1 minute.
Checking for Correct
Operation of LEDs
During the Power On Self Test, all ports on the Switch are disabled and
the LEDs light in a rapid sequence.
When the POST has completed, check the Unit Status to make sure that
your Switch is operating correctly. Table 13
shows possible colors for the
LED.