8
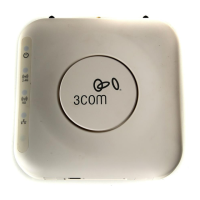
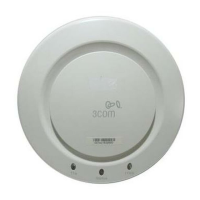
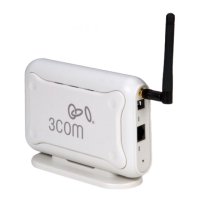
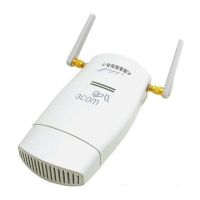
5. Checking the LED Indicators
When the AP is connected to power, LEDs indicate activity as follows:
6. Installing Software
The following application is included on the 3Com WIDMan Utility CD-ROM:
• Wireless Infrastructure Device Manager (WIDMan Utility)
To discover and configure the AP, you must first install the Wireless Infrastructure Device Manager
software (WIDMan) on your computer.
1 Turn on your computer.
2 Insert the 3Com Installation CD into the CD-ROM drive.
The CD menu appears. If it does not appear, start the Setup menu from the Windows Start
menu. For example: Start > Run > d:\autorun.exe
3 On the menu, click Install/Uninstall WIDMan.
4 On the next screen, double-click 3Com Wireless Infrastructure Device Manager and then
click Install. The installation begins.
5 Follow the instructions on each screen to complete the installation. If prompted, reboot the
computer.
Indicator Color State Description
LED 1
(Power/
System)
Off No power
Amber On Failure of CPU or system
Blinking System initiation or reset (software self-
testing and loading)
Green On Powered on and ready for operation
LED 2
(2.4G)
Green Off Radio disabled
On Radio enabled
Blinking Activity
LED 3
(5G)
(on the 3Com
AirConnect 9550
Access Point only)
Green Off Radio disabled
On Radio enabled
Blinking Activity
LED 4
(Ethernet)
Off No 10/100/1000 BASE-T link detected, or
administratively disabled
Amber On 10/100 BASE-T link detected; no activity
Blinking 10/100 BASE-T link activity
Green On 1000 BASE-T link detected; no activity
Blinking 1000 BASE-T link activity
 Loading...