5
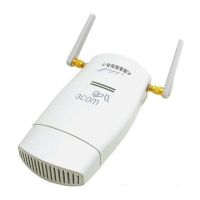
3. Mounting the AP
The AP can be mounted on the following types of surfaces:
• Wall or electrical box (NEMA enclosure)
• Table top
Wall or Electrical Box Mounting
To install your AP on a wall or electrical box, use the mounting bracket that comes with the
device. Follow these steps:
1 Following these guidelines, screw the mounting bracket to a wall or electrical box (NEMA
enclosure):
• The mounting bracket tabs should be pointing upward.
• If mounting to drywall, use the 4 screws and 4 wall anchors.
• If mounting to an EU electrical box (60.3mm), use 2 threaded screws and insert into the
holes marked “A” in the diagram shown below.
• If mounting to a US electrical box (83.3mm), use 2 threaded screws and insert into the
holes marked “B” in the diagram shown below
.
2 Connect the Ethernet cable (for power and network connection) to the LAN port on the back
of the AP.
3 To mount the AP onto the mounting bracket, insert the mounting-bracket tabs into the slots
on the back of the AP.
CAUTION: If you are mounting the AP on a wall, you cannot use the slots on the bottom narrow
edge of the device. Instead, you must use the slots on back of the AP.
 Loading...