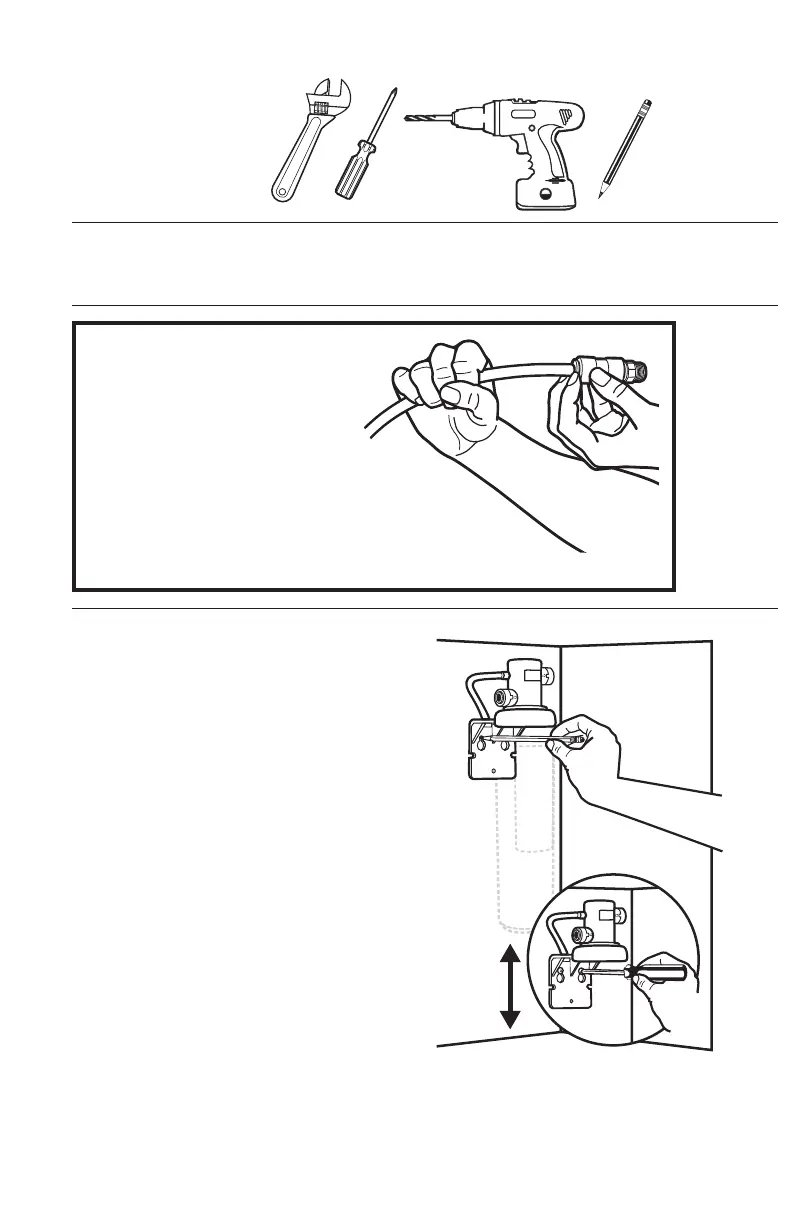
TOOLS REQUIRED:
(Not included)
Adjustable wrench
#2 Phillips head screwdriver
Drill
Pencil
BEFORE YOU BEGIN:
Remove items stored under the sink.
Have a towel and bowl available in case dripping occurs.
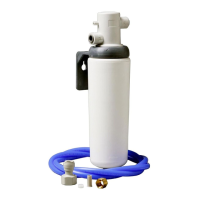
This system uses
push-in fi ttings:
This easy-to-install system uses
watertight, push-in fi ttings.
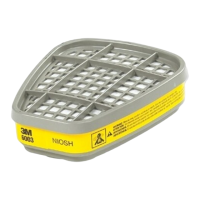
To Attach Tubing:
(Fig. 1)
Push tubing in as far as
it will go. Tubing must be
inserted past o-ring and
hit backstop. Pull tube to
ensure it is secure.
To Release Tubing:
(Fig. 2)
Push in grey collet to
release tubing.
With collet held, pull
tubing straight out.
4
MOUNTING THE FILTER HEAD
ASSEMBLY BRACKET:
You will need: Phillips screwdriver, drill, pencil, fi lter
head assembly bracket (B), #2 mounting screws (H)
1. Choose a location to mount fi lter head assembly
bracket (B). Keep in mind: Bracket should be in
a location that offers easy access for changing
fi lters. Leave 2 ½" of clearance below the installed
fi lter cartridge. (See Fig. 3)
2. Using the bracket (B) as a guide, mark the
location of the two screw holes on the wall with
a pencil. (Fig. 4)
3. Fasten the bracket to the wall using a Phillips
screwdriver and the two mounting screws
included (H). (If preferred, use a drill with a 3/16"
size drill bit to make pilot holes for the screws.)
(Fig. 5)
4. Check to assure mounting bracket is
fi rmly installed.
(Fig. 4)
2
1
/
2
"