28
TEMPERATURE & PRESSURE RELIEF VALVE
At least once a year, the temperature and pressure relief valve,
Figure 1, must be checked to ensure that it is in operating condi-
tion. Lift the lever at the top of the valve several times until the
valve seats properly and operates freely.
If water does not fl ow, remove the valve and inspect for obstruc-
tions or corrosion. Have a qualifi ed service agent replace with
a new valve of the recommended size as necessary. Do not
attempt to repair the valve, as this could result in improper opera-
tion and a tank explosion. In areas with poor water conditions, it
may be necessary to inspect the T&P valve more frequently.
THE WATER PASSING OUT OF THE VALVE DURING THIS
CHECKING OPERATION MAY BE EXTREMELY HOT. AVOID
CONTACT AND DISCHARGE SAFELY TO PREVENT WATER
DAMAGE.
DRAINING
It is recommended that the tank be drained and fl ushed every
6 months to remove sediment which may build up during op-
eration. The water heater should be drained if being shut down
during freezing temperatures. To drain the tank, perform the
following steps:
Turn off the gas to the water heater at the manual gas shut-
off valve.
Open a nearby hot water faucet until the water is no longer
hot.
Close the cold water inlet valve.
Connect a hose to the drain valve and terminate it to an ad-
equate drain or external to the building.
Open the water heater drain valve and allow all of the water
to drain from the tank. Flush the tank with water as needed
to remove sediment.
Close the drain valve, refi ll the tank, and restart the heater as
directed in this manual.
If the water heater is going to be shut down for an extended
period, the drain valve should be left open.
IMPORTANT: Condensation may occur when refi lling the tank
and should not be confused with a tank leak.
I
1.
2.
3.
4.
5.
6.
CATHODIC PROTECTION - ANODE
The anode rod within the tank is designed to be slowly consumed
cathodically, minimizing corrosion in the glass-lined tank. A hy-
drogen sulfi de (rotten egg) odor may result if water contains high
sulfate and/or minerals. Chlorinating the water supply should
minimize the problem. (See EXTENDED NON-USE PERIODS).
NOTE: Anode must remain installed (except for inspection) to
avoid shortening tank life. See LIMITED WARRANTY. Replace
as necessary.
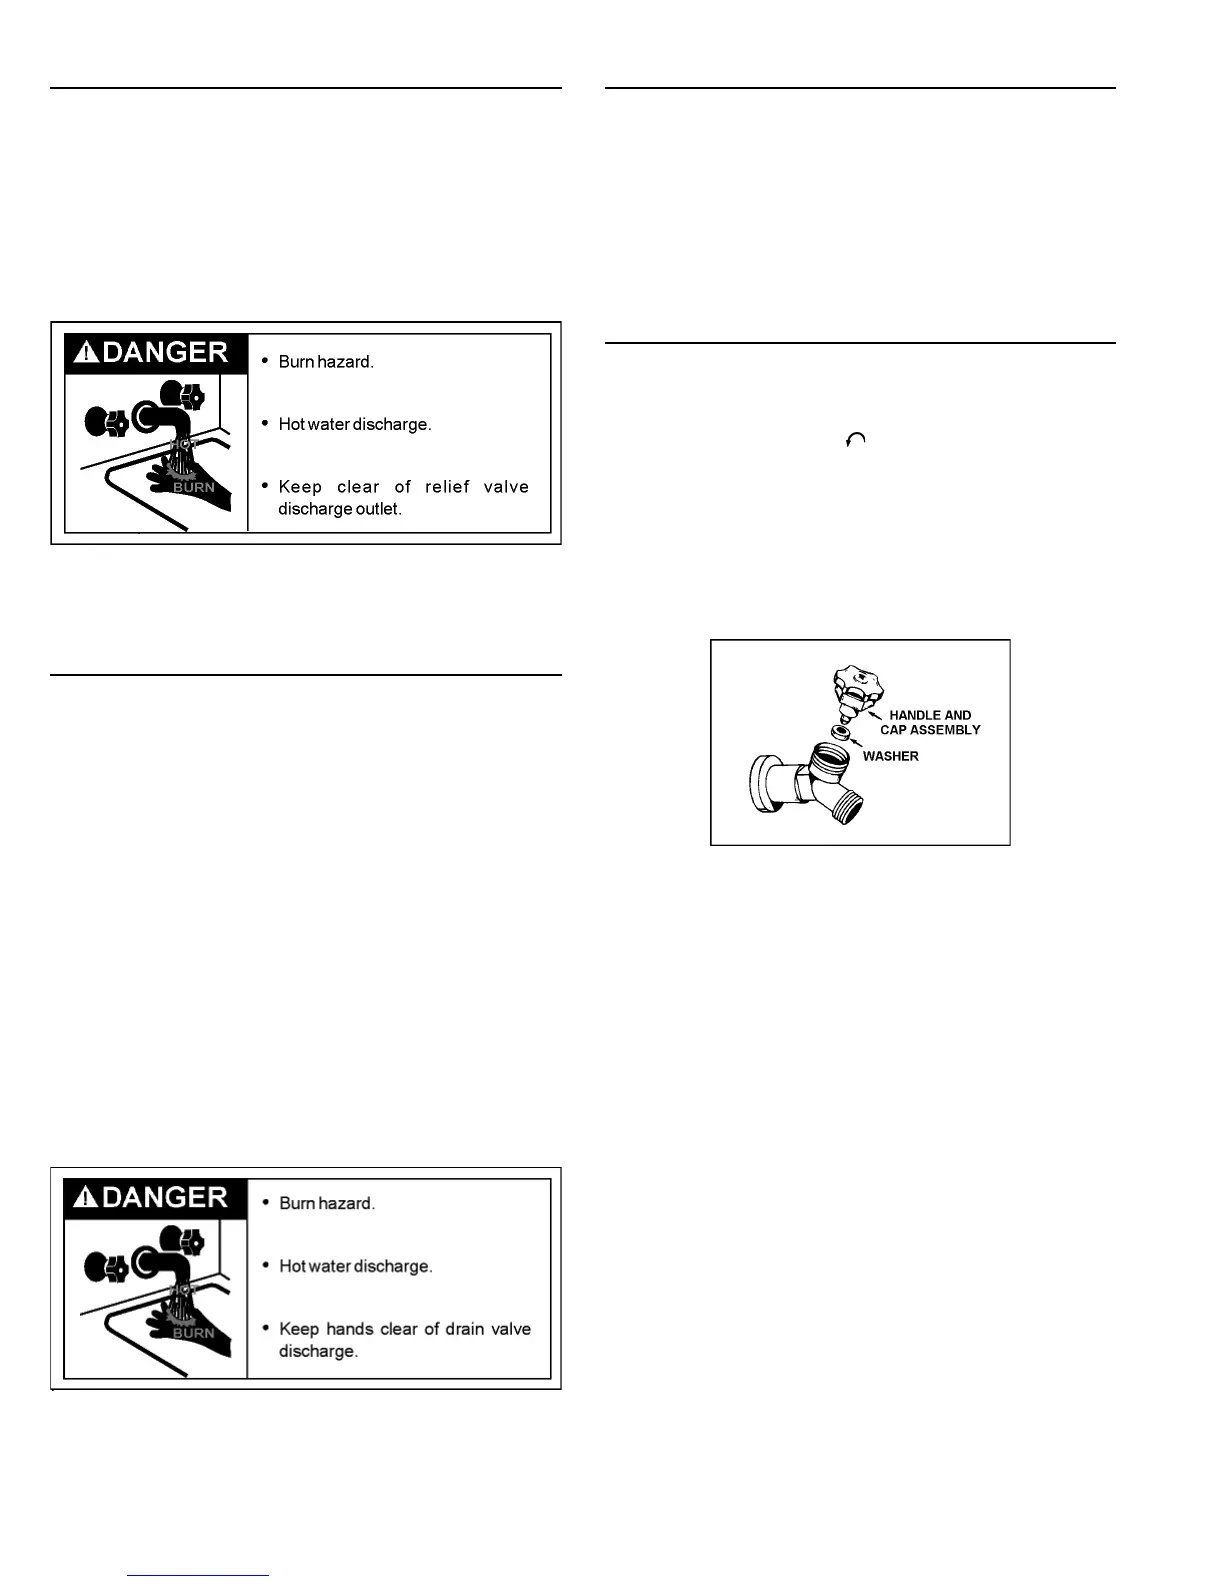
DRAIN VALVE WASHER REPLACEMENT
(See Figure 28)
1. Turn “OFF” gas supply to water heater.
2. Follow “Draining” instructions.
3. Turning counterclockwise (
), remove the hex cap below
the screw handle.
4. Remove the washer and put the new one in place.
5. Screw the handle and cap assembly back into the drain
valve and retighten using a wrench. DO NOT OVER TIGHT-
EN.
6. Follow instructions in the “Filling The Water Heater” section.
7. Check for leaks.
8. Follow the lighting instructions in the “Lighting” section to
restart the water heater.
FIGURE 28