Aastra 6771/6773/6775 (OpenPhone 71/73/75) System Phones Key Assignments
11
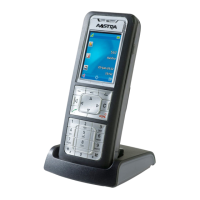
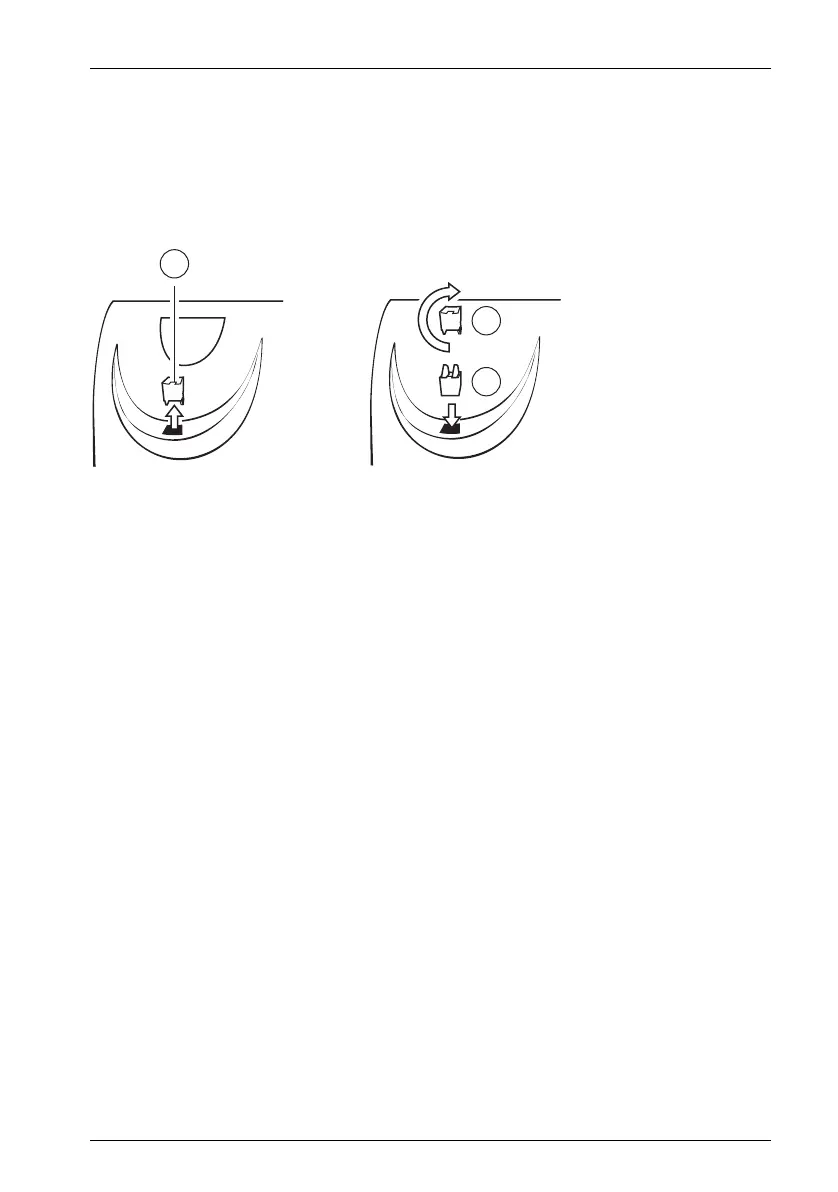
1.1.5 Wall Mounting
To mount your telephone to the wall, remove the pedestals. Using a screwdriver,
pry the retention pin (1) for the handset out of its receptacle, turn it upside down
(2) and insert it again.
To mount your telephone to the wall, drill two holes at 119 mm distance apart.
Insert 6 mm screws in the holes. Make sure their heads protrude 2.5 to 3 mm from
the wall and mount the telephone onto the screws.
1.2 Key Assignments
Some of the keys have dual functionality (depending on whether you long or
short press the key). The “MenuCards” described below are windows that are dis-
played to enable you to set features and functions. For more details, refer to the
section entitled Display and MenuCards starting on page 23.
1
2
3
 Loading...