2 Installation and configuration
Note: The information in this chapter provides an overview of the installation and configuration requirements
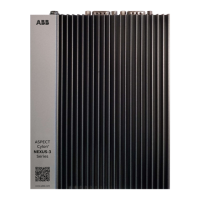
of the NEXUS-3 Series device. The NEXUS-3 Series device is designed for specific applications and
needs to be installed by qualified personnel with RF and regulatory-related knowledge.
POWERING ON THE NEXUS-3 SERIES DEVICE
1. Install the NEXUS-3 Series device on the wall mount using a wall mounting kit, or Install the
NEXUS-3 Series device on the rack infrastructure using DIN-rail mounting brackets.
2. Connect a network cable.
3. Connect the supplied PSU to the NEXUS-3 Series device
4. Press the power button to turn it on.
Note: For warranty purposes it is recommended that only the included power supply should be used with
NEXUS-3 Series devices.
Warning: NEXUS-3 can be powered by a 24 V DC supply only.
The device will be damaged if connected to a 24 V AC power source.
 Loading...