99
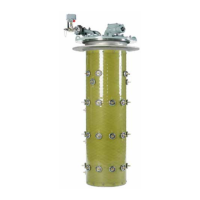
Figure 160:
1 Hand crank
Figure 161:
1 Withdrawable part
2 Sliding handle
3 Service truck
—
7. Operation of the switchgear
Movement of the withdrawable part
between the test / disconnected position and the service
position, clockwise up to the stop to the service position
and anti-clockwise for the test / disconnected position
Service truck engaged with the
switchgear panel. Withdrawable part released
for withdrawal with the handles slid inwards.
Figure 162:
Disk with the yellow sticker
Withdrawal from the test / disconnected position
onto the service truck:
• Open the door of the circuit-breaker
compartment.
• Release control wiring plug 2 (Figure 158) and
place it in the storage position on the
withdrawable part.
• Position service truck 4 (Figure 163) with
guide pin 1 (Figure 164) of the adjustable
bench top at the correct height facing the
panel front, and allow catch pin 2 to engage.
• Move sliding handles 2 (Figure 161) inwards
against the springs to release withdrawable
part 1, draw the withdrawable part out onto
the service truck and secure it in the catches
on the truck.
• Press release lever 1 (Figure 163) (at the front
underneath the bench top) and release the
service truck from the switchgear panel.
• Secure the position of the shutters with
padlock.
Insertion from the service truck into the test /
disconnected position:
• Carry out the procedure described above for
withdrawal in reverse order.

 Loading...