11
Inserting batteries
Unscrew the screws holding the bottom of the IR-1S Wrist transmitter using a Phillips screwdriver.
Remove the bottom and insert three 1.5V silver oxide batteries type SR44, or 401930 Battery pack
for Micro and Wrist transmitters, available from Abilia or Abilia dealer. Insert the batteries according
to the guidelines at the bottom of the battery compartment. Pay attention to the polarity! It is
important to use specified batteries for maximum transmission range.
Be sure the packing that seals the transmitter is correctly inserted.
There will be a battery warning when 75% of the battery power has been used. The indicator lamp
will flash with an interval of one second. The transmitter then has enough power to transmit for a
while longer.
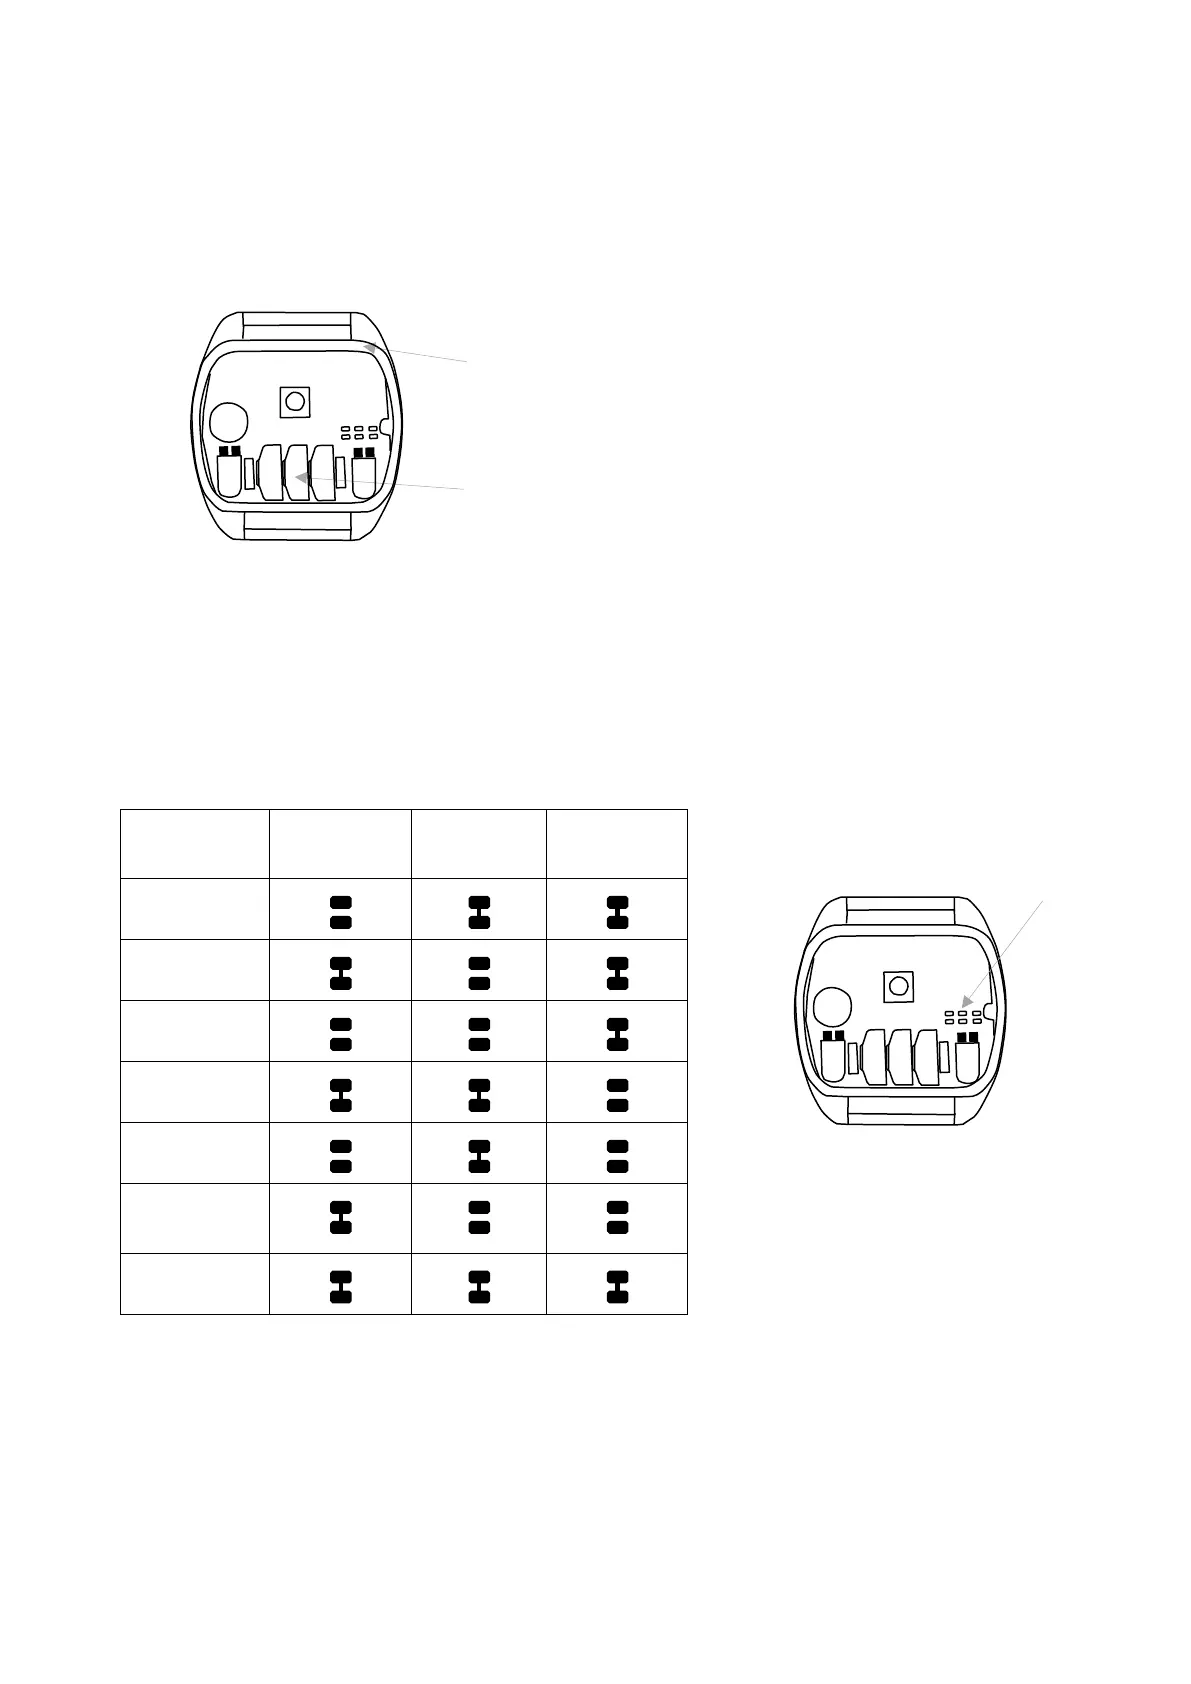
Channel setting
Channel settings are made by scraping or connecting joints between soldering pads on the circuit
board. These spots are marked A, B and C in fig 3. The table shows which channels can be used
and which joints should be scraped off or connected.
GewaLink-
channel
Joints A Joints B Joints C
16
17
18
19
20
* 4096 code
(random)
35
* From serial number: 421012 channel 21 has been replaced with a random 4096 code.
or 401930 Battery pack for Micro and Wrist transmitters