Do you have a question about the Abit FATAL1TY-AN8-SLI and is the answer not in the manual?
Personal story and background of the gamer, Johnathan "Fatal1ty" Wendel.
Detailed technical specifications of the motherboard's components and features.
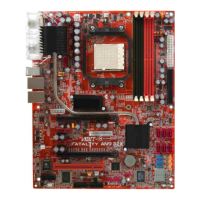
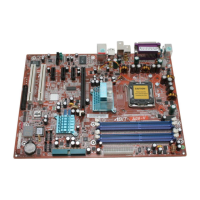
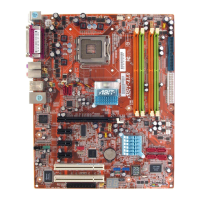
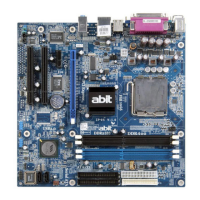
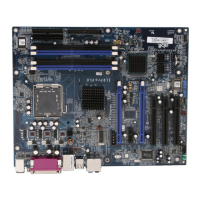
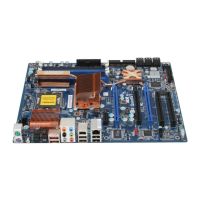
Visual guide to the motherboard's connectors, slots, and components.
Step-by-step instructions for mounting the motherboard in a computer chassis.
Procedure for installing the CPU, heatsink, and fan assembly correctly.
Guide to installing DDR DIMM modules into the motherboard slots.
Instructions for configuring dual graphics cards using NVIDIA SLI technology.
Overview of various connectors, headers, and switches on the motherboard.
Details on connecting the main ATX power supply to the motherboard.
Connecting front panel switches and LED indicators to the motherboard.
Explanation of the LED display for Power-On Self-Test (POST) codes.
Information on using the PCI Express x16 slot for graphics cards.
Description of the ports available on the motherboard's rear panel.
Guide to configuring system settings using the µGuru utility.
Settings for date, time, and basic hardware detection.
Options for boot device priority and system behavior.
Settings related to memory timings and chipset configurations.
Enabling or disabling onboard devices like USB, LAN, and IDE controllers.
Configuring ACPI, wake-up functions, and power saving options.
Settings for Plug-and-Play and PCI device resource allocation.
Restoring BIOS to stable, minimal-performance default settings.
Restoring BIOS to factory default settings for optimal performance.
Securing the BIOS configuration by setting a password.
Saving current BIOS settings and exiting the setup utility.
Exiting the BIOS setup without applying any changes.
Step-by-step procedures to resolve system boot or display issues.
Recommendation to consult the user manual for information.
Importance of updating BIOS, software, and drivers from the website.
Utilizing the website's technical terms and frequently asked questions.
Using newsgroups for information exchange and community support.
Recommending contacting the original seller for efficient support.
Procedures and contact information for reaching ABIT's support team.
| Brand | Abit |
|---|---|
| Model | FATAL1TY-AN8-SLI |
| Category | Motherboard |
| Language | English |