
Y
youngdouglasJul 31, 2025
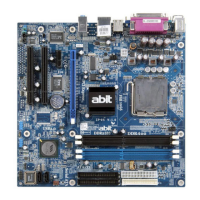
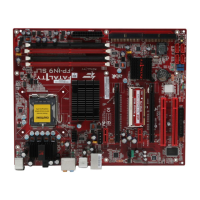
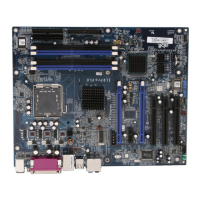
What to do if Abit IL9 Pro system hangs when updating BIOS?
- JJason LivingstonJul 31, 2025
If your Abit Motherboard system hangs when updating the BIOS or setting incorrect CPU parameters, always clear the CMOS jumper before booting up again.