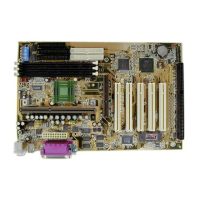
8 IL9 Pro/IL9 Pro-V
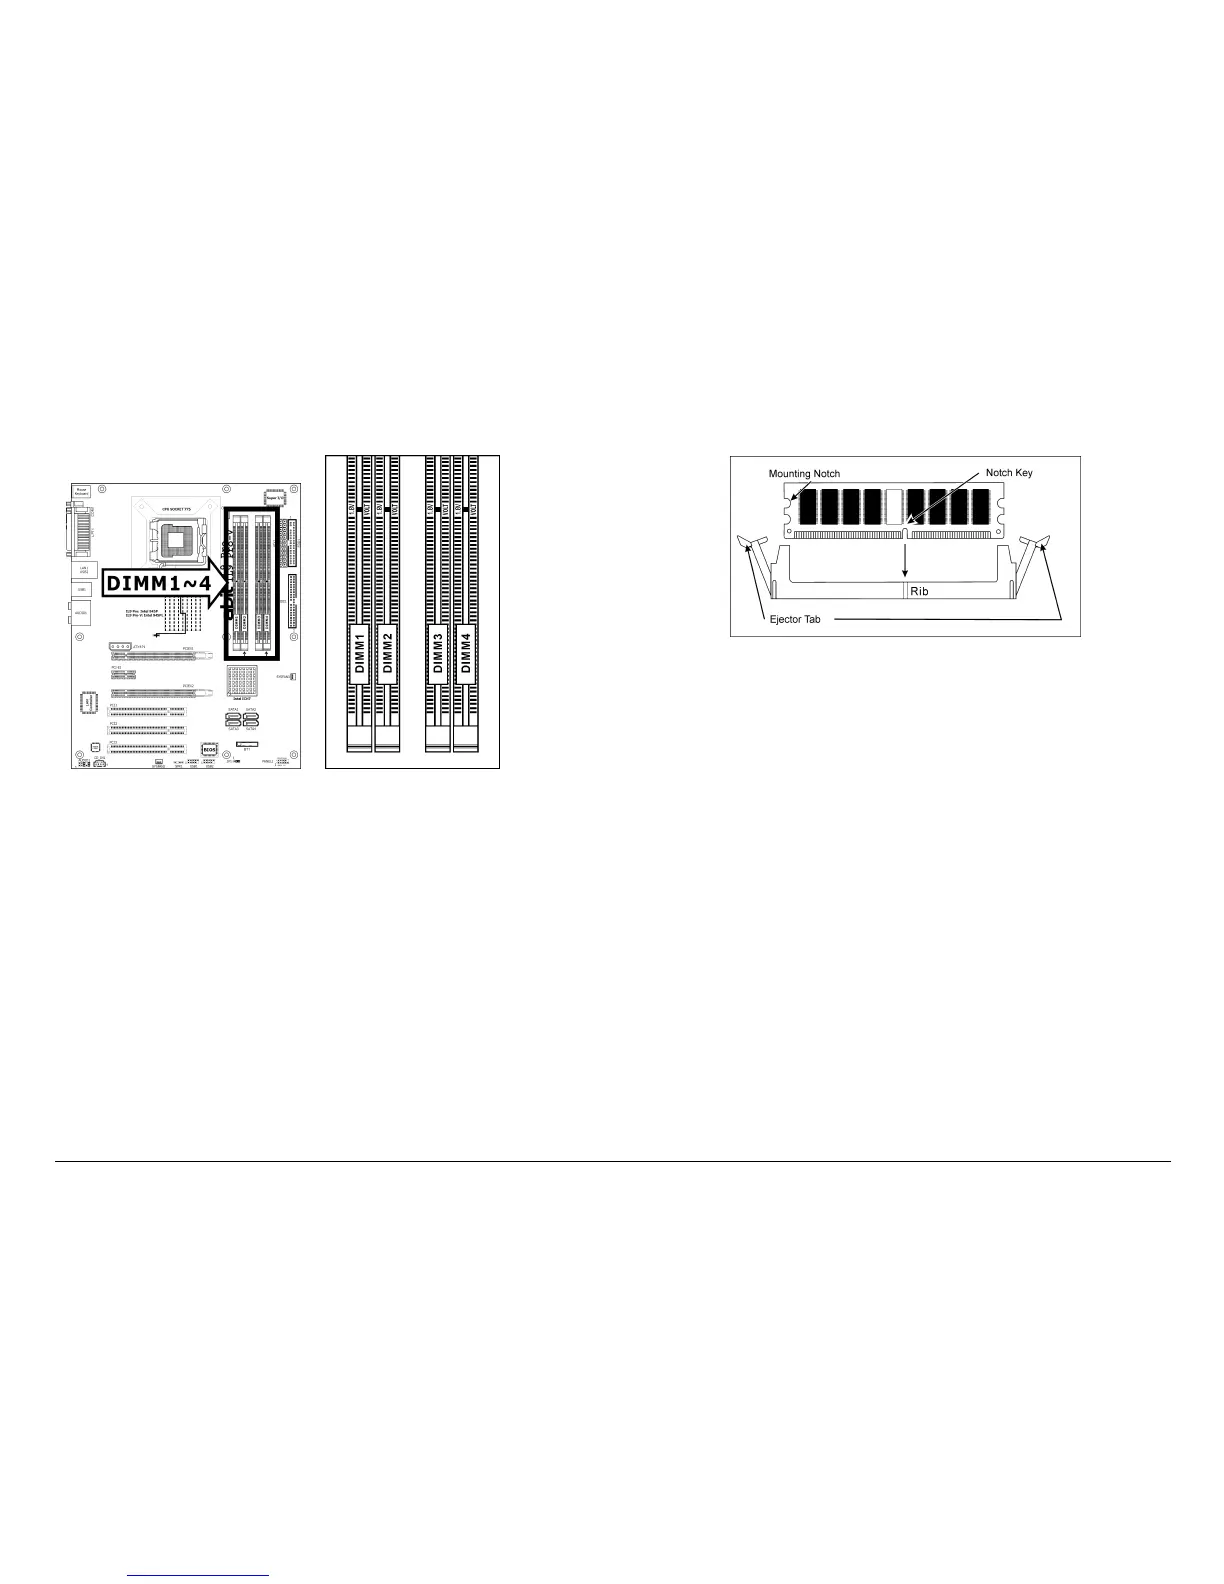
1.6.2 DDR2 Memory Slots
※
Both [DIMM2] and [DIMM4] slots appear in model IL9 Pro only.
To reach the performance of Dual Channel DDR2, the following rules
must be obeyed:
• For a 2-DIMM dual-channel installation:
Populate DIMM modules of the same type and size on slots
[DIMM1]+[DIMM3], or slots [DIMM2]+[DIMM4].
• For a 4-DIMM dual-channel installation:
Populate 2 DIMM modules of the same type and size on slots
[DIMM1]+[DIMM3], and another 2 DIMM modules of the same
type and size on slots [DIMM2]+[DIMM4].
※
[DIMM1] and [DIMM3] slots are made of the same color.
[DIMM2] and [DIMM4] are made of another same color.
※
Usually there is no hardware or BIOS setup required after
adding or removing memory modules, but you will have to
clear the CMOS memory first if any memory module related
problem occurs.
To install system memory:
1. Power off the computer and unplug the AC power cord before
installing or removing memory modules.
2. Locate the DIMM slot on the board.
3. Hold two edges of the DIMM module carefully, keep away from
touching its connectors.
4. Align the notch key on the module with the rib on the slot.
5. Firmly press the module into the slots until the ejector tabs at both
sides of the slot automatically snap into the mounting notch. Do not
force the DIMM module in with extra force as the DIMM module
only fits in one direction.
6. To remove the DIMM modules, push the two ejector tabs on the
slot outward simultaneously, and then pull out the DIMM module.
※
Static electricity can damage the electronic components of
the computer or optional boards. Before starting these
procedures, ensure that you are discharged of static
electricity by touching a grounded metal object briefly.