Note:Once the battery is disconnected, the loads are not protected
from power outages.
1. Use a cross-type screwdriver to remove the four screws from bottom
shell.
2. Take-up top cover and battery cover.
3. Loosen the black wire from the negative (-) terminal and red wire from
the positive (+)
5. Connect the battery leads to the new battery.
6. Note: Small sparks at the battery connectors are normal during connection.
7. Slide the battery into the UPS.
8. Close the front panel and fasten two screws.
9. Dispose of the old battery properly at an appropriate recycling facility.
Should the UPS fail to function correctly we
recommend you perform the following tests
before calling the service.
Check step:
Step 1: Is the main switch in the “ON” position?
Step 2: Is the UPS plugged into the mains
power supply?
Step 3: Does the power supply fall within
specified unit values?
Step 4: Has the fuse gone in the mains plug?
Step 5: Is the UPS overload?
Step 6: Is the battery flat or defective?
No LED display on the front
panel.
Charge the UPS at least 6 hours.
Replace the battery with the same type of battery.
The UPS is not turned on.
Press the power switch again to turn on the UPS.
Alarm continuously sounds
when the Utility is normal.
Remove some loads first. Before reconnecting equipment, please verify
that the load matches the UPS capability specified in the specs.
When power fails, back up time
is shorten.
Remove some critical load.
Battery voltage is too low.
Charge the UPS at least6 hours.
Battery defect. It might be due to high
temperature operation environment, or improper
operation to battery.
Replace the battery with the same type of battery.
The Utility is normal but LED is
flashing.
Reconnect the power cord properly.
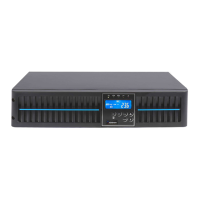
GR 450 / 650 / 850 SPECIFICATIONS
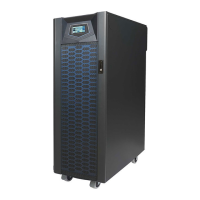
GR 1000 / 1500 / 2000 SPECIFICATIONS
4-6 hours recover to 90% capacity
Packaging Dimension(DxWxH,
mm)
0-90 % RH @ 0-40 C (non-condensing)
 Loading...