Do you have a question about the Abus Bordo 6000 Alarm and is the answer not in the manual?
Instructions for attaching the lock bracket to the bicycle frame.
Tightening screws for bracket installation.
Applying a specific torque value (1 Nm) to bracket screws.
Completing the physical attachment of the lock bracket.
Fine-tuning the bracket's position on the frame.
Engaging the locking mechanism of the bracket system.
Steps to activate the audible alarm function.
Securing the lock's shackle into its housing.
Applying a specific torque (0.5 Nm) during shackle locking.
Steps to deactivate the audible alarm function.
Explanation of visual and audible alarm indicators.
Instructions for operating the lock when transporting.
Opening the compartment to access the batteries.
Identifying the required battery type (CR2).
Steps for correctly inserting new batteries.
Securing the battery compartment cover after installation.
Understanding battery status and warnings for transport.
Key to understanding icons used in the manual.
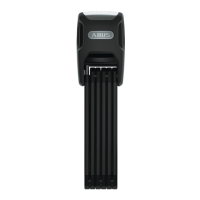
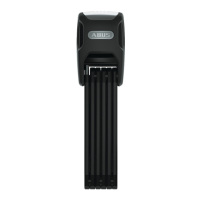
| Lock Type | Folding lock |
|---|---|
| Security Level | 10 |
| Length | 85 cm |
| Bar Thickness | 5 mm |
| Alarm | Yes |
| Alarm Sound Level | 100 dB |
| Battery Type | CR2 |
| Battery Life | Up to 1 year |
| Material | Steel |