NOTE
• You need the meter, a test strip and a nger pricker with a lancet inserted to perform a blood sugar test.
• A blood sugar test cannot be performed while the meter is connected to a PC with a USB cable.
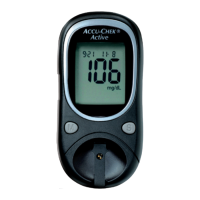
PERFORMING A BLOOD SUGAR TEST WITH BLOOD FROM YOUR FINGERTIP
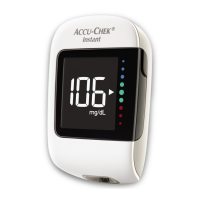
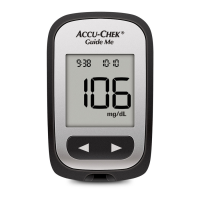
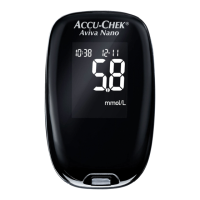
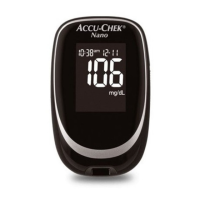
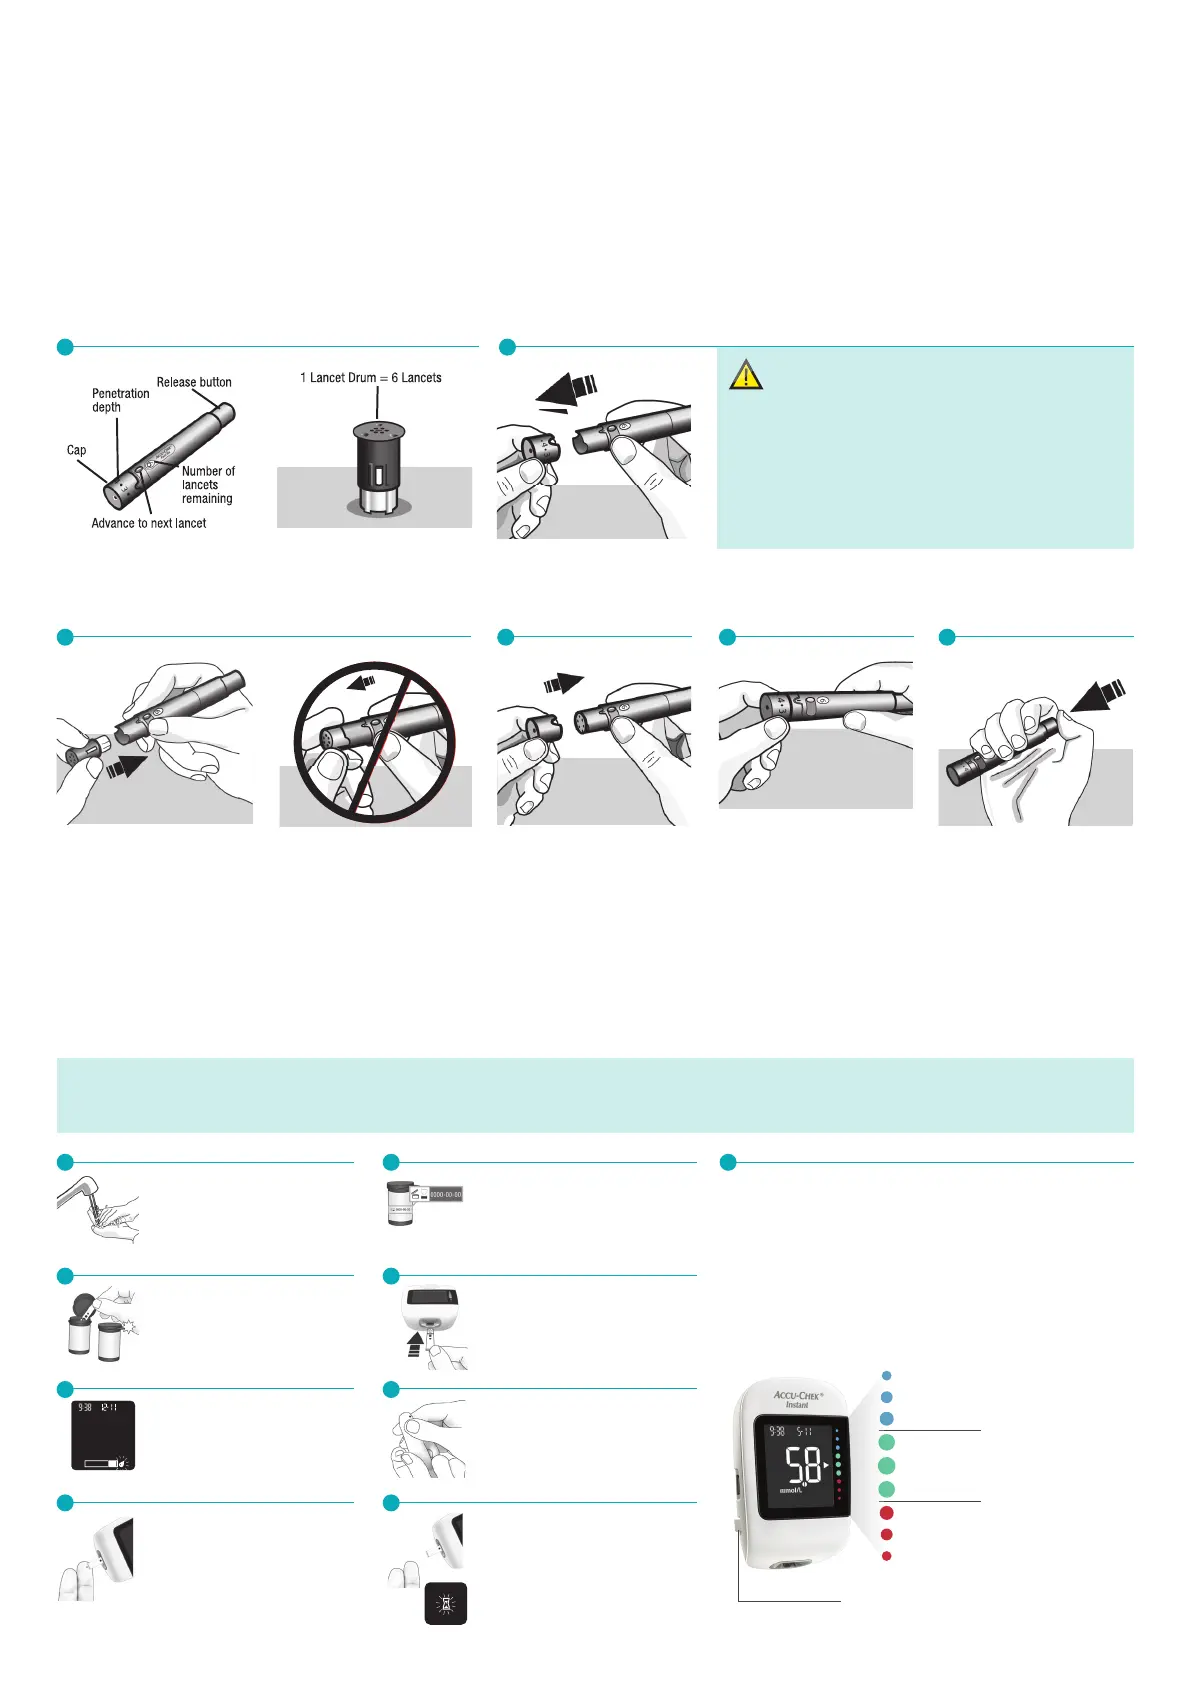
Your test result appears with an arrow. This arrow shows
if your test result falls above, within, or below the target
range.† The target range is represented by the green region
of the target range indicator. The arrow will ash if your test
result falls above or below this range.
Remove and discard the used test strip by pulling the test
strip out of the meter or by pushing the test strip ejector on
the side of the meter.
Wash your hands with
warm soapy water and
dry thoroughly. Prepare
the nger pricker.
Check the use by date on
the test strip container.
Do not use test strips past
the use by date.
Remove a test strip from
the test strip container.
Close the cap tightly.
Insert the metallic end of
the test strip into the meter.
The meter turns on.
When a ashing drop
symbol appears, perform
a nger prick with the
nger pricker.
Gently squeeze your
nger to assist the blood
ow. This helps you get a
blood drop.
Touch the yellow edge of the
test strip to the blood drop.
Do not put blood on top of the
test strip.
Remove your nger from the
test strip when the ashing
hourglass symbol appears.
Failure to move your nger away
from the test strip could give
inaccurate test results.
1
3
5
7
2 9
4
6
8
†The target range
is set by default at
3.9–8.9 mmol/L.
To change the target
range, pair the meter
to a mobile device, or
connect it to a PC with
diabetes management
software installed.
Consult your
healthcare
professional before
changing the target
range.
Blue
Test result is
above the
target range.
Green
Test result is
within the
target range.
Red
Test result is
below the
target range.
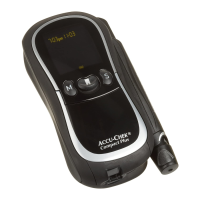
Press to eject test strip
A strip ejector for quick, hygienic removal.
Insert the lancet drum, white
end rst, into the nger
pricker. Push the lancet
drum all the way in until it
clicks rmly into place.
NOTE
Do not remove the lancet
drum until all 6 lancets have
been used since the lancet
drum cannot be reused once
it has been removed from the
nger pricker.
Replace the cap on
the nger pricker. Make sure
the notch on the cap lines up
with the notch on the nger
pricker.
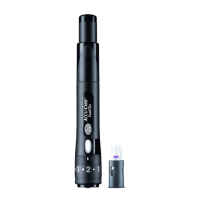
Adjust the lancet depth to
a comfortable penetration
level. Start at 2 or 3. For
tougher skin, dial to a higher
number.
Using the Accu-Chek
FastClix nger pricker: By
pressing the release button,
the nger pricker primes and
pricks in 1-Click action.
3
4 5 6
SETTING UP THE FINGER PRICKER
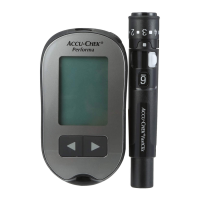
Familiarise yourself with
the Accu-Chek FastClix
nger pricker.
NOTE
Each lancet drum contains 6
sterile lancets.
Remove the nger pricker
cap by pulling it straight off.
Do not twist the cap.
WARNING
Do not insert a lancet drum and press the release button
at the same time. Do not insert a lancet drum with the
release button resting on a surface, for example, a table
top. This could release a lancet which could inadvertently
prick you.
1 2
CHECKING YOUR
BLOOD SUGAR