M
Marissa GillAug 5, 2025
How to power off Acer Aspire 7740G Laptop when it doesn't turn off?
- JJeremy RamseyAug 5, 2025
If your Acer Laptop is not powering off, hold and press the power switch for more than 4 seconds.
How to power off Acer Aspire 7740G Laptop when it doesn't turn off?
If your Acer Laptop is not powering off, hold and press the power switch for more than 4 seconds.
Why does the memory size on my Acer Laptop appear different?
If the memory size on your Acer Laptop appears different from the actual size, enter the BIOS Setup Utility to execute 'Load Default Settings', then reboot the system.
| Memory | Up to 8GB DDR3 |
|---|---|
| Storage | Up to 640GB HDD |
| Battery | 6-cell Li-ion |
| Wireless | 802.11b/g/n Wi-Fi |
| LAN | Gigabit Ethernet |
| Webcam | Acer Crystal Eye webcam |
| Processor | Intel Core i3/i5/i7 |
| Graphics | ATI Mobility Radeon HD 5650 |
| Display | 17.3" HD+ (1600 x 900) / Full HD (1920 x 1080) |
| Optical Drive | DVD Super Multi DL |
| Operating System | Windows 7 Home Premium / Professional |
| Chipset | Intel HM55 |
| Card Reader | Multi-in-1 card reader |
| Ports | HDMI, VGA, Ethernet |
Provides a summary of the computer's hardware capabilities and features.
Illustrates the functional relationships between computer components.
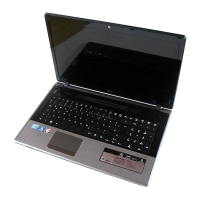
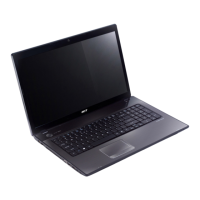
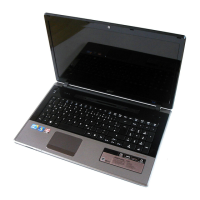
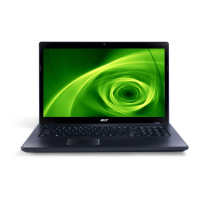
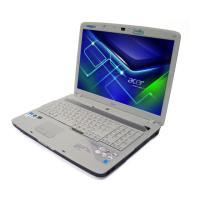
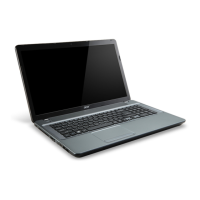
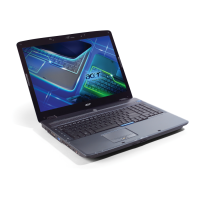
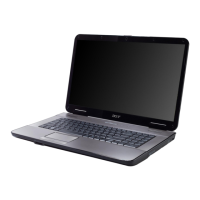
Guides users through the external layout and features of the notebook.
Explains keyboard shortcuts for controlling system functions like brightness and volume.
Describes the status lights on the computer indicating power, battery, and HDD activity.
Details how to use the touchpad and its associated buttons for navigation.
Covers the full-sized keyboard and its embedded numeric keypad functionality.
Explains the function of Caps Lock, Num Lock, and Scroll Lock keys.
Describes keyboard keys specific to Windows functions and shortcuts.
Centralizes mobile-related system settings for quick configuration changes.
Explains how to use built-in system utilities for enhanced functionality.
A utility for managing multiple display configurations and window layouts.
Lists detailed technical specifications of the computer's hardware components.
Provides instructions on how to navigate through the BIOS setup menu options.
Displays a summary of the computer's hardware information within the BIOS.
Allows setting system time/date and configuring boot options and recovery.
Contains parameters for safeguarding the computer with passwords and security settings.
Enables users to set the order of boot devices for loading the operating system.
Contains options to save or discard changes made in the BIOS Setup Utility.
Describes the process for updating the system's BIOS flash memory.
Provides instructions on how to remove or reset the Hard Disk Drive password.
Lists the necessary tools and precautions for disassembling the notebook computer.
Details the flowchart and steps for removing external computer components.
Step-by-step guide for safely removing the notebook's battery pack.
Instructions for removing the optical disk drive from the system.
Provides steps to remove the notebook's bottom or back cover.
Detailed guide on how to remove the hard disk drive assembly.
Steps for removing the wireless local area network card.
Instructions for removing the memory modules (DIMMs) from the system.
Step-by-step instructions for removing the laptop's keyboard.
Covers the flowchart and steps for disassembling the main internal components.
Guide on how to safely remove the LCD display assembly.
Instructions for separating the top and bottom halves of the computer chassis.
Instructions for removing the touchpad and its associated button boards.
Steps for detaching the left speaker from the notebook's chassis.
Instructions on how to remove the USB port module.
Guide for removing the internal modem board.
Steps to remove the Bluetooth wireless communication module.
Instructions for removing the internal microphone component.
Detailed procedure for removing the system's main logic board.
Steps for detaching the right speaker from the notebook's chassis.
Provides a flowchart and overview for disassembling the LCD module.
Instructions on how to remove the plastic bezel surrounding the LCD screen.
Guide for removing the LCD panel along with its mounting brackets.
Steps to detach the metal brackets attached to the LCD panel.
Instructions for detaching the flexible flat cable connected to the LCD panel.
Steps for removing the built-in web camera module.
Instructions for releasing and removing the wireless antennas.
Guides on performing checks for various system components like disk drives and keyboards.
Procedures for diagnosing issues with the external diskette drive.
Procedures for diagnosing issues with the external optical disk drive.
Steps for checking the internal keyboard and other input devices.
Procedures for diagnosing potential errors or issues with system memory (RAM).
Steps to verify the computer's power sources, including the adapter and battery.
Details on checking the output voltage and functionality of the power adapter.
Procedures for checking the battery pack's health and charging capabilities.
Steps to diagnose and resolve issues with the laptop's touchpad functionality.
Explains how to interpret and address error messages displayed during the POST sequence.
A list of error codes and their corresponding error messages and causes.
Interprets beep codes emitted by the BIOS during system startup to diagnose issues.
Cross-references symptoms with specific FRUs (Field Replaceable Units) for repair.
Guidance on diagnosing and resolving problems that occur sporadically.
Procedures for isolating issues when the exact cause is not identified.
Identifies connectors on the top side of the main logic board.
Identifies connectors on the bottom side of the main logic board.
Explains how to use a crisis disk to restore BIOS firmware.
Details the Fn+Esc hotkey for initiating BIOS recovery.
A visual breakdown of the computer's components for identification.
Provides a detailed list of configurations and specifications for different models.
Lists tested hardware devices and their vendors for compatibility assurance.
Information on accessing online technical support, service guides, and user manuals.