4 - Getting started
GETTING STARTED
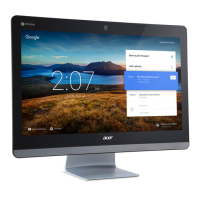
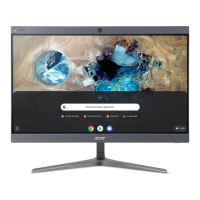
Turn on your Chromebase
On the Chromebase, the power button is located at the bottom-right
corner of the screen. A "welcome" screen will appear when the
Chromebase first boots up.
Select your language settings
Use the "Select your language" drop-down list to choose your default
language setting. If there is more than one way to type in your
language, you may be prompted to select a keyboard input method as
well.
Connect to a network
Select a network from the "Connect to network" list to connect to the
Internet. If network access is protected, you will need an access
password to connect to it.
Accept the Terms of Service
Once connected to a network, accept the Terms of Service. Your
Chromebase will then download any available system updates, so you
automatically get the latest Chrome OS features.
First-time sign-in
Create a new Google™ Account
You can create a new Google Account if you don’t already have one.
Select Create account to set up a new account. A Google Account
gives you access to useful web services developed by Google, such
as Gmail, Google Drive, and Google Calendar.
 Loading...