56
7.0 Assembly and Disassembly
Sequence Item Photo Procedures P/N Description
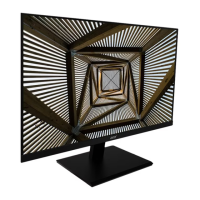
S1
Place
panel
(1).Take panel out of box and place it on
the foam.
(2).Tear open the PE bag and put it in
the designated carton.
(3).Place panel on the foam like the
attached picture.
Remark:Do not touch the lamp cord and
place the surface of panel downsides on
the cushion.
631102072741
HRN ASSY
2x4P to 8P
160mm
UL1571#28,RO
HS
S3
Fix front
bezel
1.Check if there is any lacquer missed or
sctratch happened to the front bezel.
2.Insert the fixed keypad into the front
bezel.
791401500000

 Loading...