6 / 12 – User’s manual | Piezotome 2 Handpiece | J12821 | V4 |09 | 04/2018 | NO40EN050D
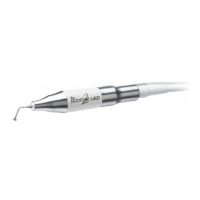
The P
IEZOTOME
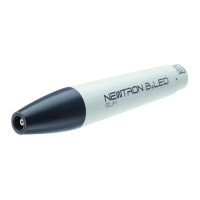
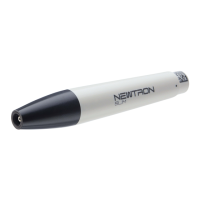
LED handpiece is equipped with a piezoelectric transducer.
It has a light function for optimal lighting of the procedure site.
This light function is achieved by a LED ring consisting of high-performance LEDs, giving a considerably longer
life than conventional optical fiber or bulb technologies.
In addition to the performance of its piezoelectric transducer and its optical properties, the front part of the
P
IEZOTOME
LED handpiece can be completely disassembled for optimal cleaning and sterilizing.
I - INS
T
ALL
ATION
1. 1 PIEZOTOME LED HANDPIECE-CORD
ASSEMBLY CONNECTION
(Please refer to P
IEZOTOME
unit user's manual)
- Align the mark on the cord connector with the mark on the left-hand or right-hand socket of the unit.
- Insert the connector in the socket until you hear the
"click".
1. 2 TIPS MOUNTING
The P
IEZOTOME
LED handpiece is a high technology instrument requiring precautions for its use. The tips must be
screwed and moderately tightened (¼ turn) by means of the P
IEZOTOME
specific wrench or the universal wrench
of Satelec (Fig. 1).
CAUTION
: Correct tip vibration requires perfect tightening without overtorquing beyond the thrust point.
Remove the tip after each procedure to avoid self-jamming.



 To Next Page