Hardware Manual
21
Installation Procedures
This section describes the procedures in installing the camera on a flat surface such as a hard or
dropped ceiling and straight or tilted walls. Before installation, make sure the wall or ceiling can
bear more than the weight of the camera.
Step 1: Prepare for Installation
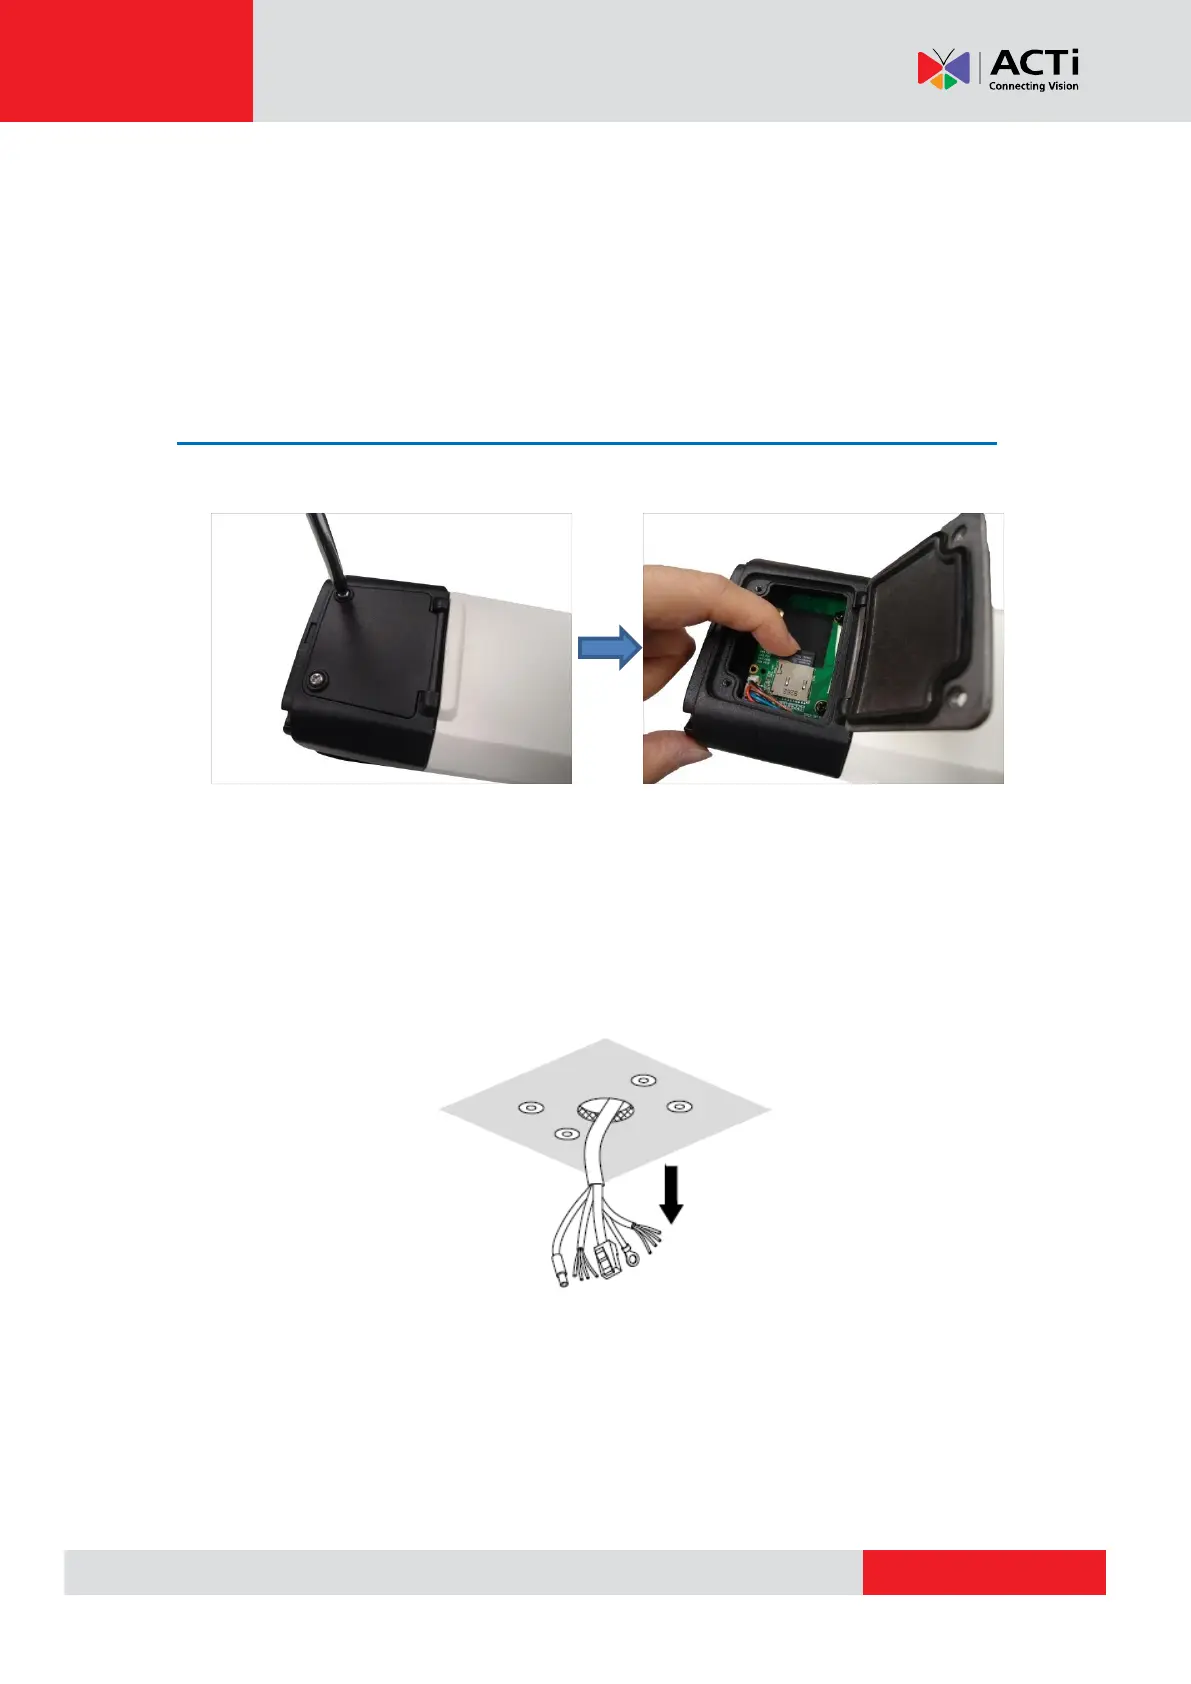
1. If a memory card will be used, install the card first before mounting the camera.
2. Attach the supplied drill template sticker on the surface.
3. Determine how the cable will be routed: pass through the surface or along the surface.
If the cable will pass through the surface, drill the cable hole and the four (4)
screw holes.
o Route the network end cables through the hole on the surface.
o Connect the cables (see Step 3: Waterproof and Connect the Cable(s) on
page 23)
If the cable will be routed along the surface, just drill the four (4) screw holes.
4. Detach the drill template sticker from the surface and insert the plastic plugs into the screw
holes.